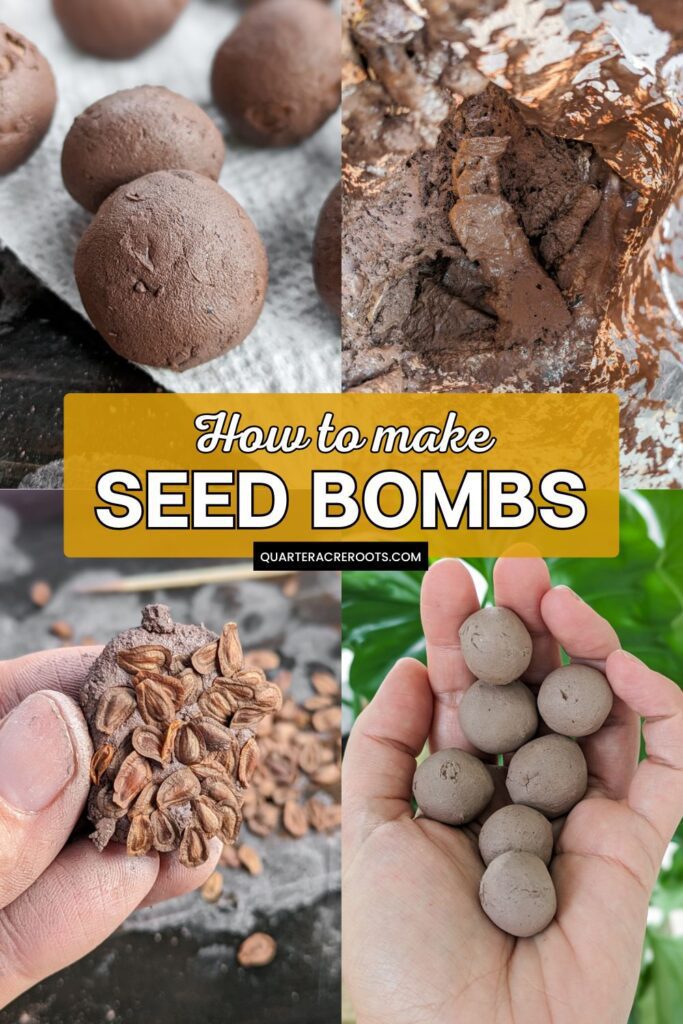

How to Make Seed Bombs
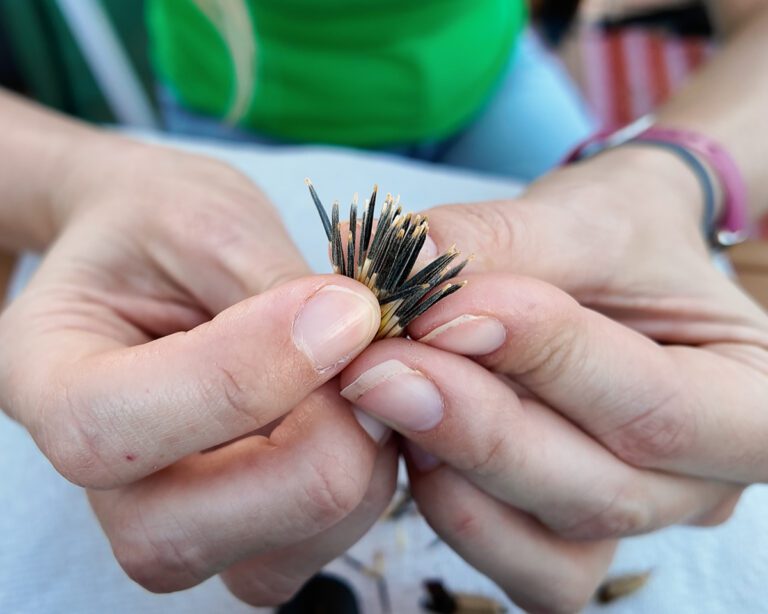
Last year I did a post on How to Save Milkweed Seeds…and I saved a lot! I spread some in fields near my house last fall. I also started some in my own yard and gave a bunch away. I figured the ones I had left after all of that would be the perfect thing to use for a tutorial on how to make seed bombs!
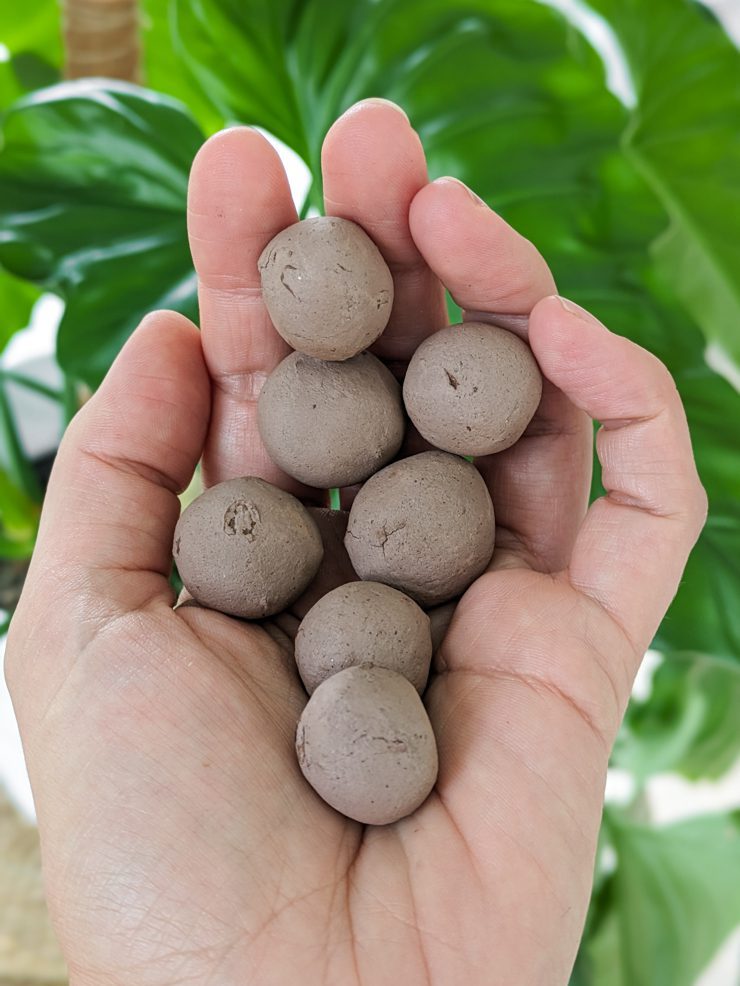
If you want to go rogue, you have to go the seed bomb route. Seed bombs, also sometimes referred to as seed balls, are small balls of clay, compost, and seeds. You can throw them into fields and whatnot to spread native plants.
Why seed bombs are great
But why not just plant seeds? Well…it’s obviously fun to throw the balls. But embedding the seeds into balls can help preserve the seeds and assist with the germination process.
The clay helps to hold moisture and protect the seeds. The clay is mixed with something like a fine-sifted compost or other organic medium (high-quality soil, humus, etc.), which provides nutrients for healthy germination.
Seed balls are not new. The technique can be traced all the way back to ancient Egypt, where it was used to repair farms after flooding. More recently, Japanese natural farming pioneer Masanobu Fukuoka reintroduced the concept. He developed his technique during World War II while working as a plant scientist for the Japanese government.
Seed balls can be an amazing way to spread beneficial plants in their native environments. For example—common milkweed, or Asclepias syriaca. Common milkweed is incredibly important because it is the only host plant for monarch caterpillars. And over 450 insects are known to feed on different portions of the plant (source).
Supplies needed
(Affiliate links below)
- Common milkweed seeds
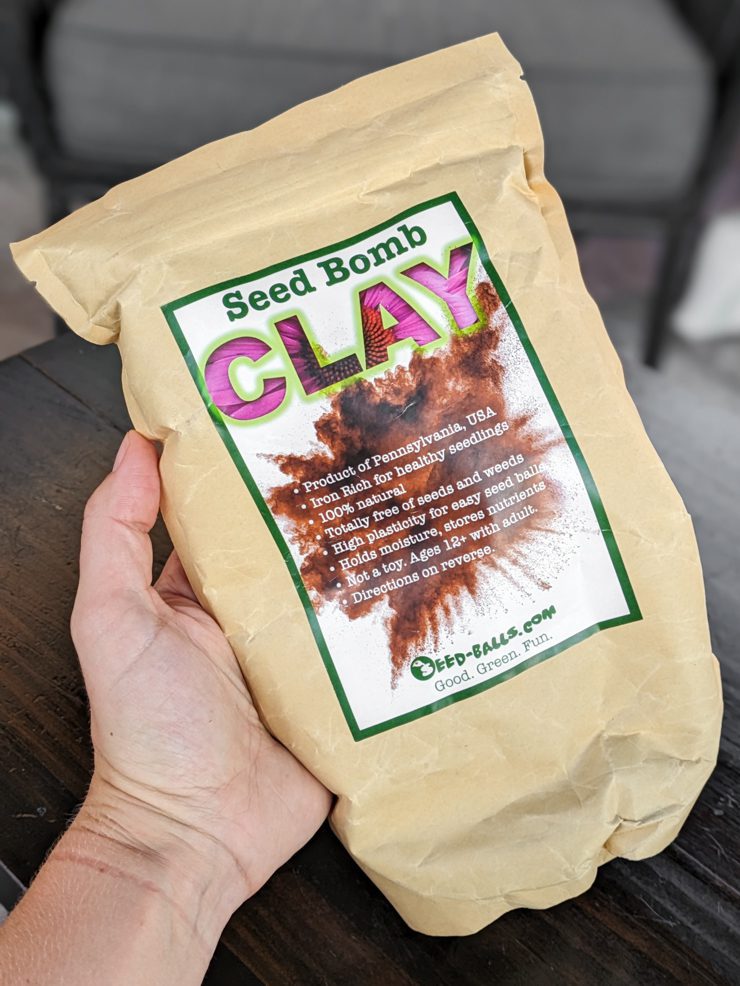
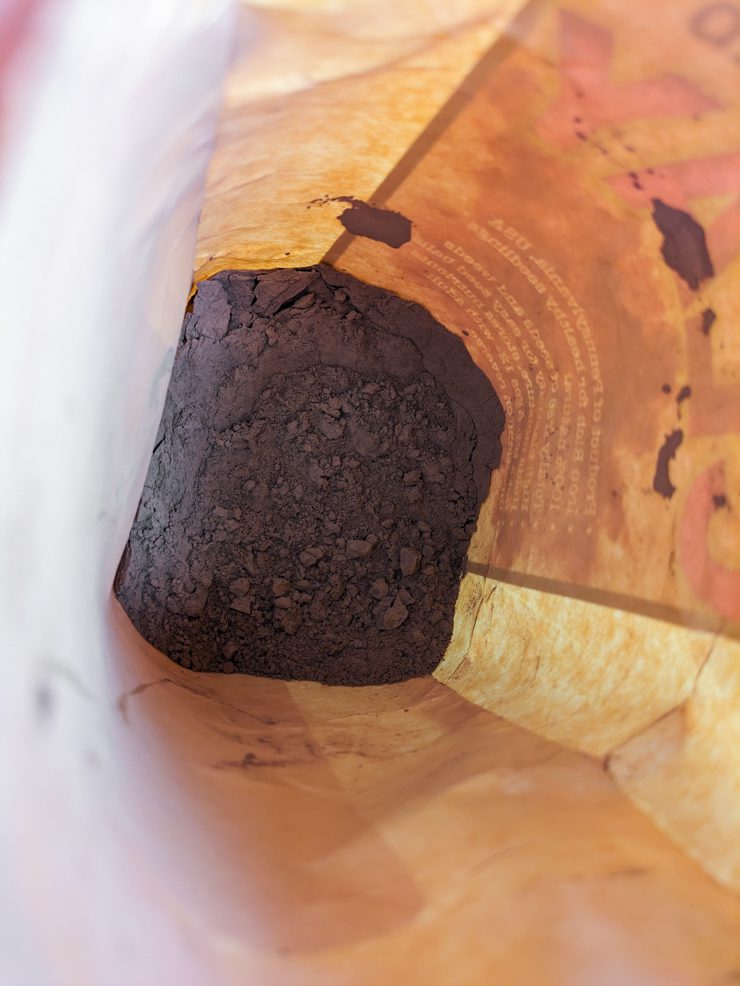
- Non-toxic red clay powder
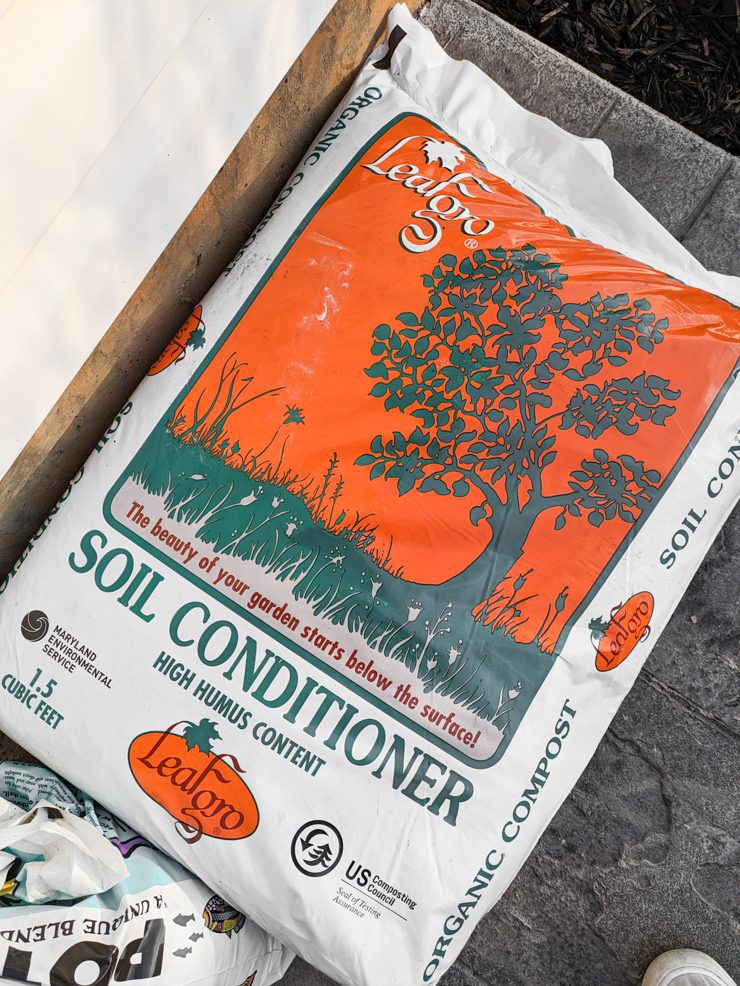
- Leaf compost or other organic medium—I have a pic of the stuff I used because it’s what I use in my garden for all of my planting.
- Measuring cup and water
- Gallon-sized bag
- Disposable gloves
Step 1: Prep & mix dry ingredients
First decide where you’ll work. I highly recommend working outside in an open-air environment because of the clay dust. If you work indoors, protect your workspace and wear a mask.
I set up my workspace outside on our patio. And with my kitty Blanche at my feet, I started mixing my dry ingredients in a gallon-size plastic bag. This doesn’t completely eliminate the rogue dust, but it does help.
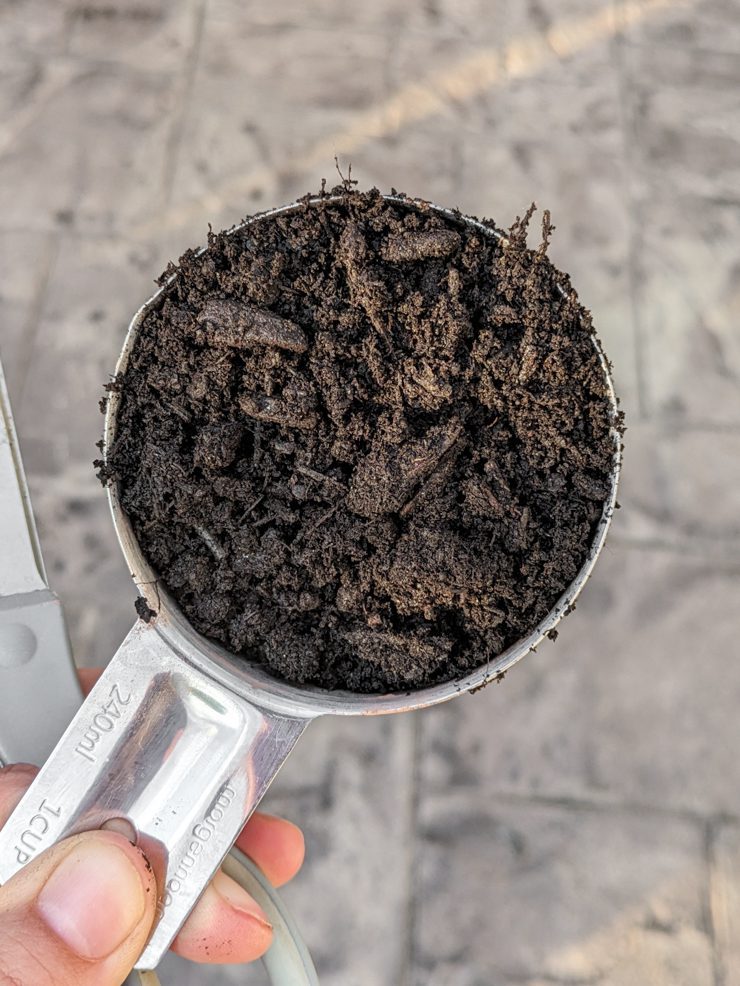
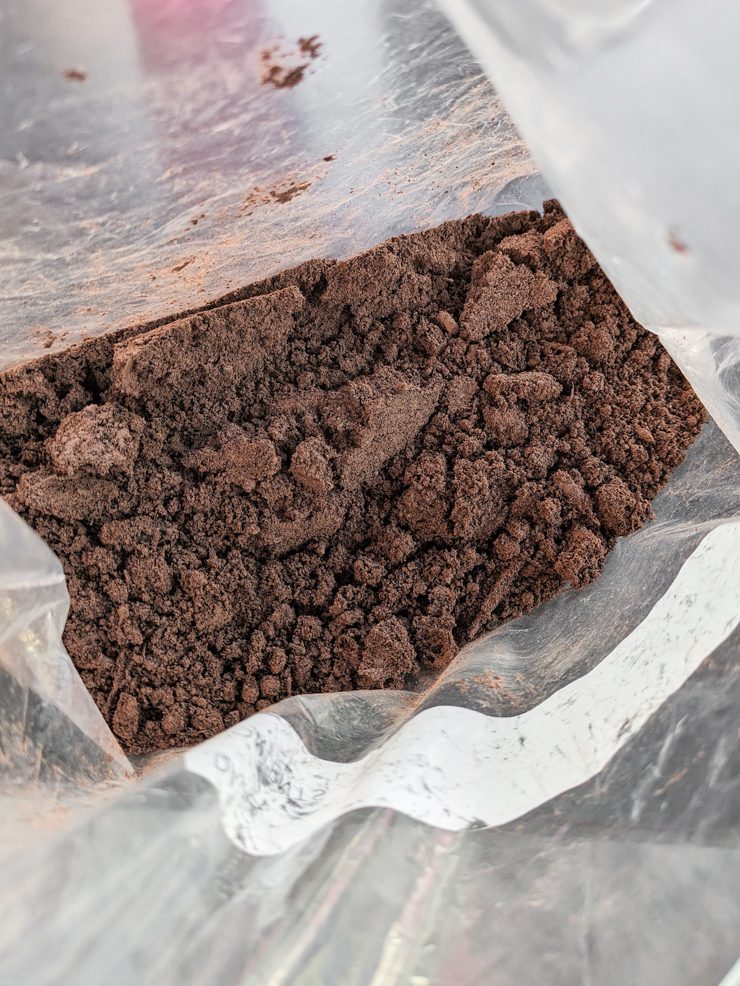
I got started with 1 cup of my clay powder and 1 cup of my fine leaf compost. After dumping this in, I sealed the bag and mixed the two together thoroughly. (If you want to do less or more, just shoot for a 1:1 ratio to get started.)
Step 2: Add water & mix thoroughly
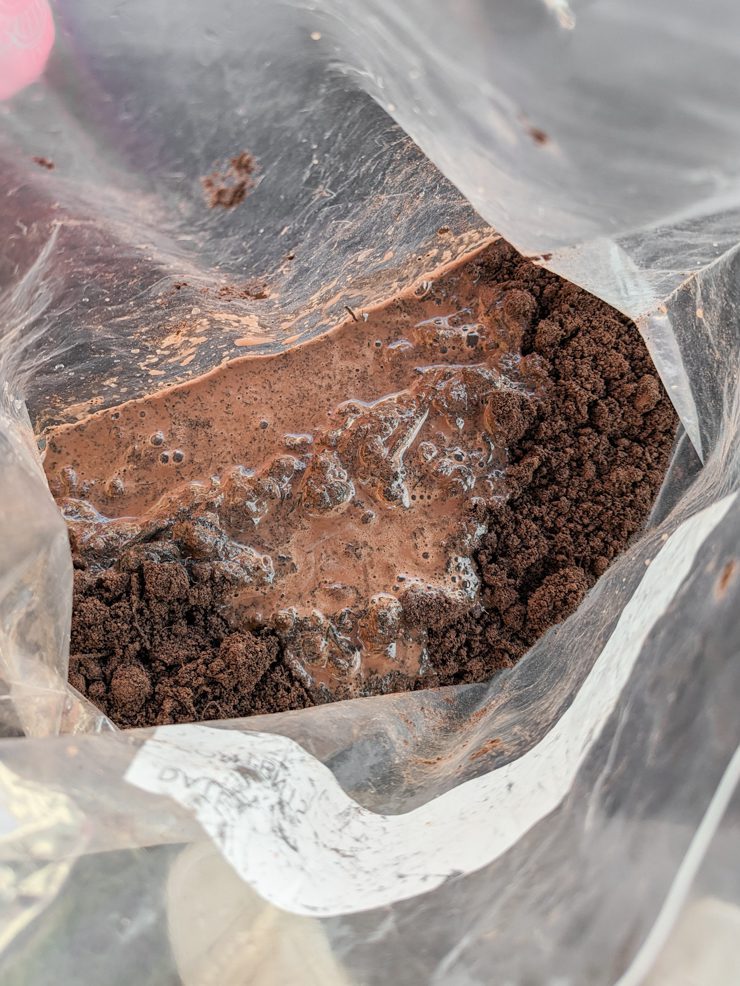
Next I opened the bag and carefully dumped in about a 1/2 cup of water. Then I sealed the bag and mixed the water and powder mixture together thoroughly. This required a bit of kneading to get a nice, smooth mixture.
You may find that you need to add more water or more clay powder and leaf compost. After I added a mixture of 1 cup of clay powder, 1 cup of compost, and a 1/2 cup of water, I realized my mixture was a bit too wet.
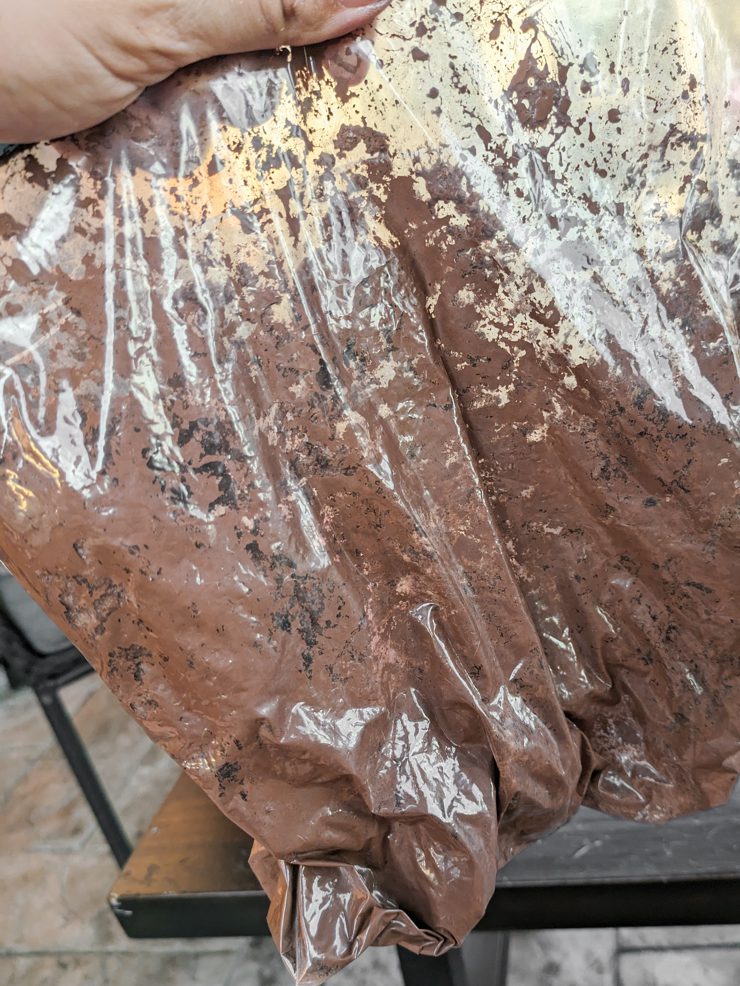
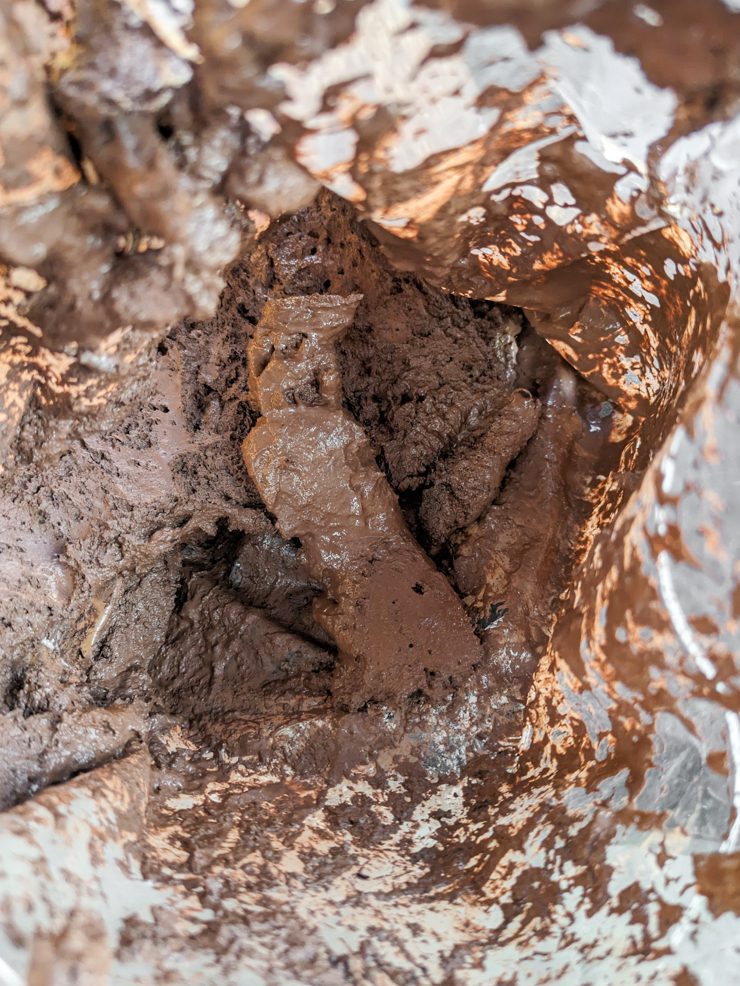
So I dumped in a bit of extra clay powder and compost, sealed the bag, and began mixing again. You want to get a consistency that is kind of like cookie dough. It should be soft enough to roll into a ball, but firm enough to hold its shape once it’s in a ball.
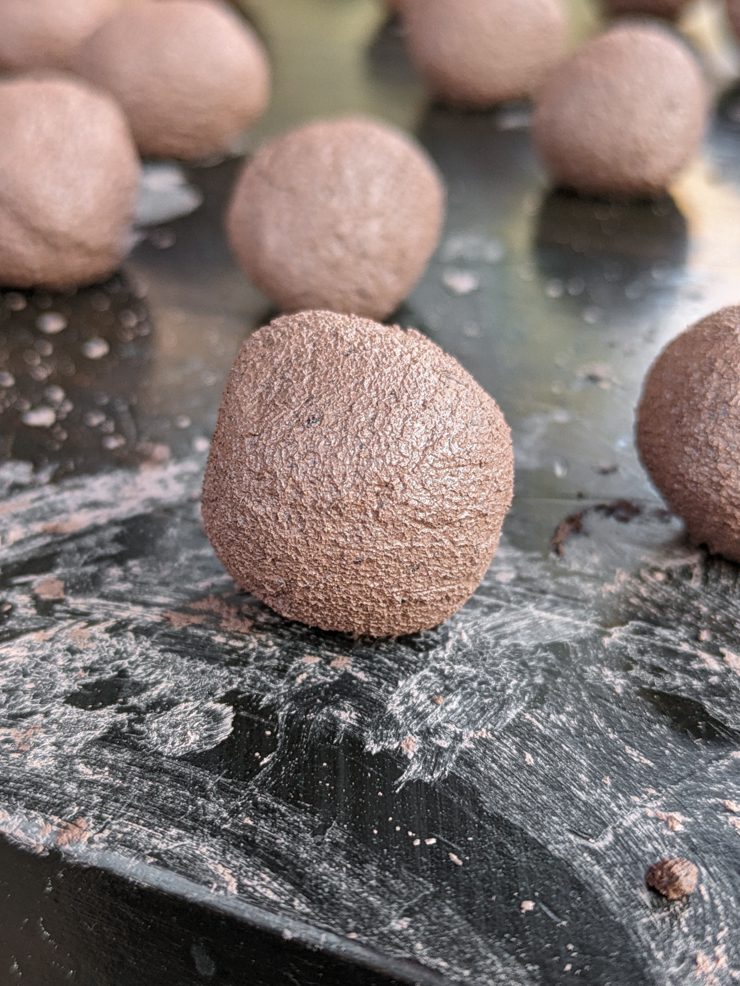
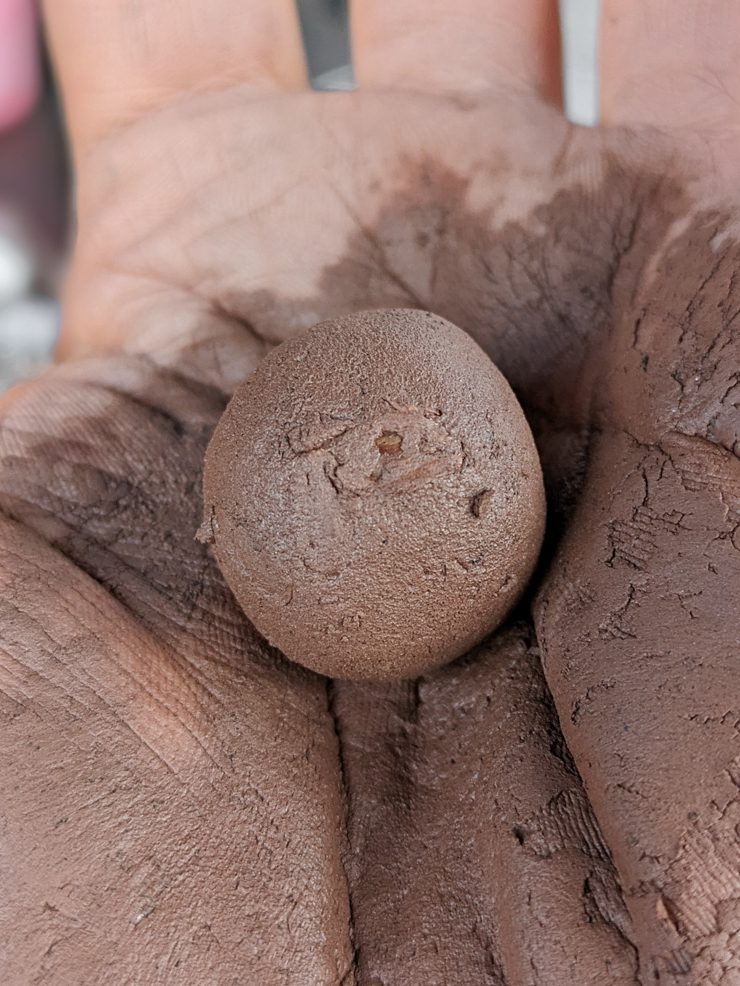
Step 3: Roll balls out
Once you have the right consistency, it’s time to get messy! I used disposable gloves for this part only because I didn’t want to be cleaning a ton of clay out from under my nails. Just open the bag, grab a bit of the mixture, and roll it between your hands to form a ball.
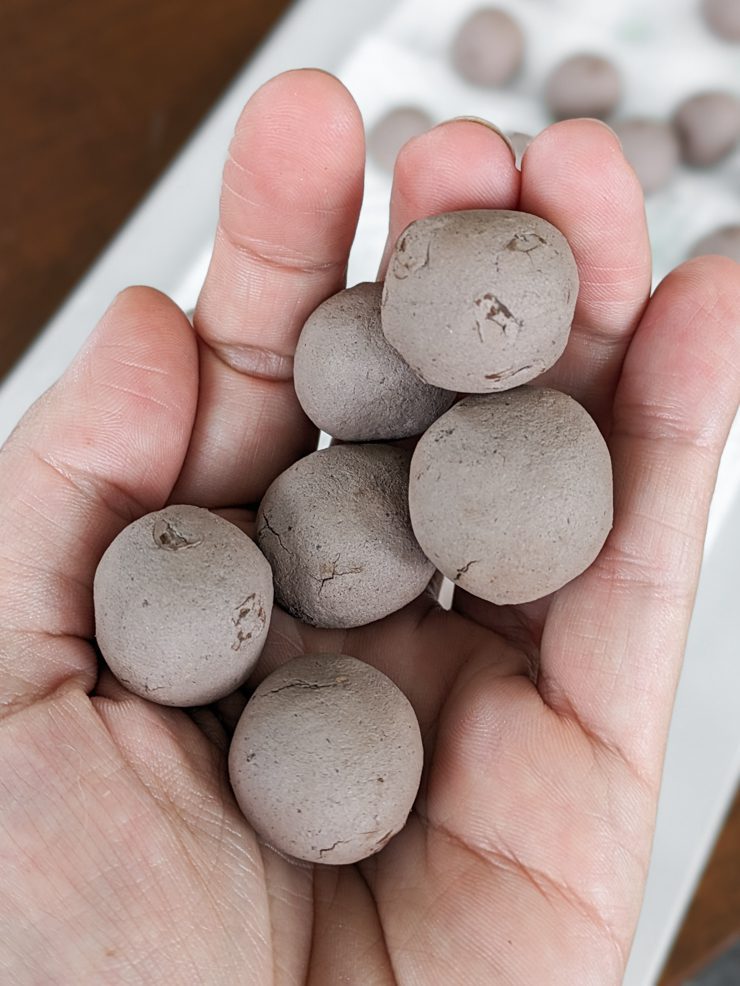
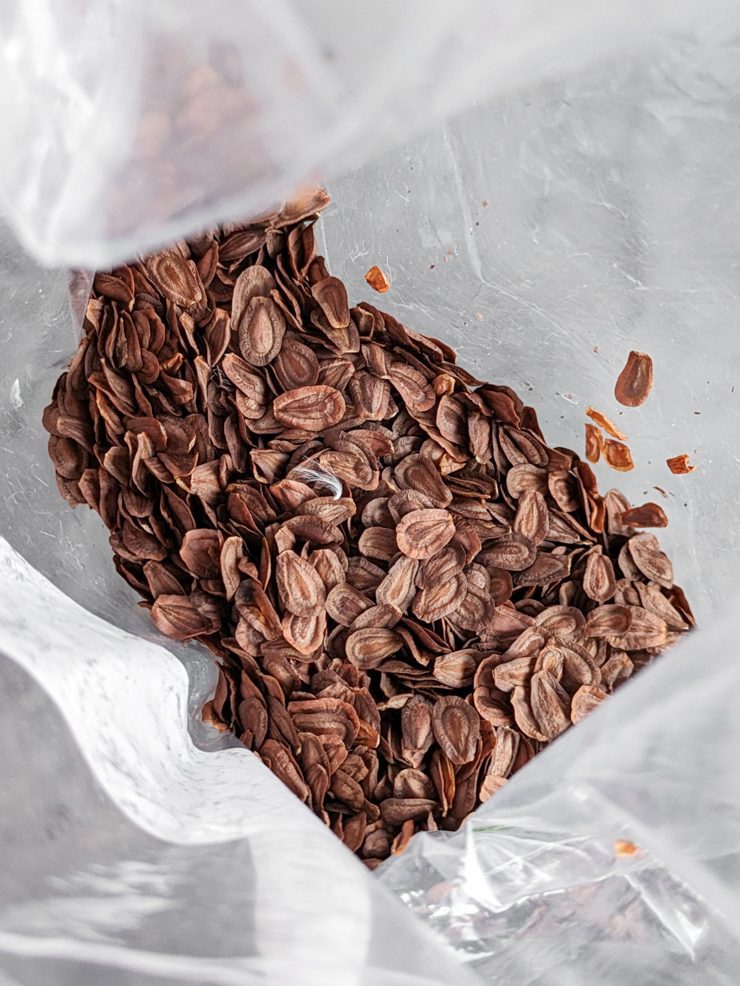
Make them somewhere between the size of a quarter and a dime. You can obviously make more balls if you make them a bit smaller. Roll all of your balls out on the table. When you’re done rolling them out, grab your bag of seeds. It’s time to add those!
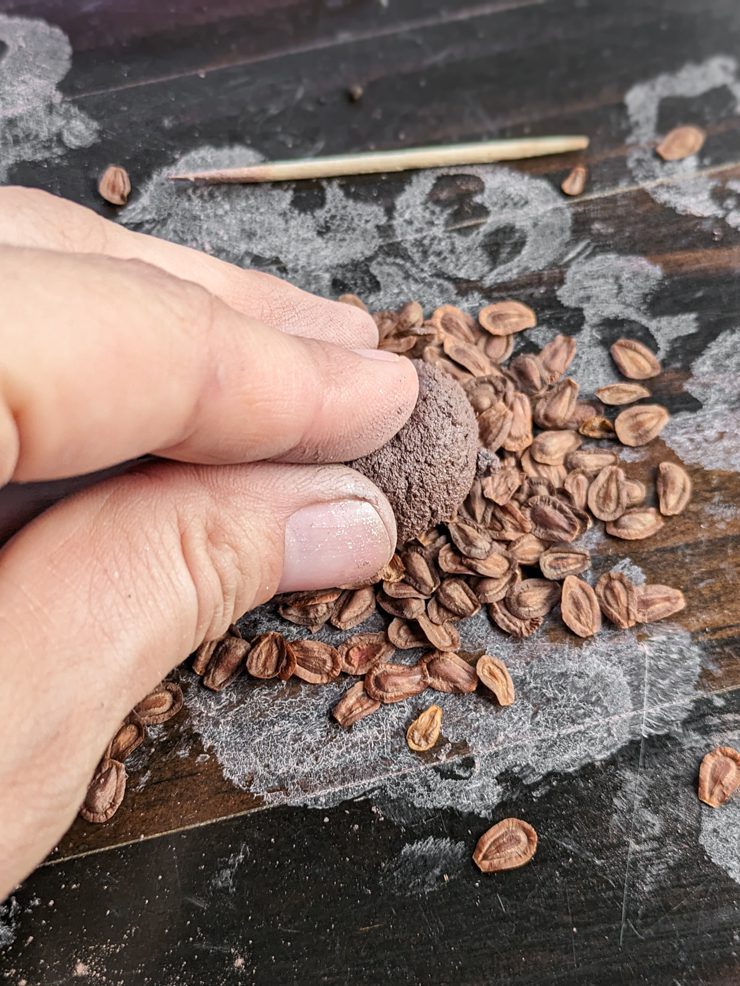
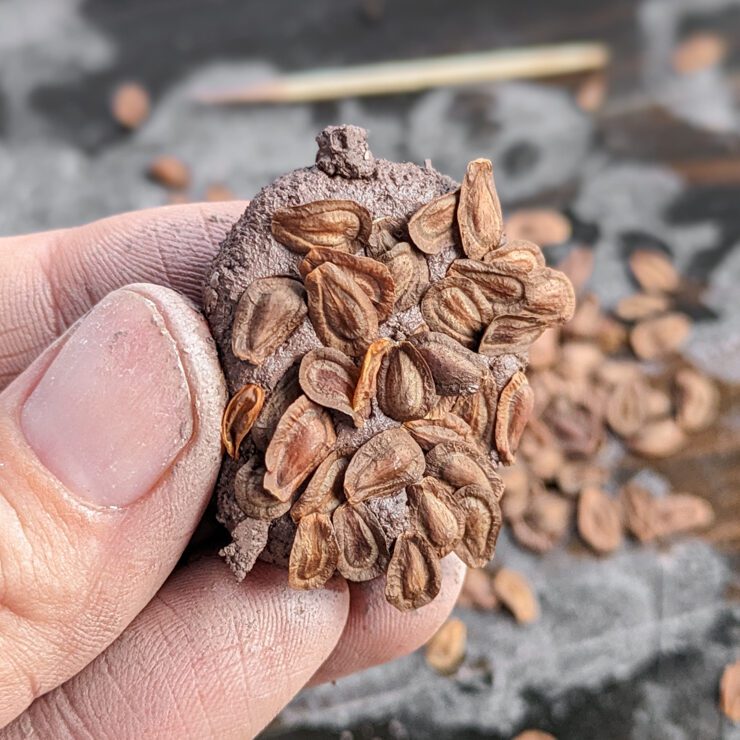
Step 4: Add seeds to the balls
I found the easiest method to add these seeds was to pour some on the table, grab a ball, smush the ball into the seeds, and then roll the ball around in my hands. It’s important to work the clay enough so that it encases the seeds.
If they are just stuck to the outside, they will fall out. I found this process much faster and MUCH less cumbersome than inserting individual seeds or rolling the clay out and adding seeds before making the balls.
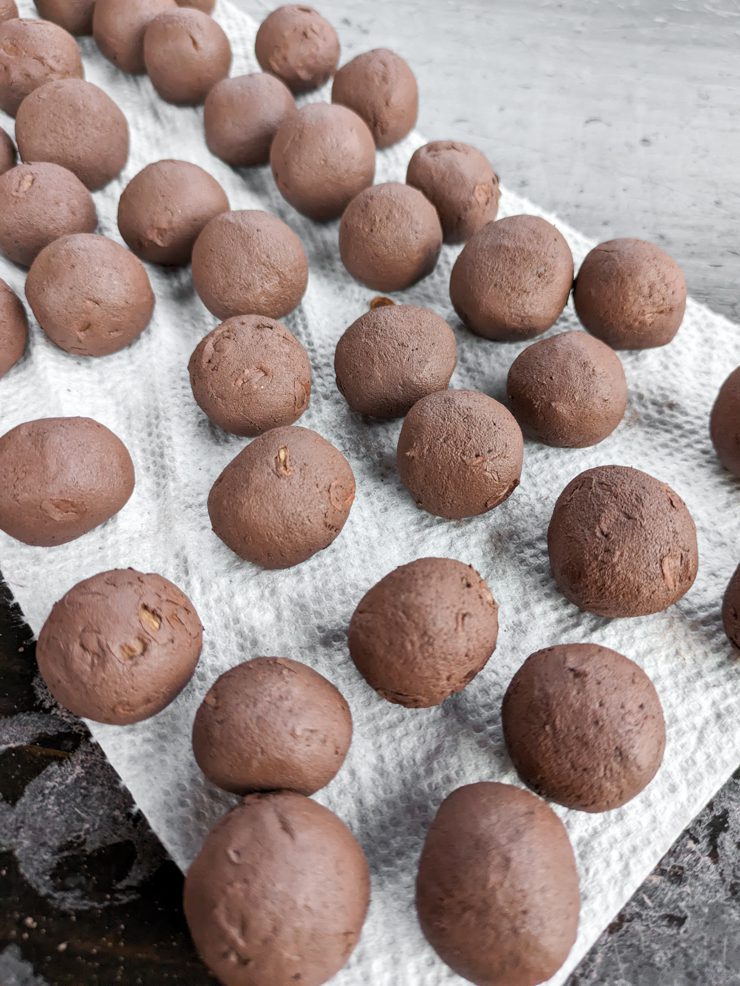
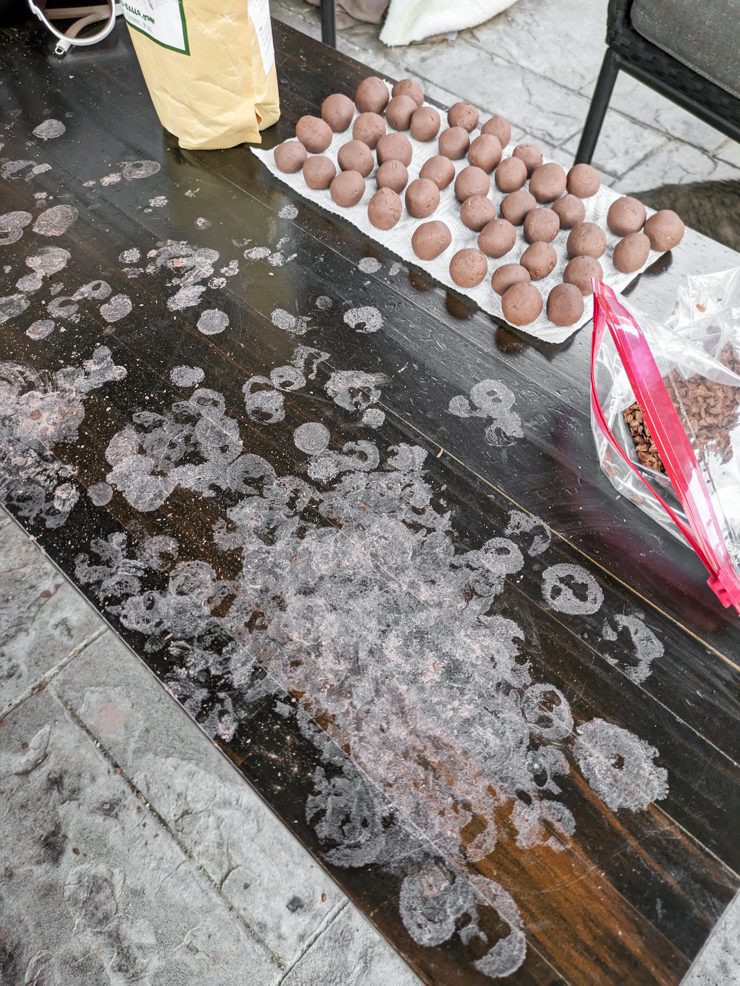
Step 5: Dry thoroughly
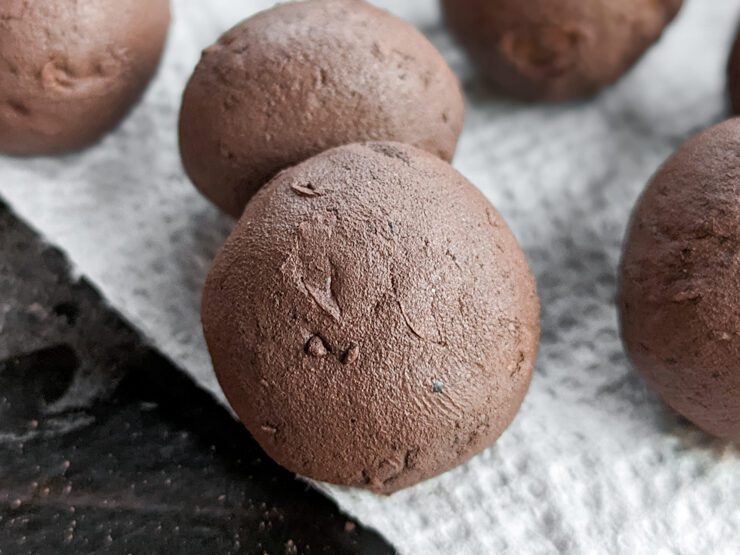
Once I was done rolling all of the seeds into the balls, I could tell they were already starting to dry out a bit. It was HOT outside at the time! But since it was also very humid and we had rain on the horizon, I brought them in.
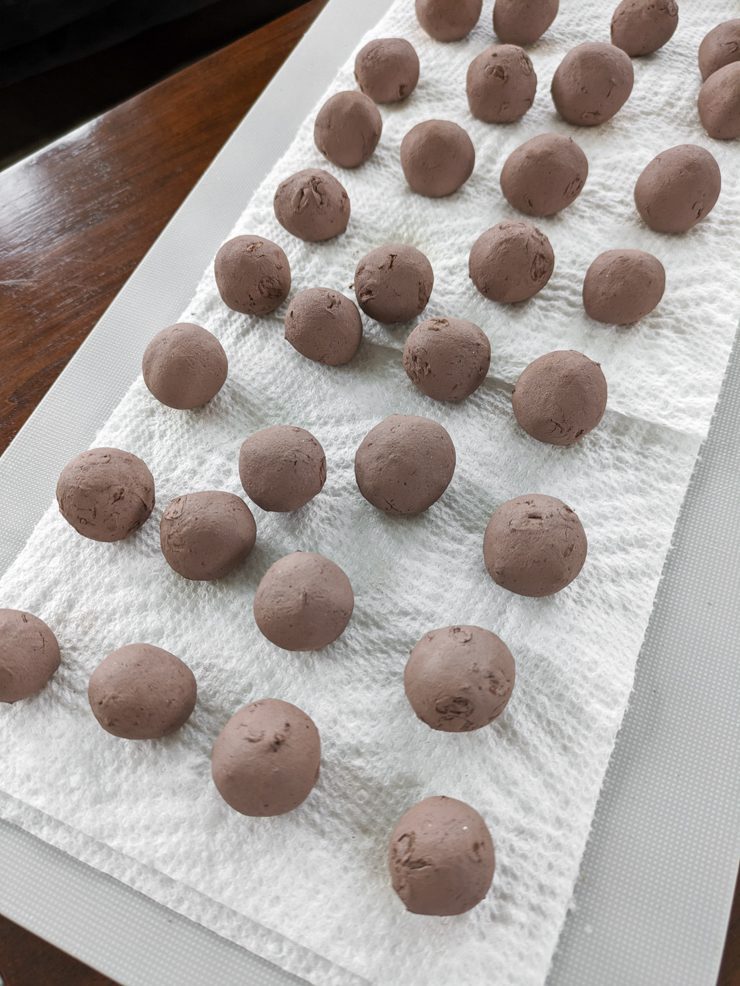
I set them on two layers of paper towels on a coffee table under a ceiling fan. The paper towels will help to absorb moisture from the bottom of the balls. After letting them sit overnight, they had already dried out quite a bit. But I rolled them around to expose the bottoms and let them continue drying.
After about 36-48 hours, I felt they were sufficiently dry. I stuck them in a brown paper bag and put them in a closet for storage. I didn’t want to store them in an airtight container because I was worried that any extra moisture in them could lead to mold.
Important note—if you’re making milkweed seed bombs, remember that milkweed seeds must be cold stratified before planting. That means they require a period of cool temperatures to germinate. So spreading milkweed bombs in the late fall is a great time!
Other seed options
If you want to make seed bombs with different types of seeds, that’s an option, too! I’m just on the border of USDA grow zones 6b and 7a. Here are some good options for me and a very wide variety of other grow zones in America:
- Echinacea, or cone flowers
- Zinnias
- Gaillardia, or blanket flower
- Cosmos
- Sunflowers
- Aster
My best tip when choosing seeds that are best for seed bombs is to go to a local nursery, garden center, or even dollar store. Pick up anything labeled “wildflower mix” and check what is included in the bag. Make sure they are native to your location before tossing in fields.
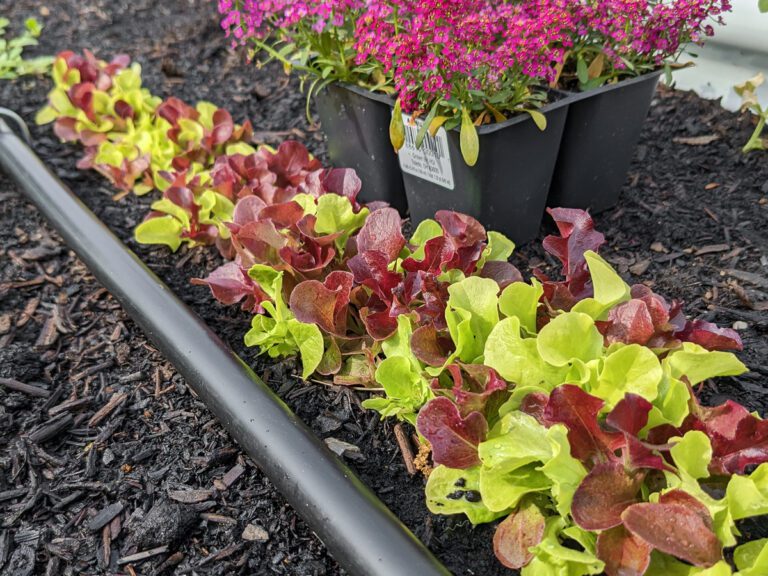
I dumped a little mix of wildflower seeds into a grass-free area of my lawn and barely added any nutrients or compost to it. And the seeds germinated quickly. The mix has many of the things listed above, as well as sweet alyssum, baby’s breath, calendula, lupine, delphinium, and more.