Our Front Lawn Conversion Project
Today I’m sharing our BIG project for this year, our front lawn conversion from a traditional turf grass lawn to beautiful, productive gardens 🙂 We get great light in our front yard, and it was seriously under-used before this project.
So this post will walk you through all of the steps we took to convert this from grass to a nutrient rich, highly productive growing space. From planning the layout all the way up to pictures showing the growth progress two months after finishing planting and mulching! I also have a YouTube video walking you through this whole project below.
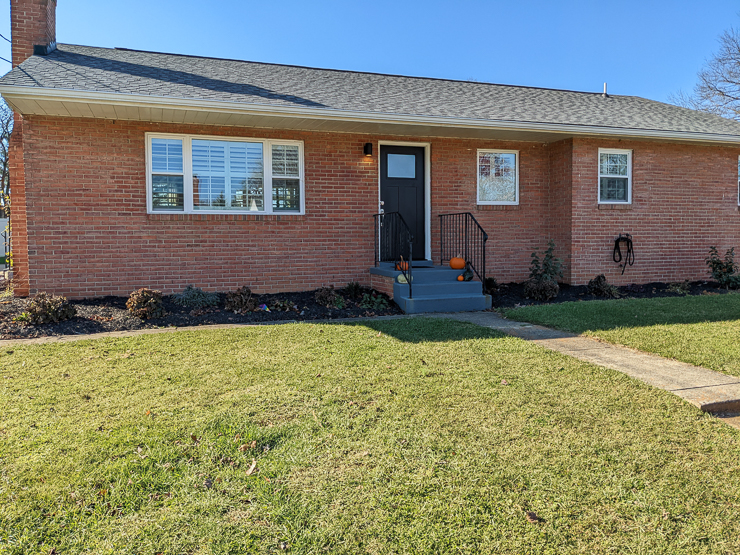
Before & plans
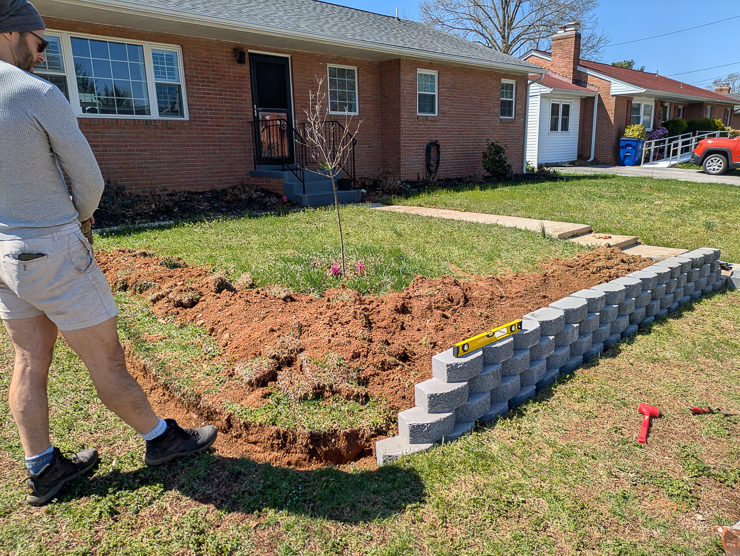
The first thing we did was start planning. We knew we didn’t want to get rid of 100% of the grass. We’re quite close to our neighbors on either side. And on one side, there isn’t really a clear delineation between our front lawn and theirs.
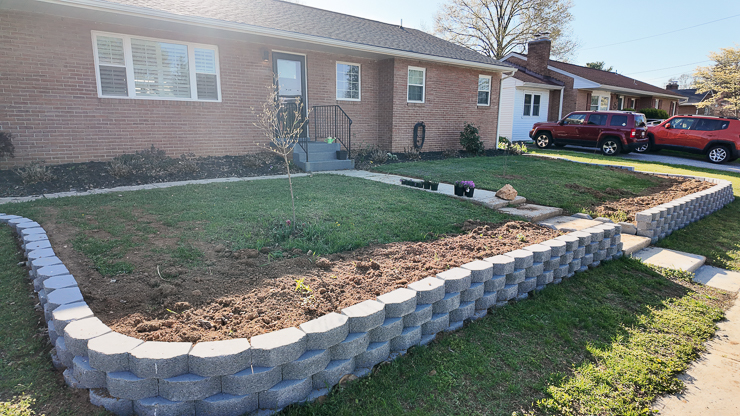
So, to keep things cohesive and make this look more like a large garden than a lawn conversion, we decided to put a border in. The yard is also on a slight slope, so we decided to up the curb appeal a bit more and use stackable masonry stones to build a small retaining wall.
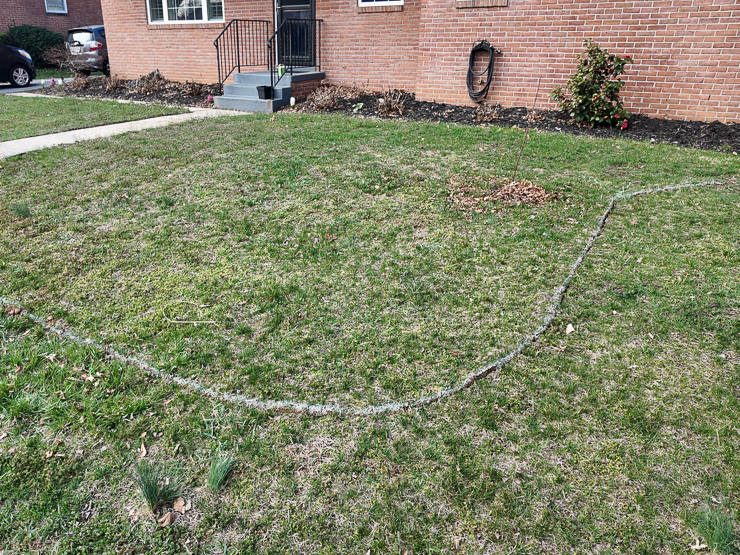
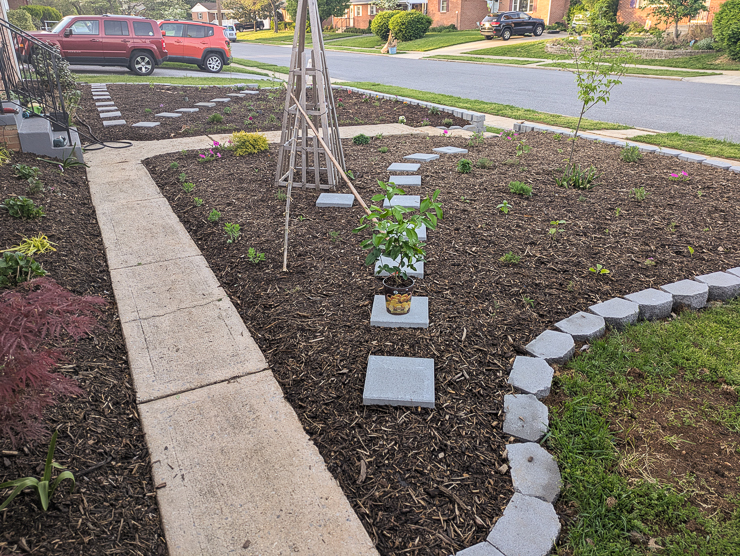
First I marked out the garden bed borders using spray paint. One side is quite a bit larger than the other, so we started with the smaller side. And then we edged it out. We needed enough space to tamp down the soil and put the bottom-most layer of stones almost underground.
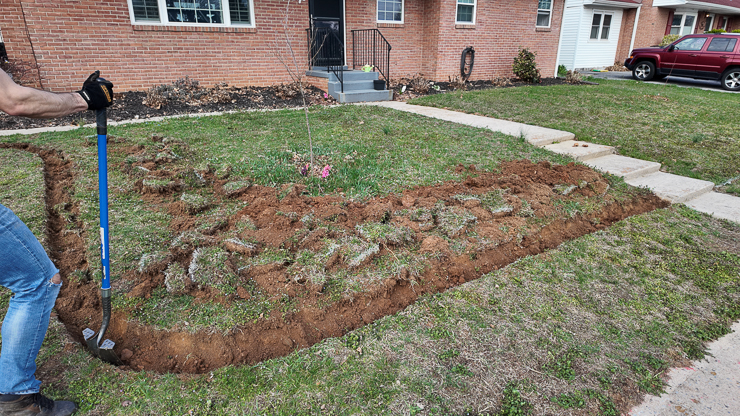
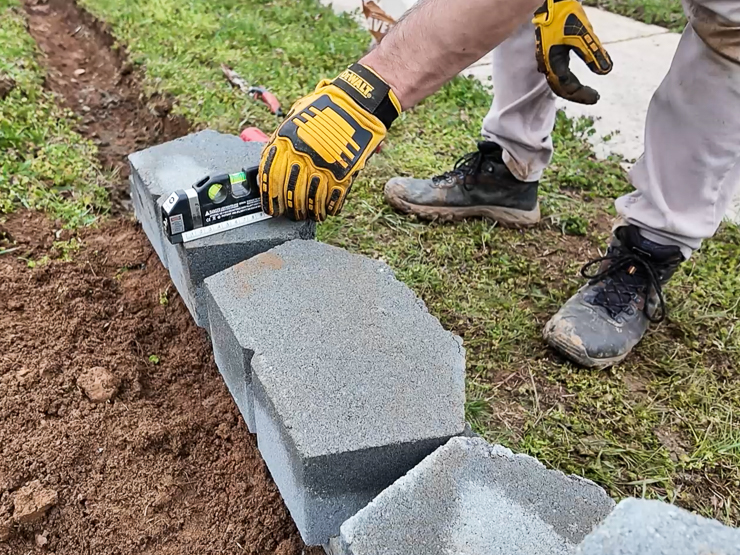
Installing the border walls
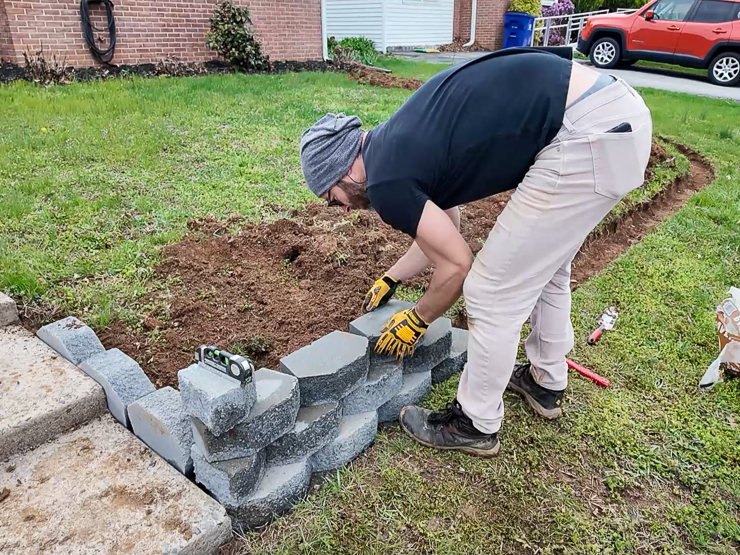
The stones we used for the retaining wall border were super easy to use. They just have a little ledge on the backs that you use to nest them on top of one another. This process wasn’t hard, it was just time-consuming digging, tamping, and checking how the project was progressing with a level every few stones.
We did not glue each layer together. But once we finished laying all of the stones, we did use construction adhesive to glue the top right securely to the second-highest row.
Once we were done, we backfilled some of the deeper parts of the bed up near the stones with some of the dirt we’d dug out edging the beds. You always forget about that part…how much dirt can pile up and figuring out what to do with it!
Adding manure
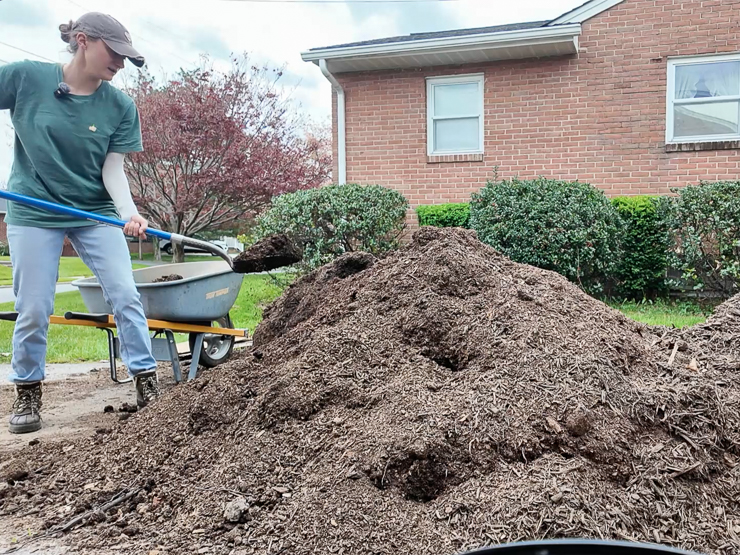
Once we were done with the retaining wall, it was time for the most important part of this project: improving the soil! We wanted to really supercharge the amount of organic matter in this area since, as far as we know, only turf grass has ever been grown here. At least since the house was built.
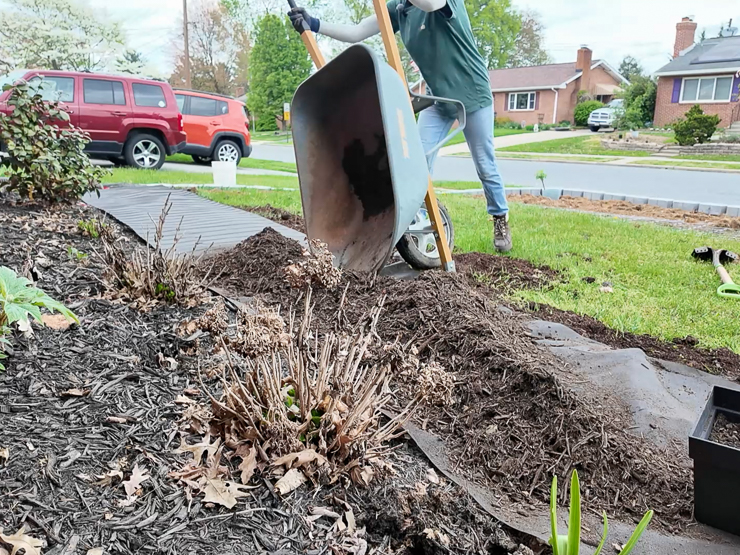
So I got a delivery of composted manure from a local nursery and began the long process of filling up wheel barrows and dumping them onto the grass. I focused more on the areas I knew I would be planting in, not putting paths in. Then I spread it out using a rake. It doesn’t need to be perfect or even anywhere close to it!

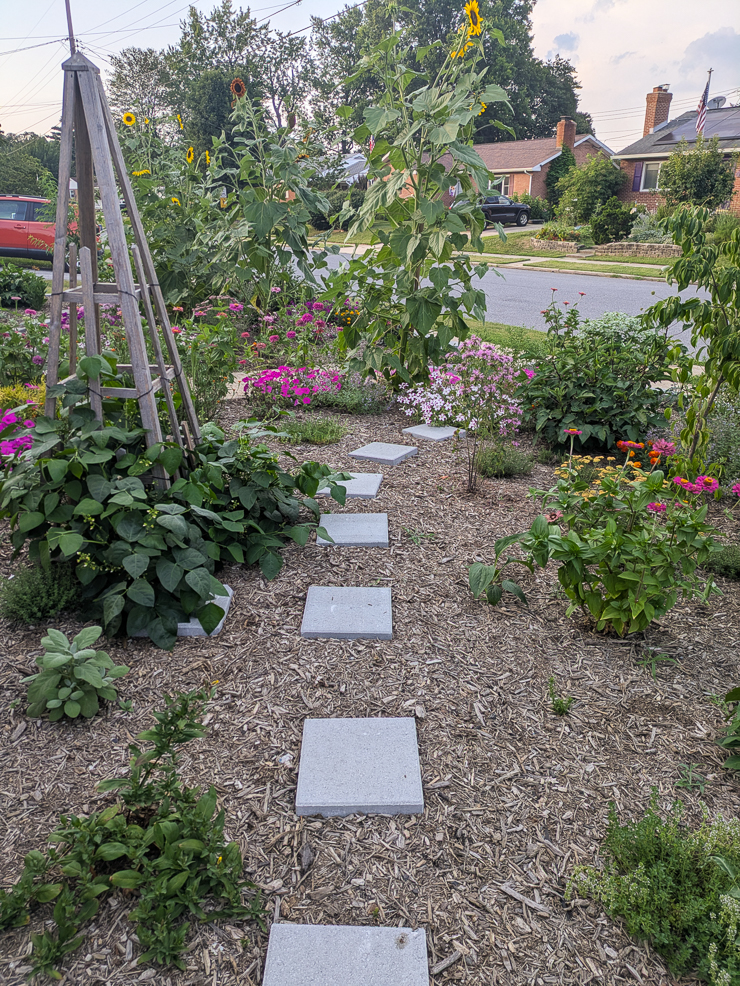
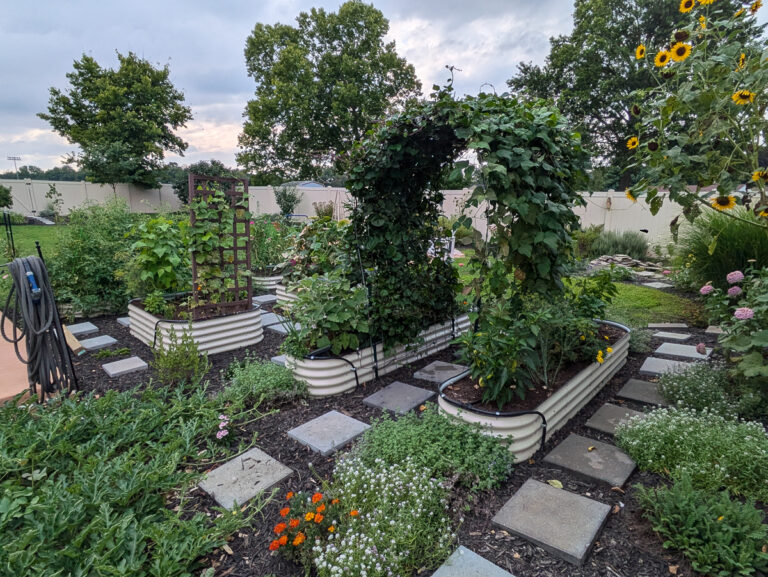
Planning access paths
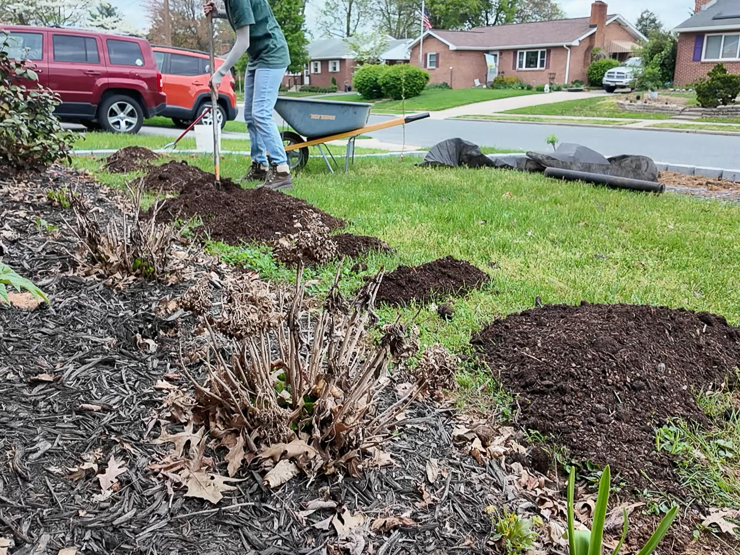
As part of this process, I started mapping out my paths. We often forget about that part when putting in gardens. You want to be able to access everything you’ll need to access without too much walking through the beds and compacting the soil.
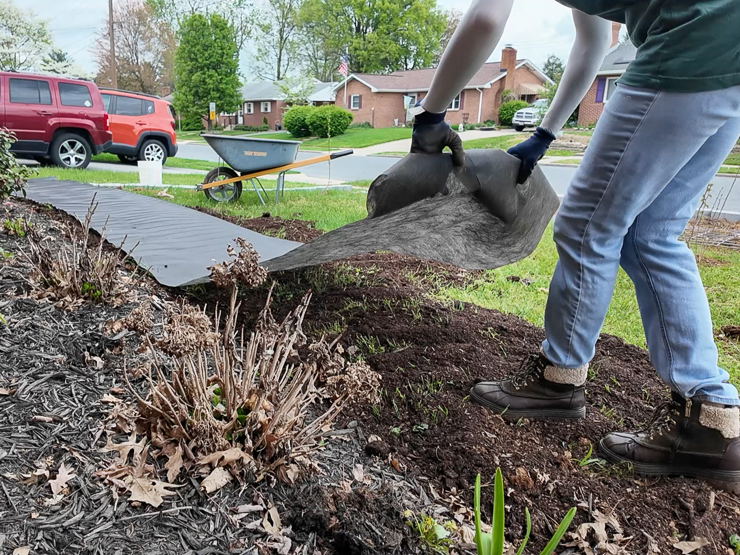
I went ahead and mapped these areas out, laying down landscaping fabric that I had in the shed for the paths. I already had my mulch delivery, so I went ahead and dumped a few wheelbarrows full of mulch on these path areas so I could put stones down.
You can wait and do this all at the same time when you’re mulching the whole bed. But being able to see the mulched areas and pavers laid out really helped me visualize where I wanted everything to go!
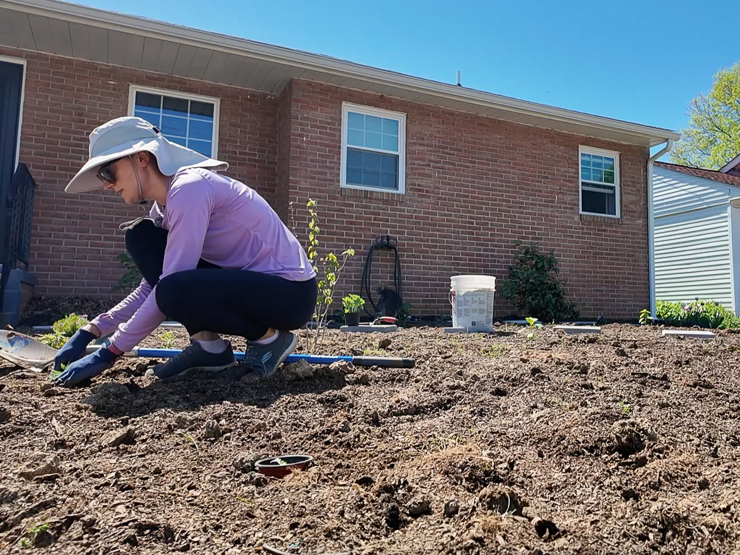
Planting everything
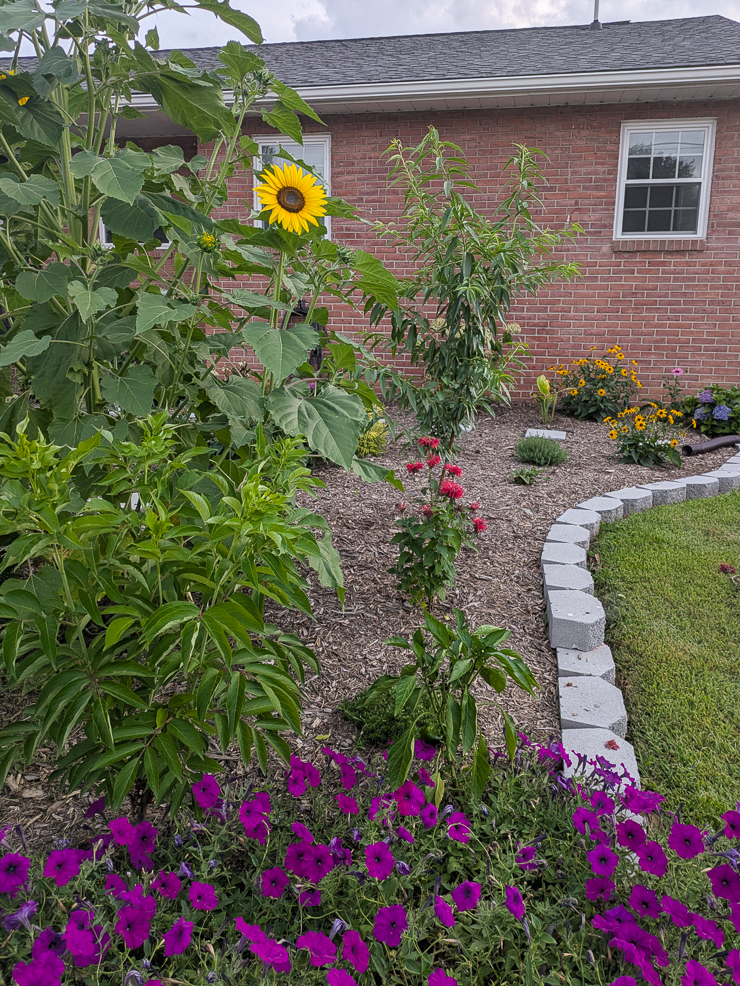
Once I’d finished putting the paths in, it was time to start planting! We already had a few things planted in this space. A dogwood tree and a few hyacinths we put in a few years ago on one side. And on the other side, a hardy almond tree and hazelnut bush we’d just put in last fall/this spring.
These are the big anchor pieces—the things we know will get quite large and will need to work around. I also added an elderberry bush our neighbor gave us (a propagation from their bush!) that actually gets to the size of a small tree.
So, working around the paths and the larger anchor plants, I started putting my perennials in. I tried to put the taller ones back toward the house and the smaller ones up toward the front. But I really did a big mix of things.
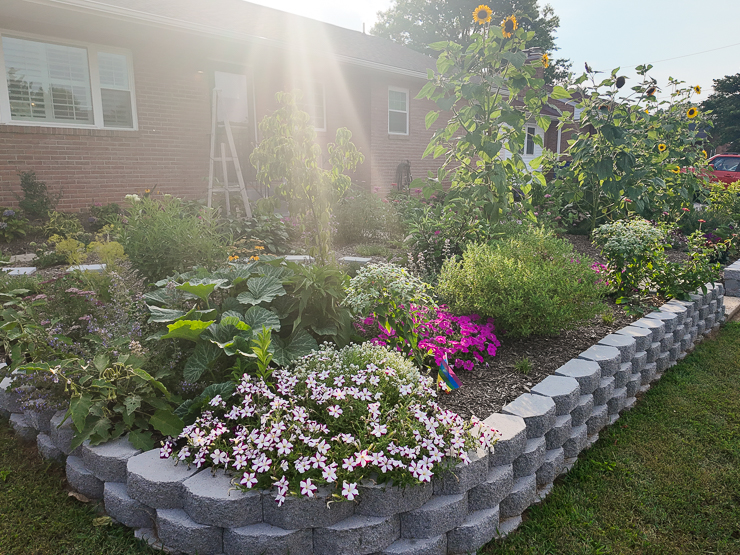
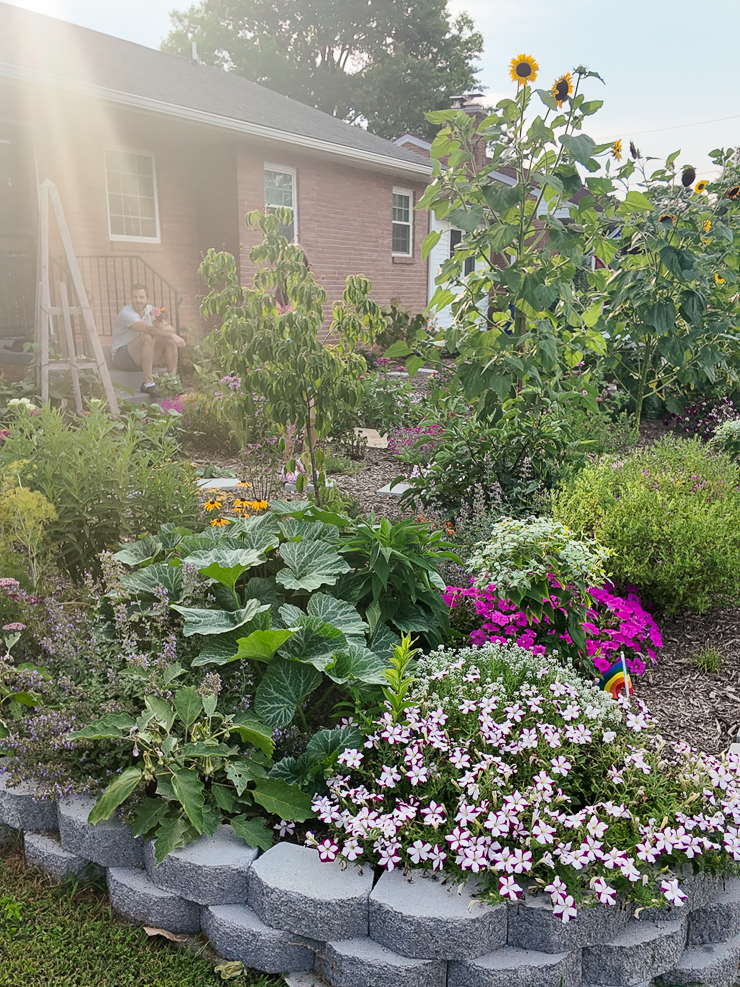
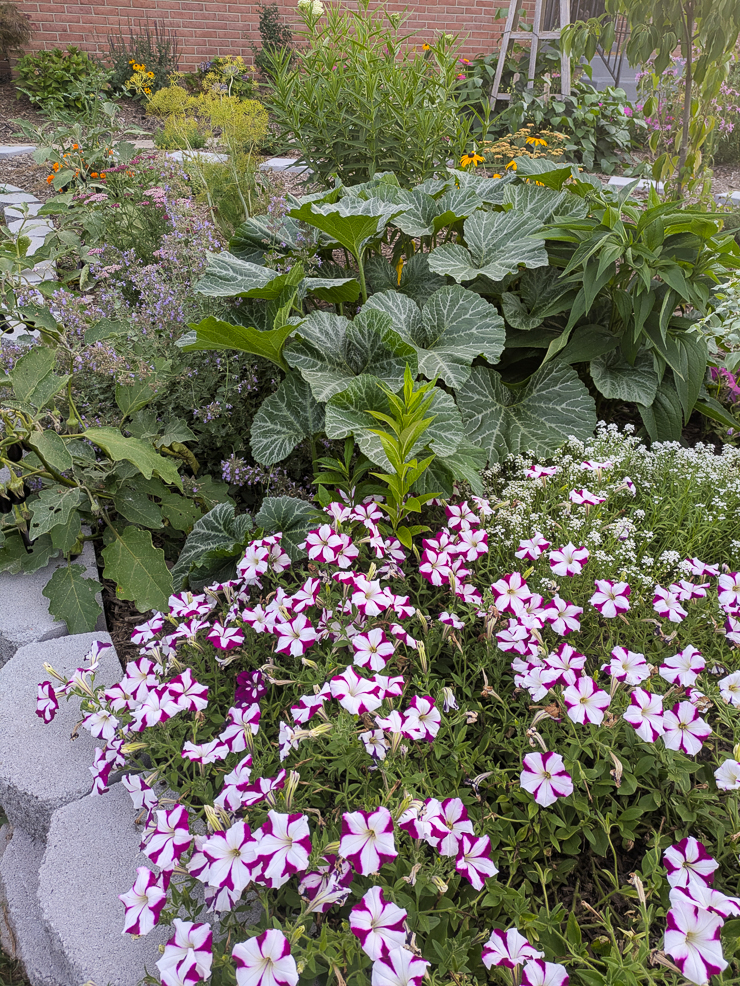
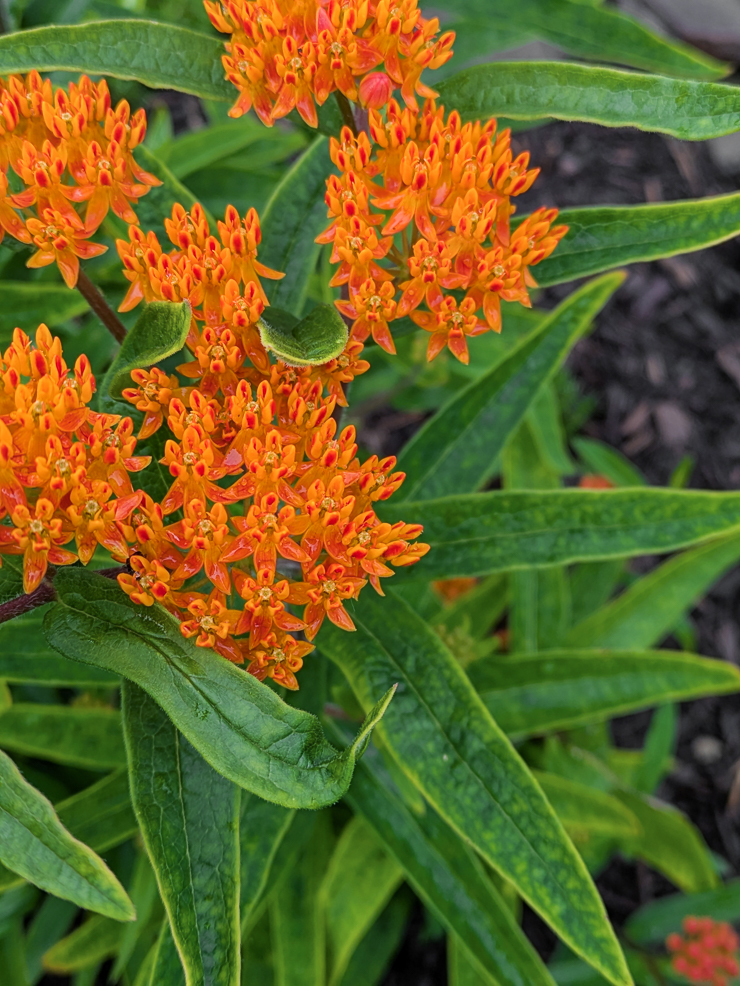
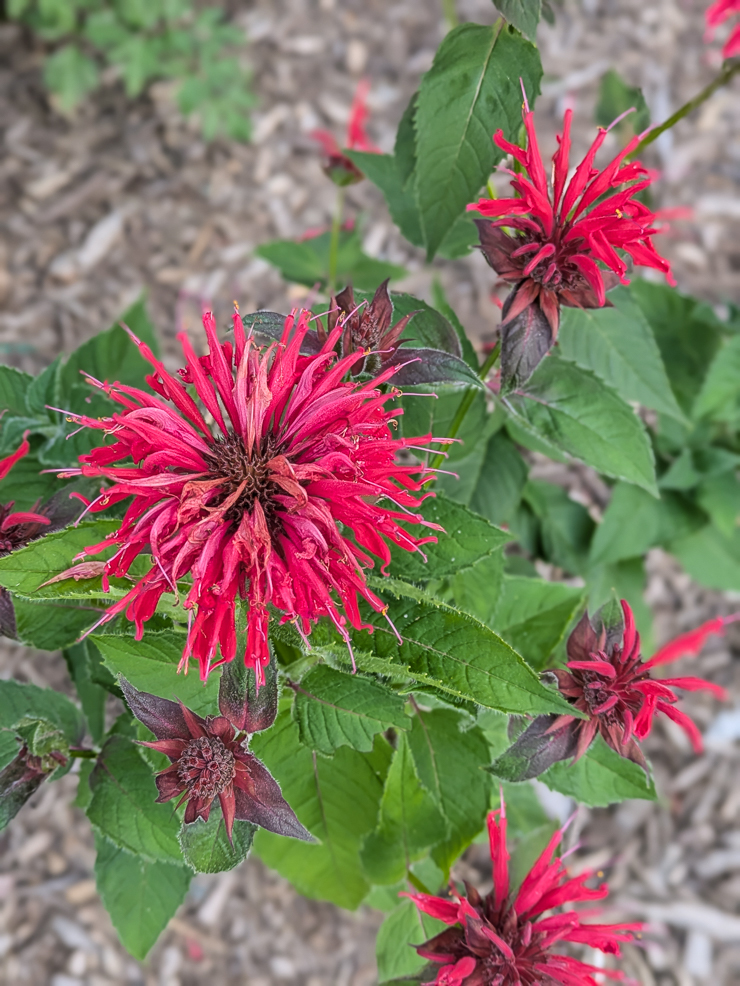
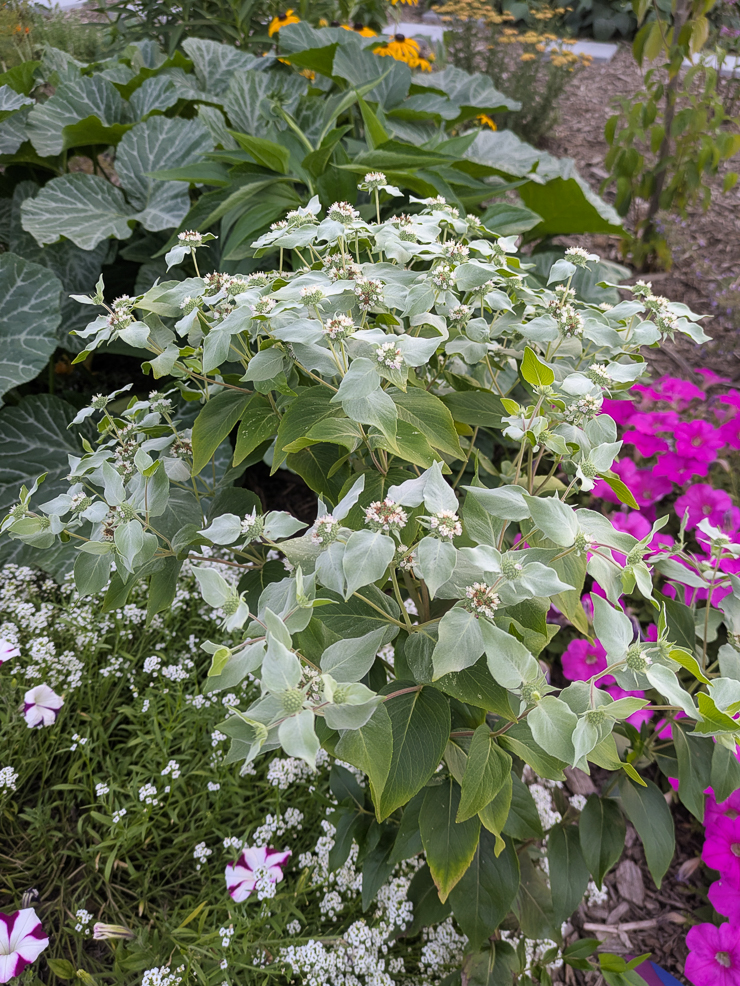
We put in a lot of native plants, including bee balms, yarrow, coneflowers, black-eyed Susans, swamp milkweed, butterfly weed, catmint, aster, creeping phlox, mountain mint, and more! Some of these will fill out nicely this first year, but most of them will take a few years to really get going.
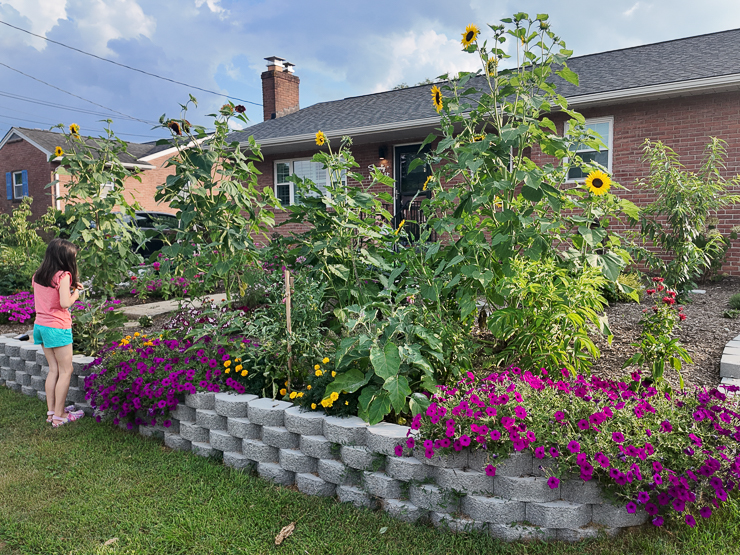
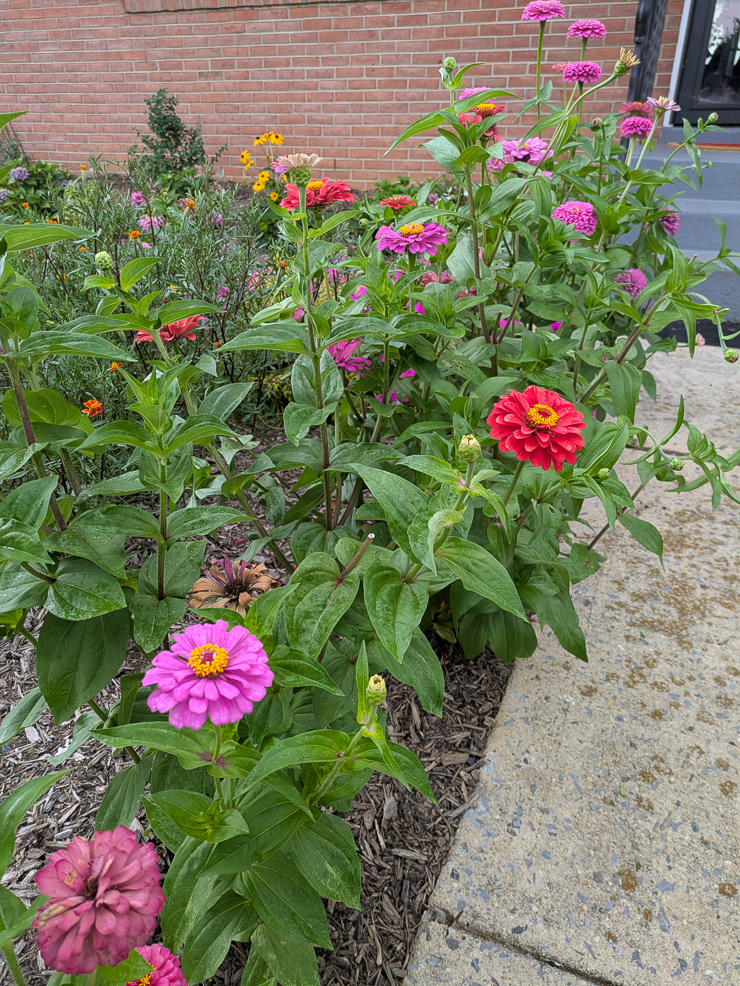
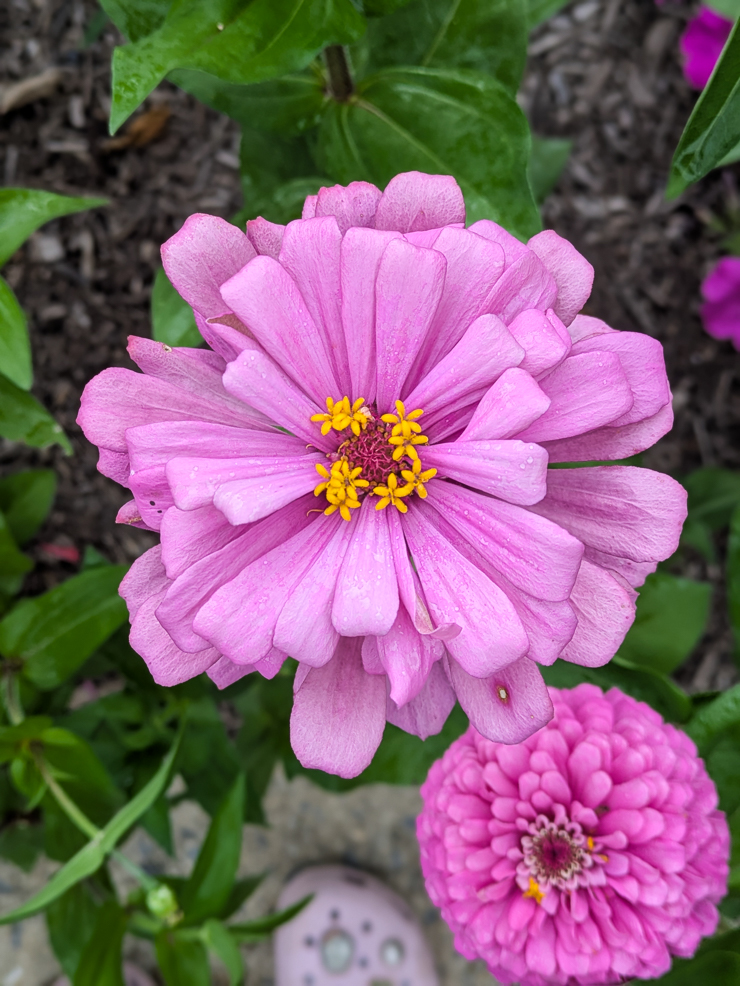
So I decided to fill in around my perennials with zinnias, petunias, and extra marigolds I had from the vegetable garden. I also threw some giant sunflower seeds in to get some height going. Oh—and I put my extra vegetable starts up here 🙂 Couldn’t let them go to waste!
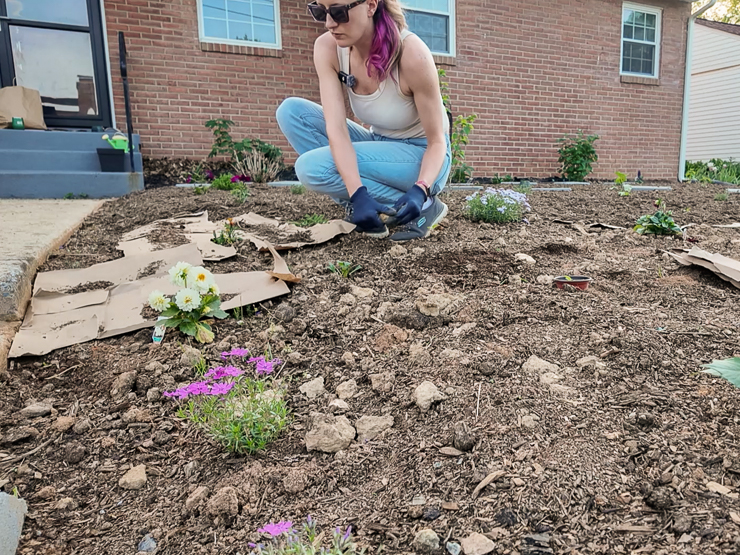
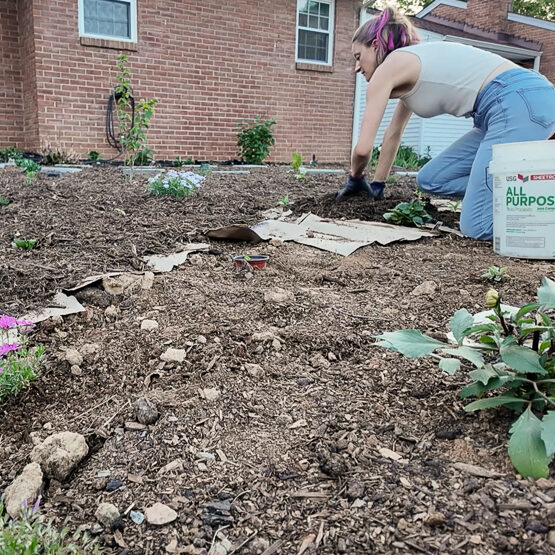
Sheet mulching
Once I’d finished planting, it was time to start the tedious process of sheet mulching. The manure had gone a long way in starting to smother out the grass, but I knew it wasn’t enough. So before I spread mulch out on an area, I laid newspaper, cardboard, or paper bags down.
This is also a good way to help suppress weeds, though the first year after sheet mulching a grassy area usually has a decent amount of breakthrough. I also laid the mulch down pretty thick. I knew that the layers of soil, manure, and hardwood mulch would be great for these plants!
And when I’d finished mulching, it was time to wait. We did have some long dry periods, so I did water deeply a couple times using the sprinkler. Definitely didn’t want to lose all of those new perennials I put in!
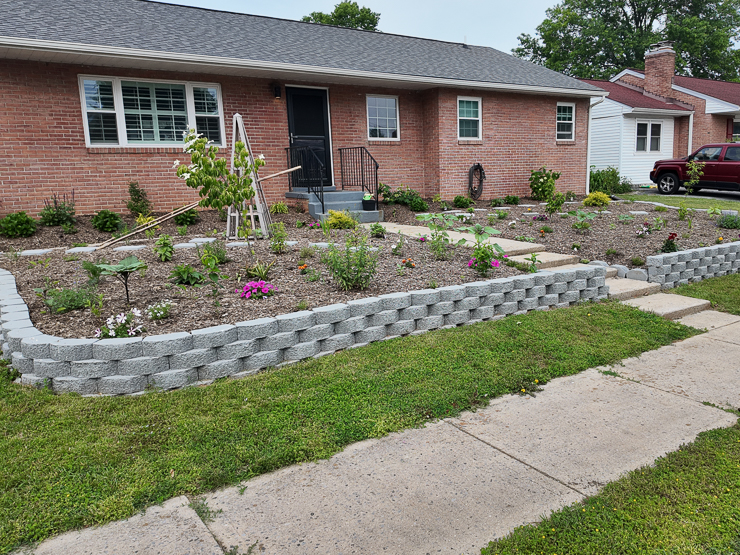
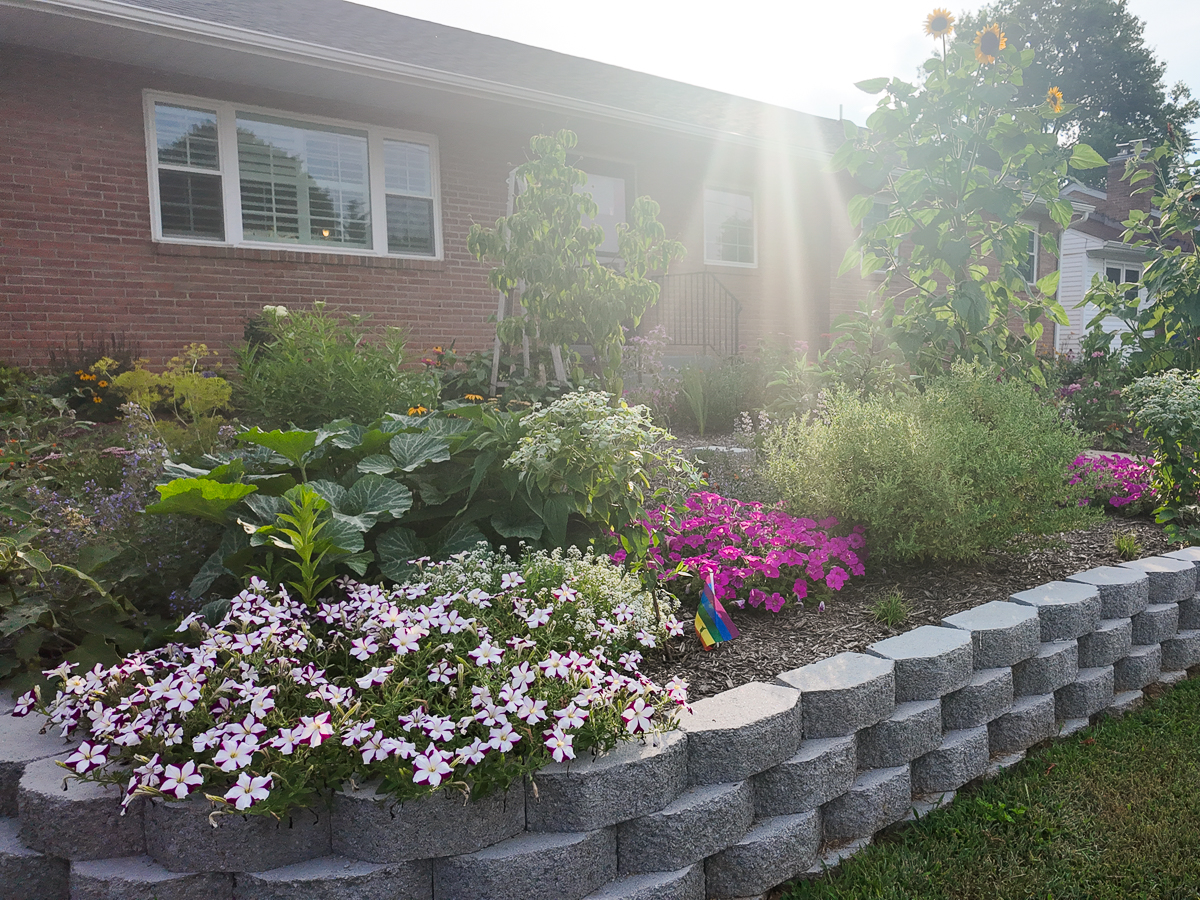
A few months later…
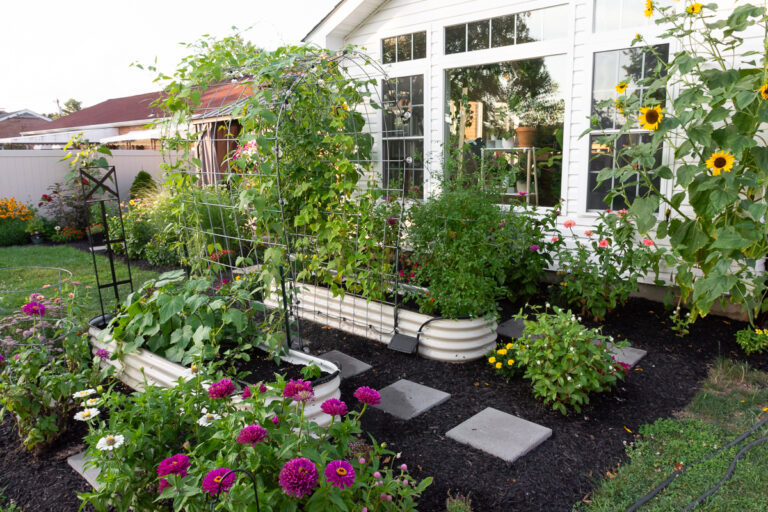
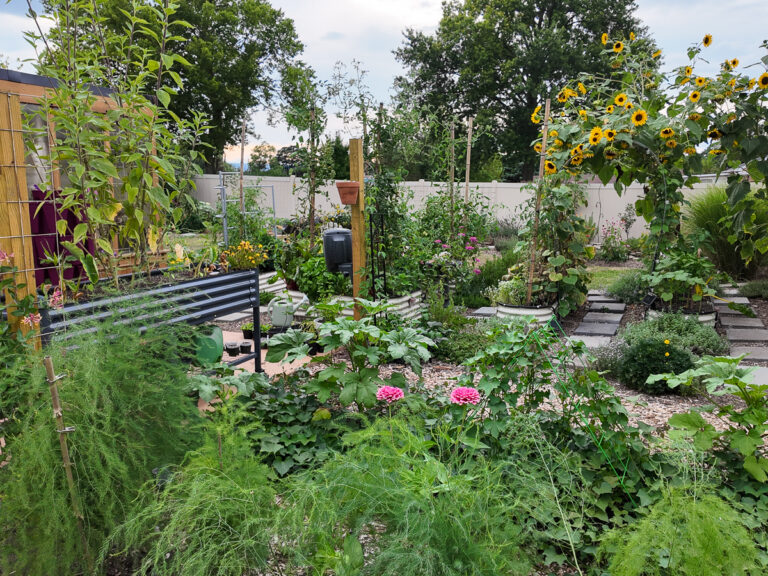
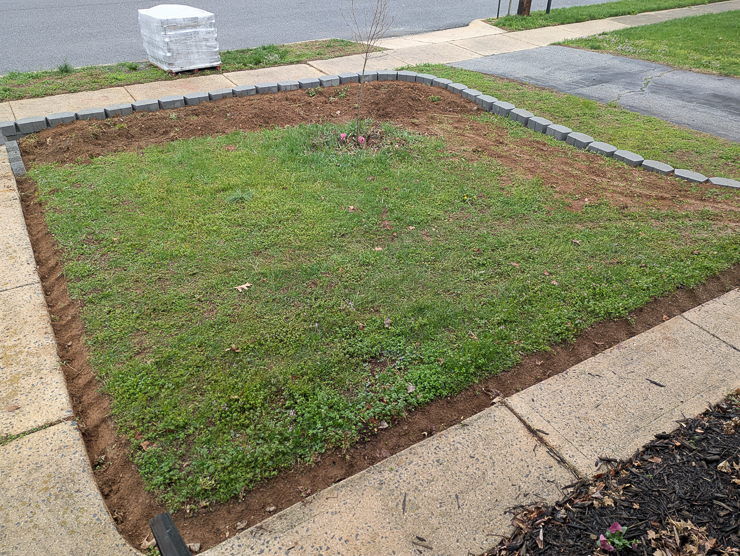
Aaaaaand here’s how it looked a month or so later! It makes me so, so happy. And this is just year 1! I already have plans to put more perennials in this year, including a few fruit bushes. I’m working on rooting some gooseberries from my neighbor and have a list I’m stalking local plant groups for 🙂
I know that this will continue developing over the years until I reach my final vision. And until then, I’d say we have made some great progress in the first year!