Starting Our Garden From Scratch (2022)
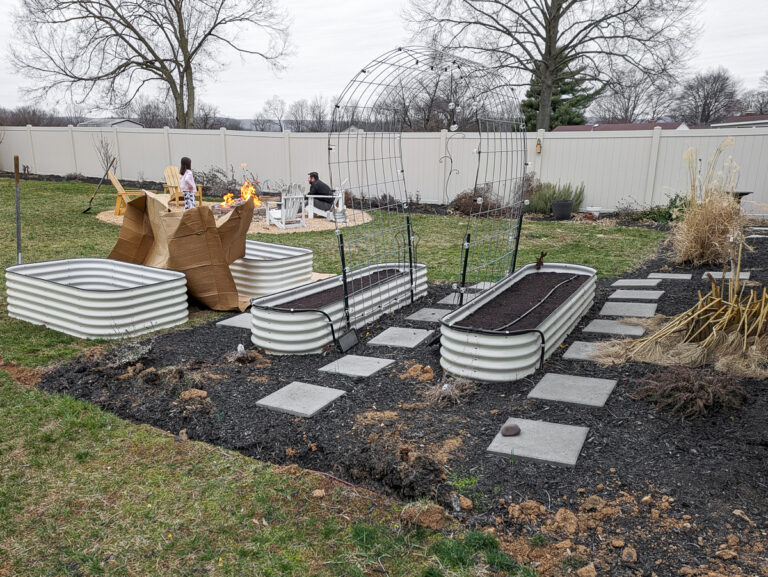
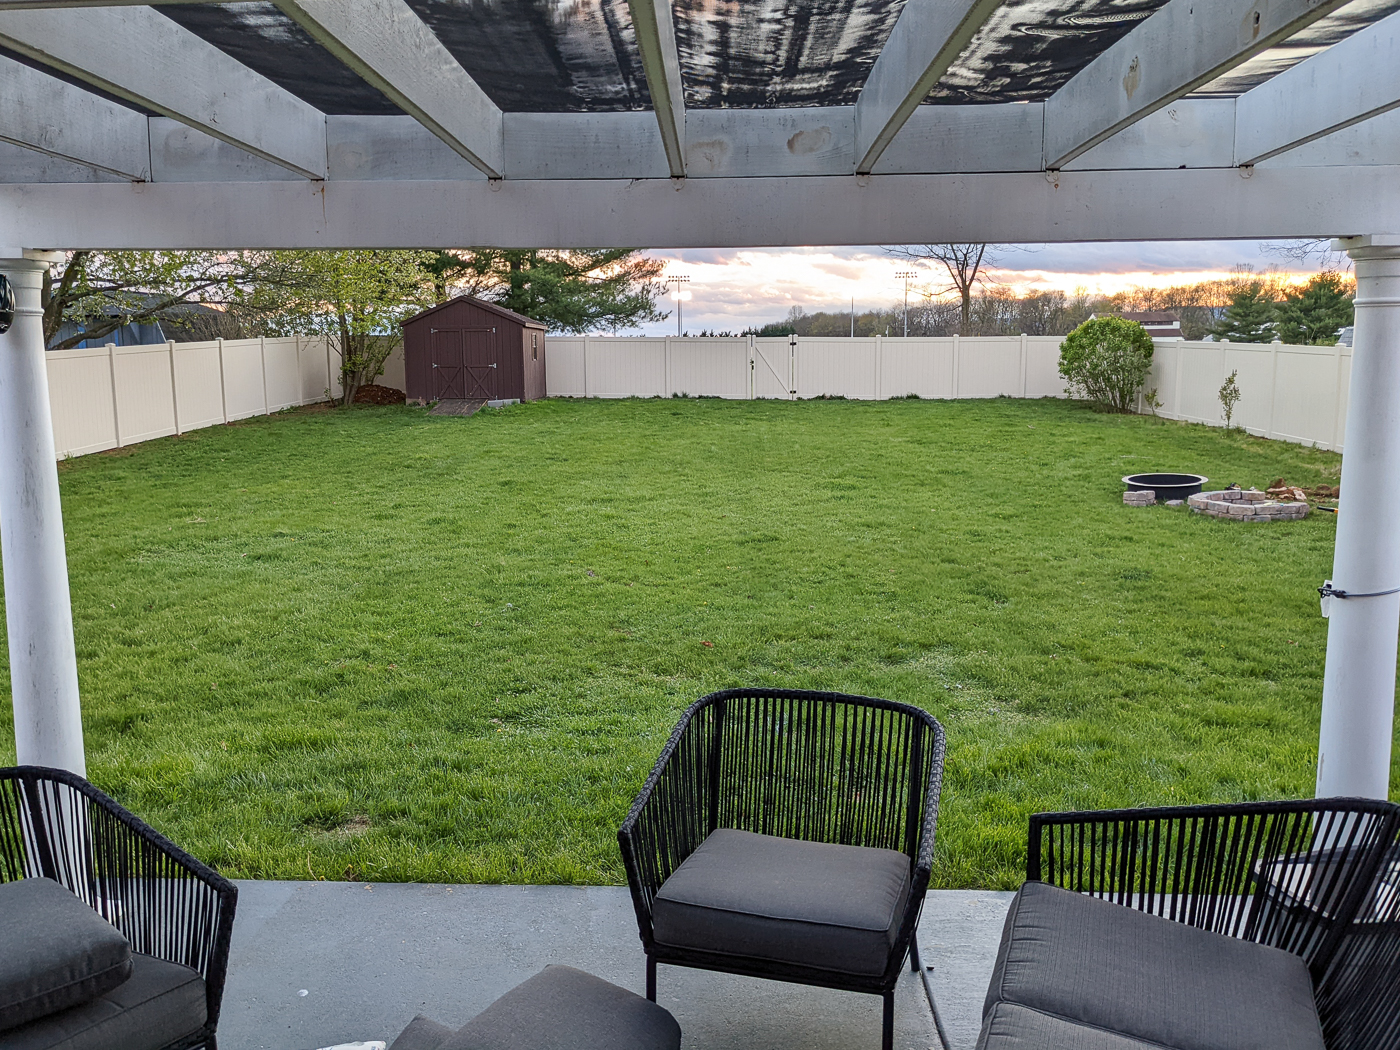
One of the biggest draws for our new house was the yard. It’s big, flat, and pretty blank. Just a lot of grass. Which means endless possibilities (especially with no home owner’s association here!). And A LOT of work. I mean, looking at our before pictures, I truly cannot believe where we’re at now.
So I’m going to walk you through how we planted the first garden in this yard from scratch in 2022. It’s just one way to do it, and I’ll add in some considerations for other ways to do it where appropriate. This garden is mostly flowers (perennials and annuals) and shrubs.
Putting in the new fence
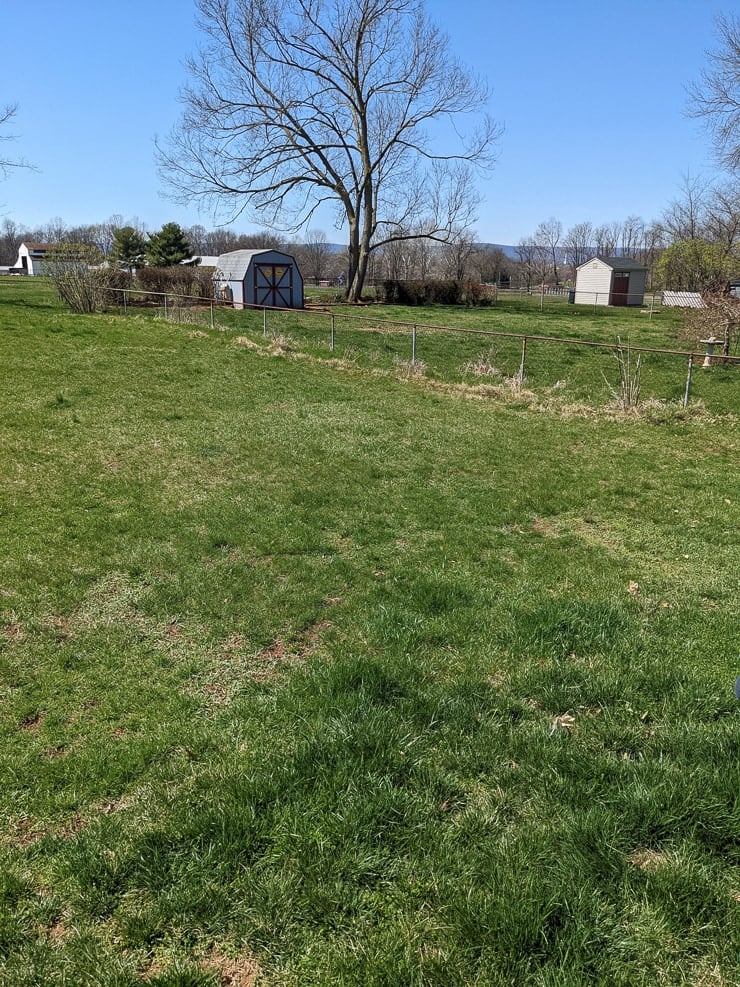
Our home was built in 1962, and I’m pretty sure that’s when the fence went up, too. It was an old rusty chain link fence. Before we did any landscaping around the perimeter of the yard, we decided to have the fence put in. This was NOT a DIY and was well worth every penny spent!
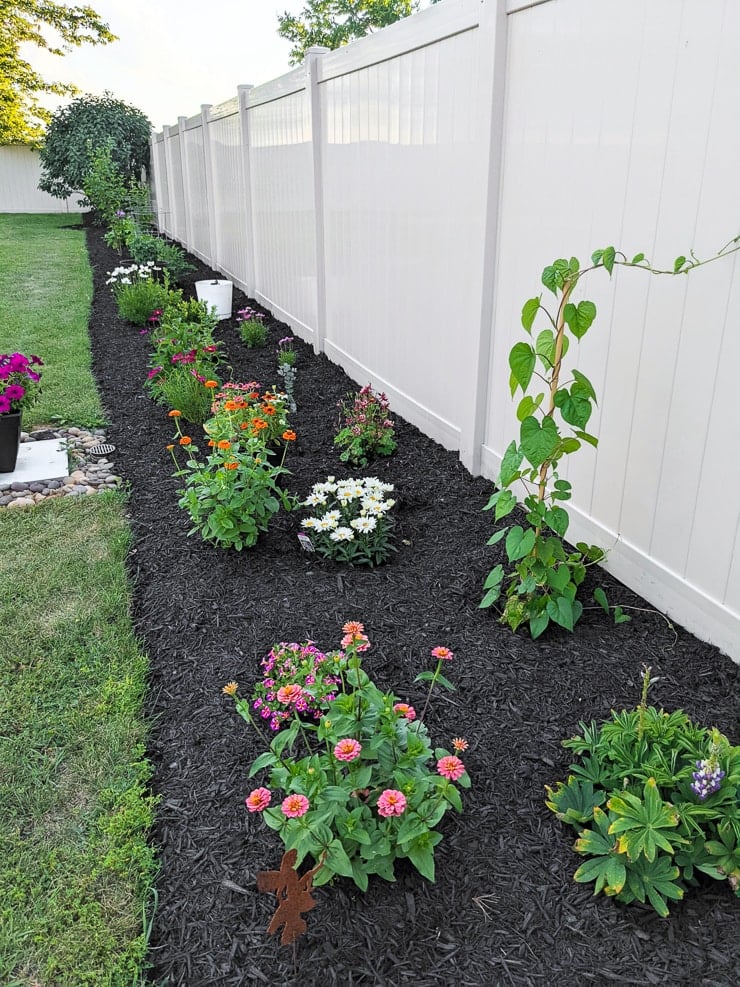
When we bought the house, we factored in the cost of the fence to our calculus because we know it was a must. Our neighbors are lovely, but who doesn’t like privacy? I’m really glad we chose the beige vinyl instead of white, too.
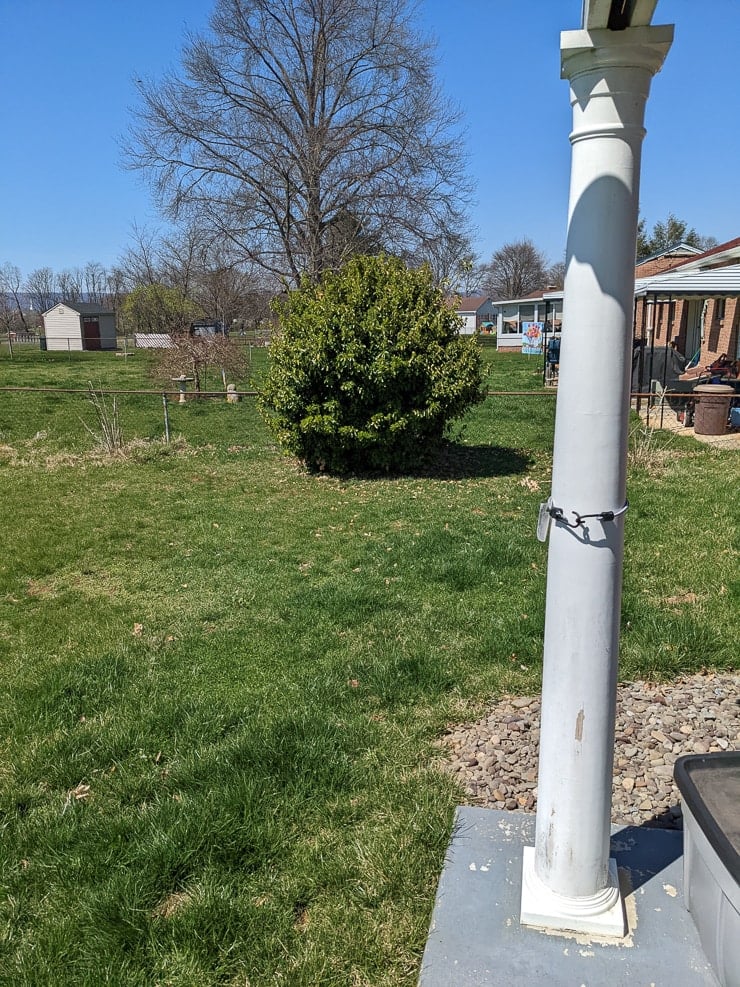
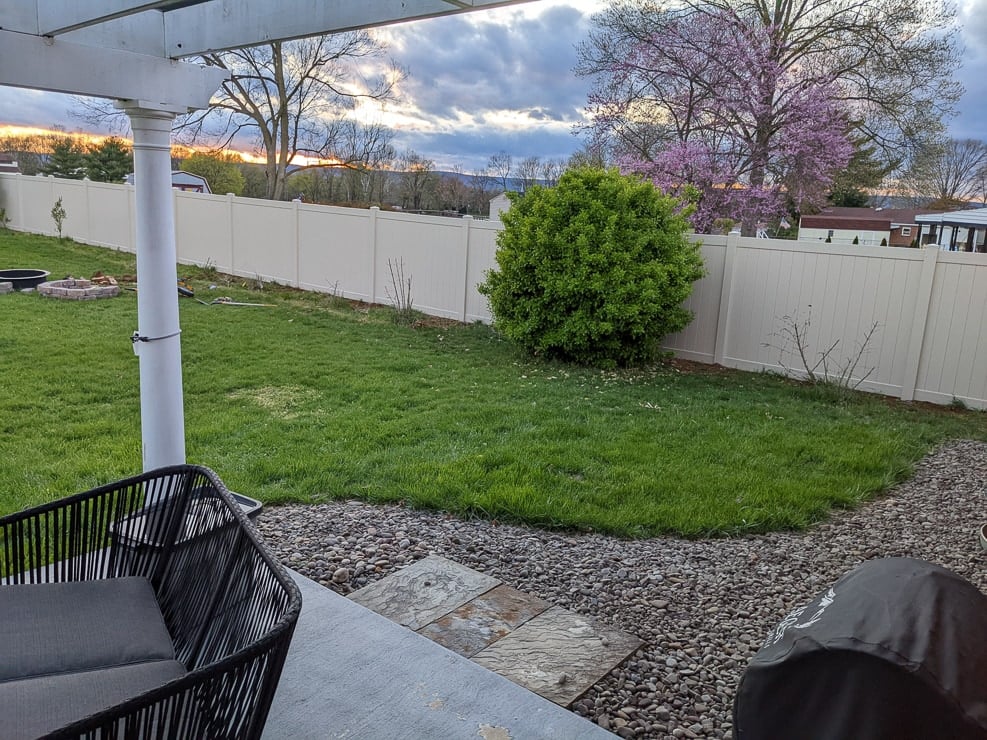
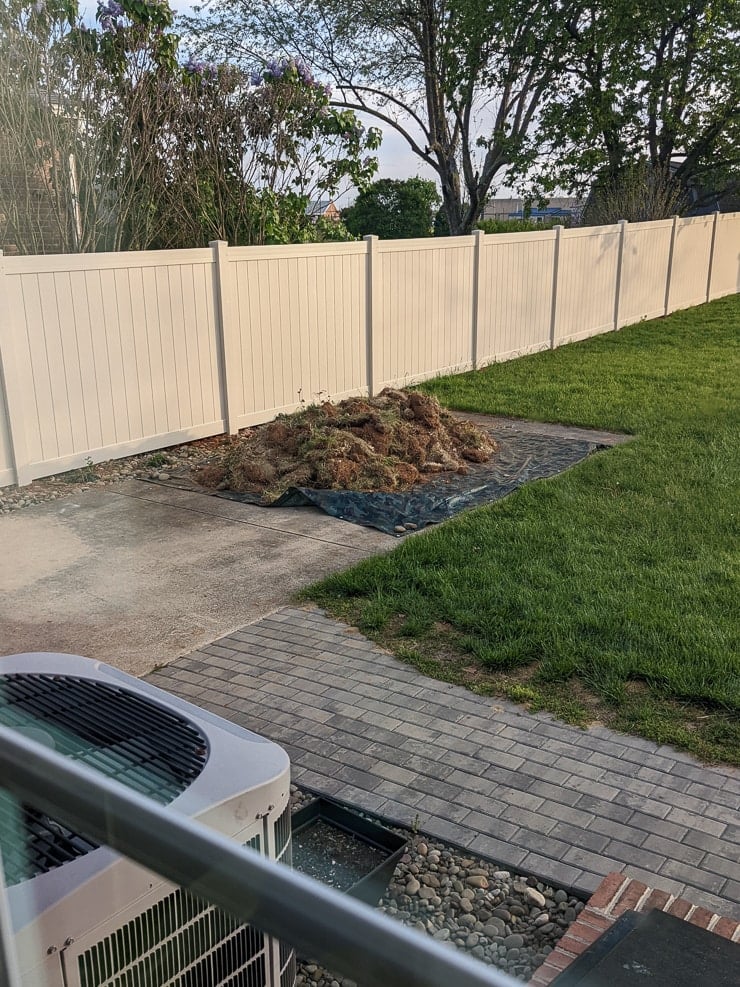
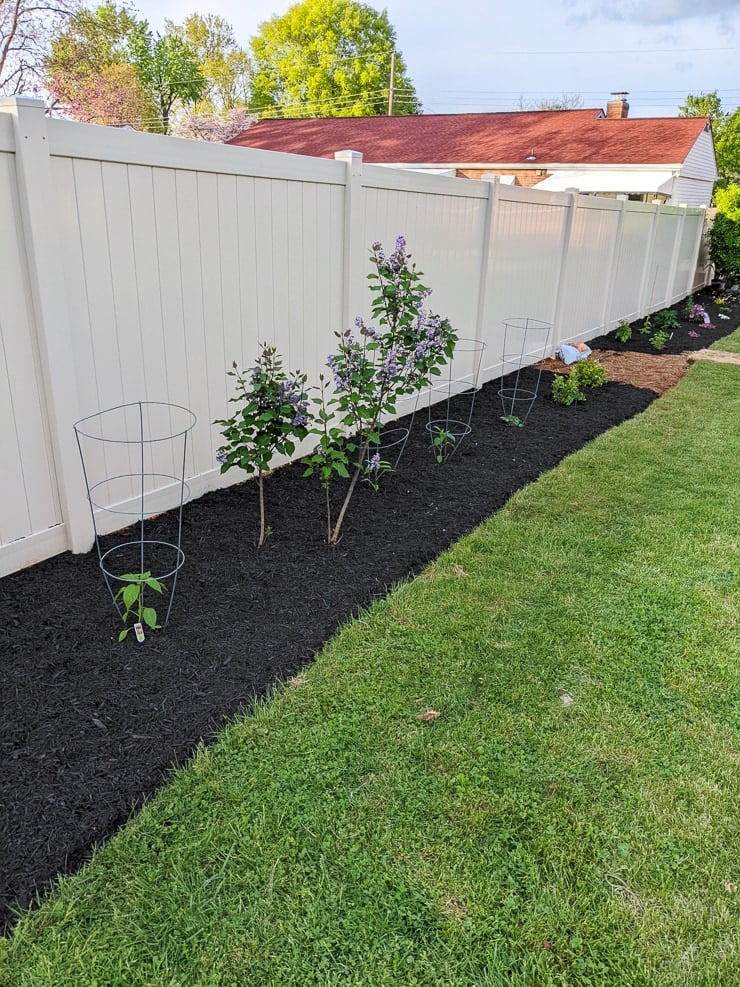
The difference it made in the yard was shocking. I was giddy watching it go in! The three pics below show a bit of that process. They also show a few butterfly bushes that the previous owner later came to dig up and take with her to her new house.


(Affiliate links below)
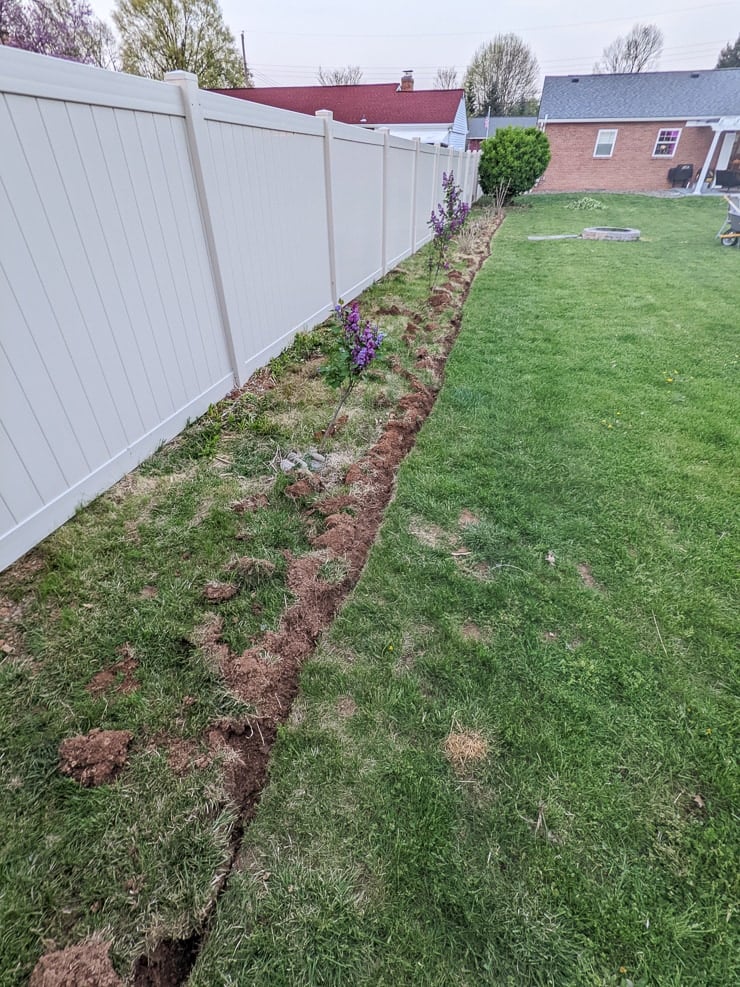
Step 1: Edge out beds
I’m going to try to break this up into actionable steps, but really I’ll probably just be rambling a lot and dumping pictures of the process in. 🙂 Since this garden is going to be an in-ground garden, there was no building involved.
But man was there a lot of digging! I invested in a manual edger for this process. (My mom uses a flat shovel and that works great for her, too.) The edger helps you make deep, defined, clean cuts between garden beds and grass. You simply put the edger blade-side down, push it down, and then “scoop” up the dirt/grass.
In particularly tough areas, I was also able to hold the handles on mine and jump on it. After edging the first time, you’ll probably want to go back in and clean it up a bit. Use measuring tape to make sure your lines stay even (or use a string and chalk if you have it).
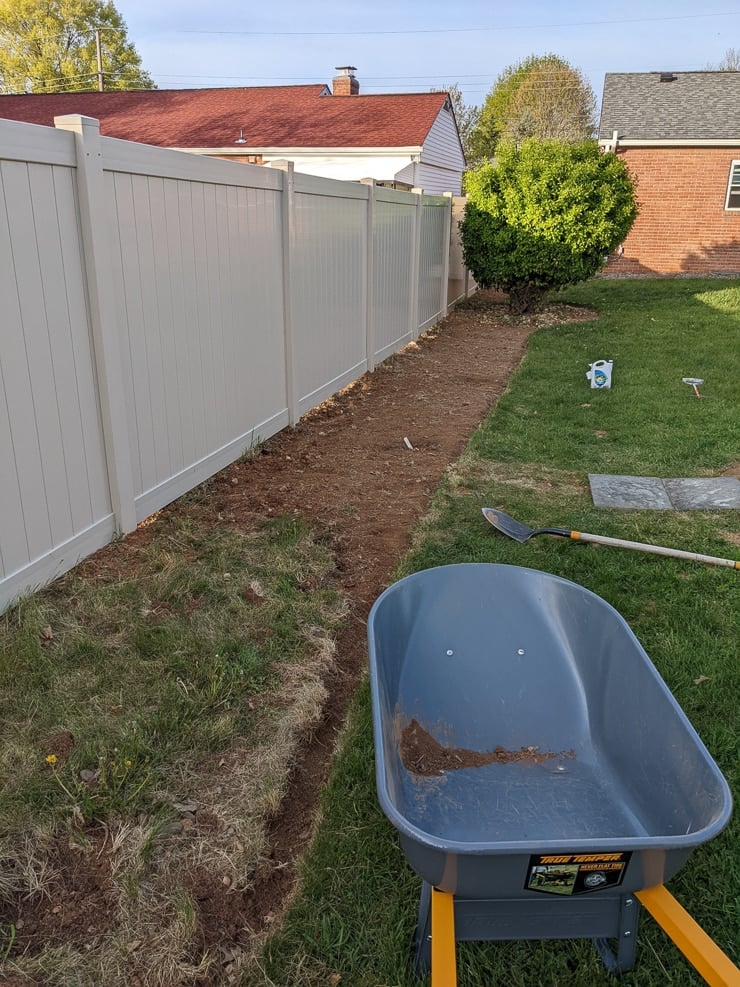
Step 2: Get rid of grass
This step was, by far, the most time-consuming. Essentially what we did was, when I finished edging out the beds, Mike began digging up the grass. And then I went behind him planning where the plants would go, digging holes, and planting. (Then mulching.)
A few things about removing the grass, though…it was a huge pain. We ended up with a HUGE pile that we needed to pay someone to come haul away. We don’t have a truck ourselves and also didn’t have anywhere to put it. If I could go back, I probably would have just done sheet mulching instead.
Sheet mulching is a method of removing grass by slowly smothering it using cardboard or paper bags and then thick mulch on top of it. However, this can take a while, and it can be a tricky method if you’re also planting a bunch of things. But it’s better for the environment, helps suppress weeds, and doesn’t require removing all of that grass and dirt!
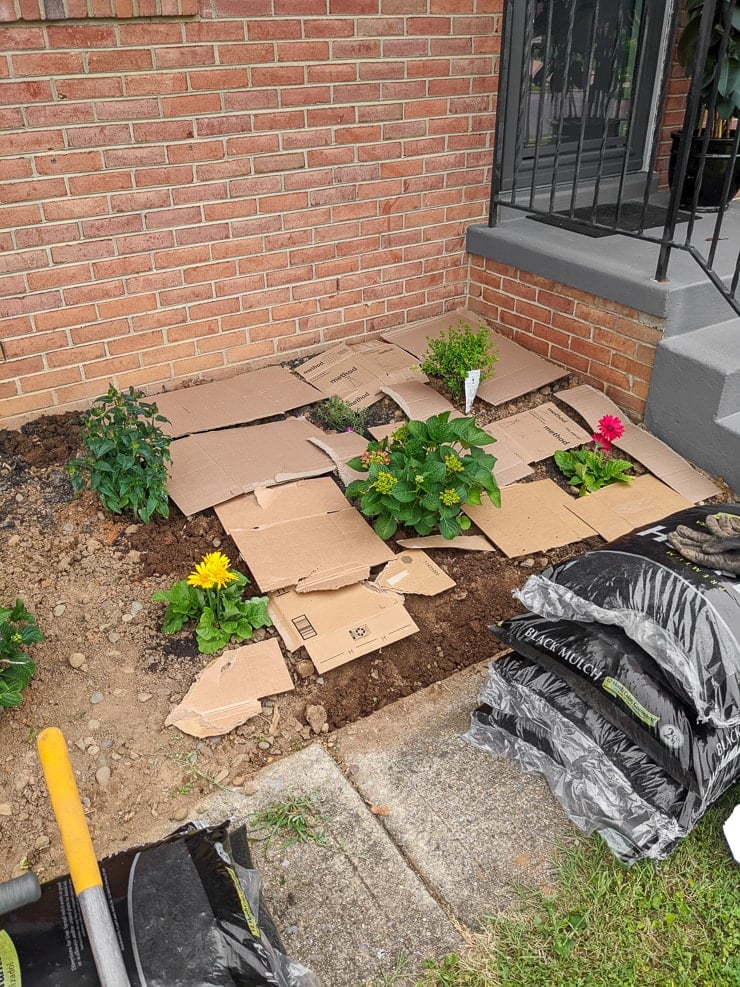
If you’re planting and killing off grass at the same time, I recommend planting first. Then laying cardboard all around the plants you put in and mulching. See more about sheet mulching here for more benefits and tips.
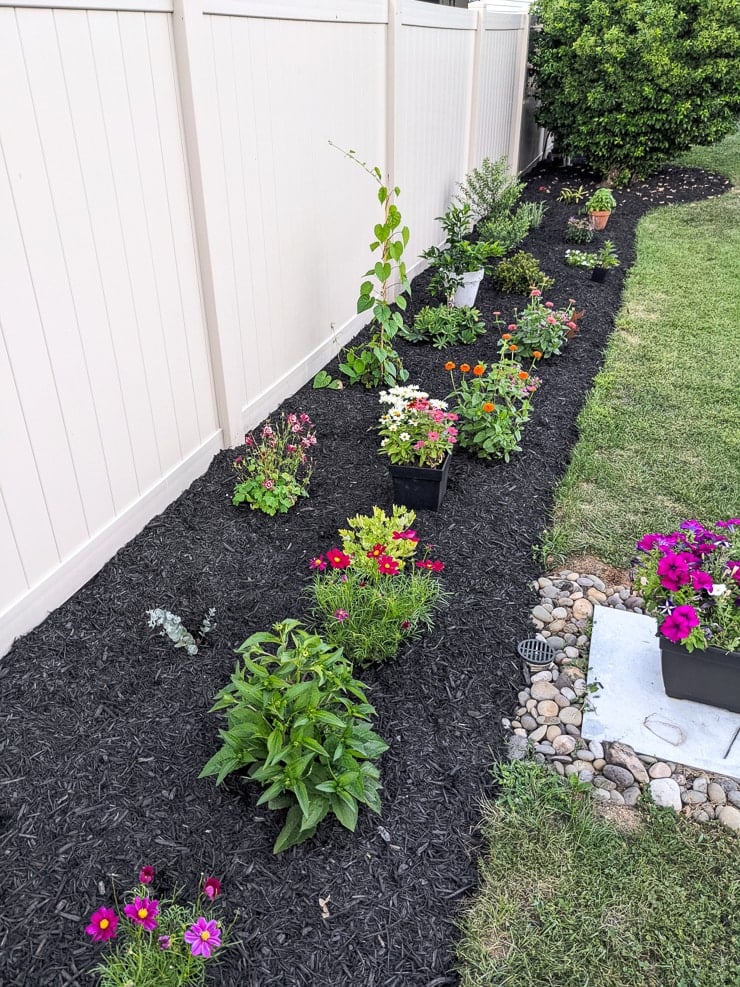
Step 3: Place plants
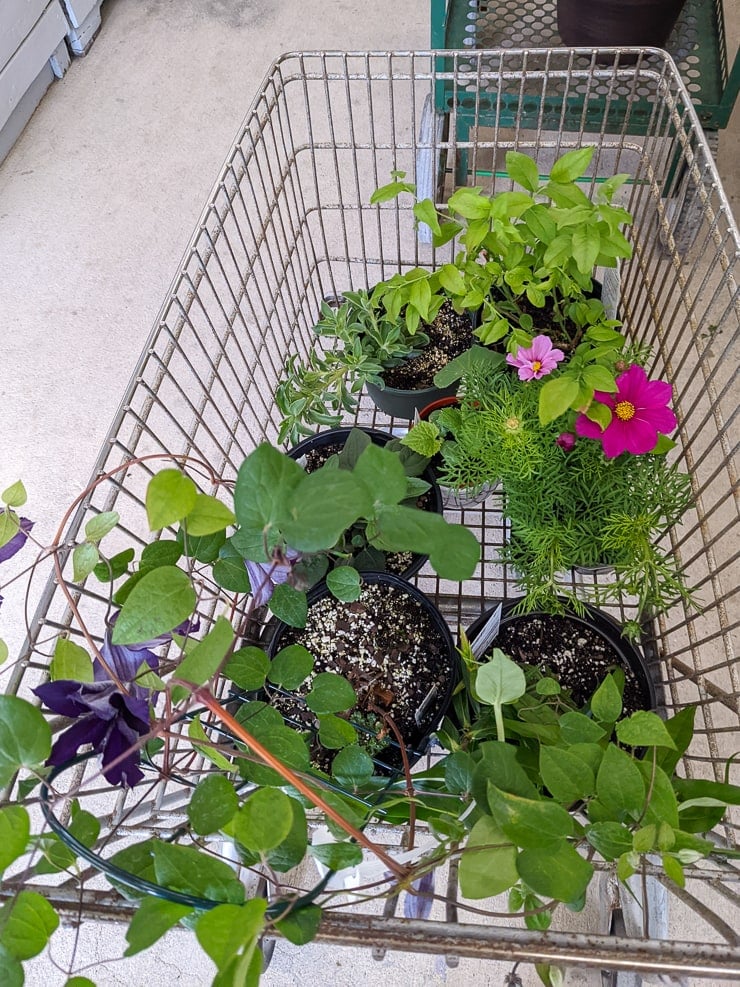
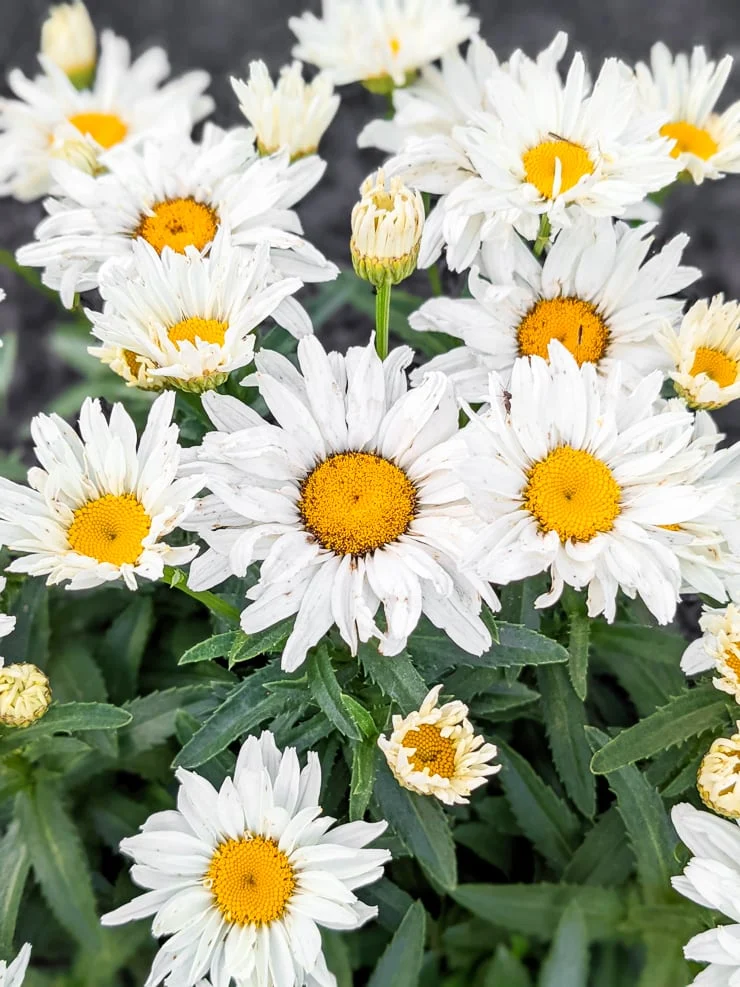
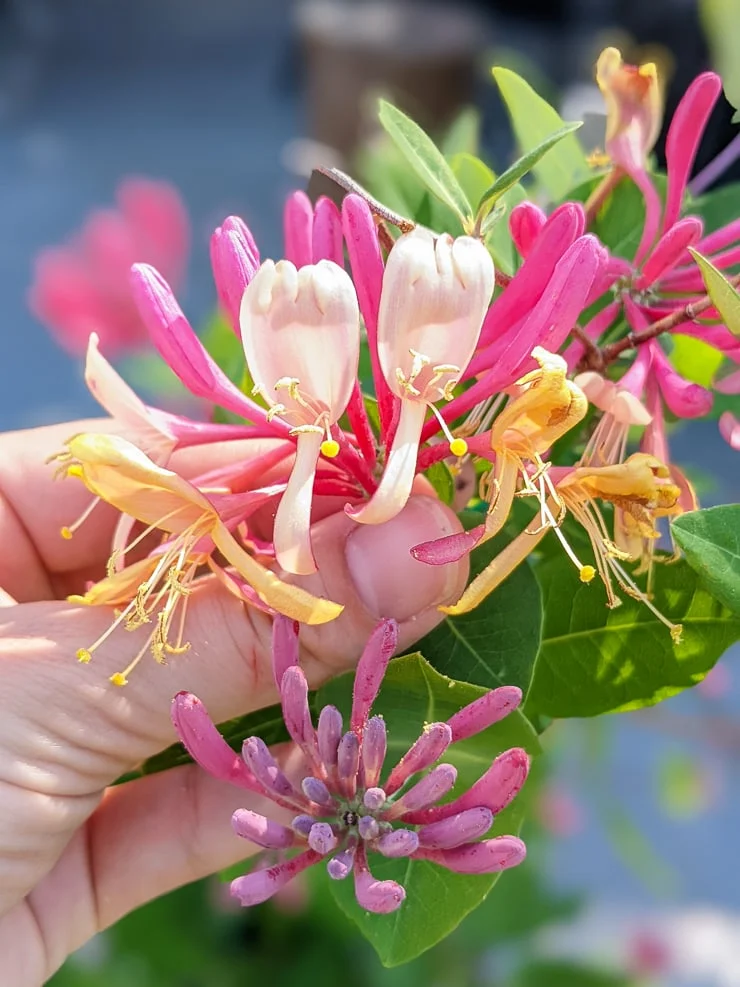
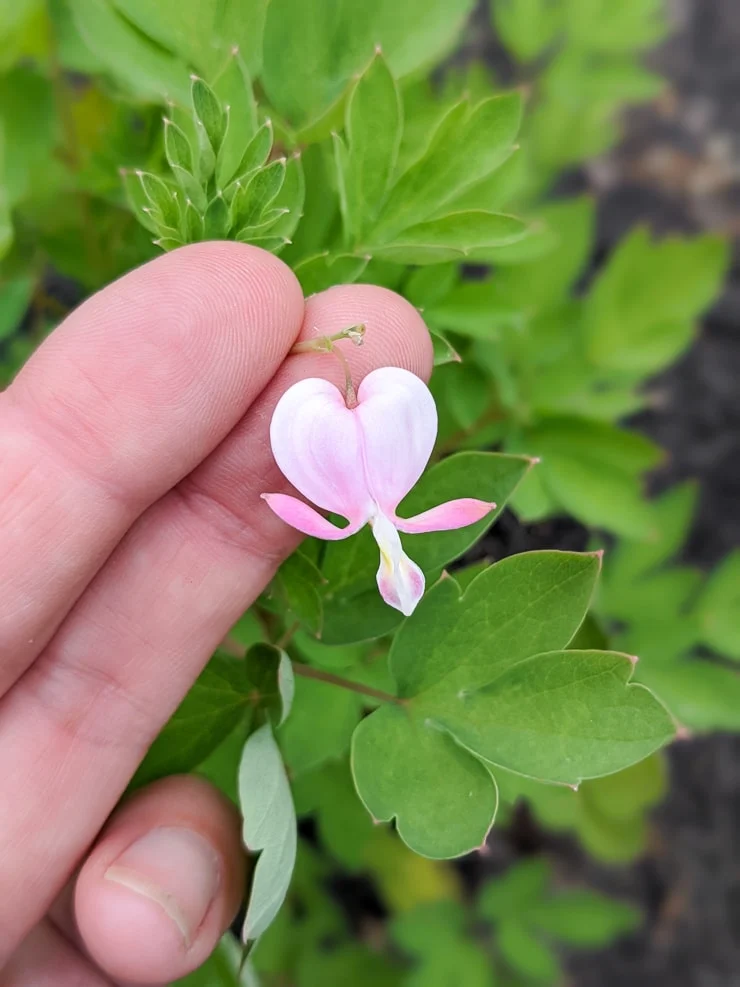
After allllll of the grass was gone, I started shopping. I wanted to do mostly perennials, pollinators, and other native plants. I just went to a local nursery and chose things. I loved how they had things labeled as “great for bees,” or “attracts butterflies,” or “makes great cut flowers.”
In addition to these plants, I also grabbed a few annuals. Perennials can take a while to get established and also usually don’t flower for too long. So I figured I’d fill things out with annuals. I chose mostly zinnias and cosmos. Super easy to grow!
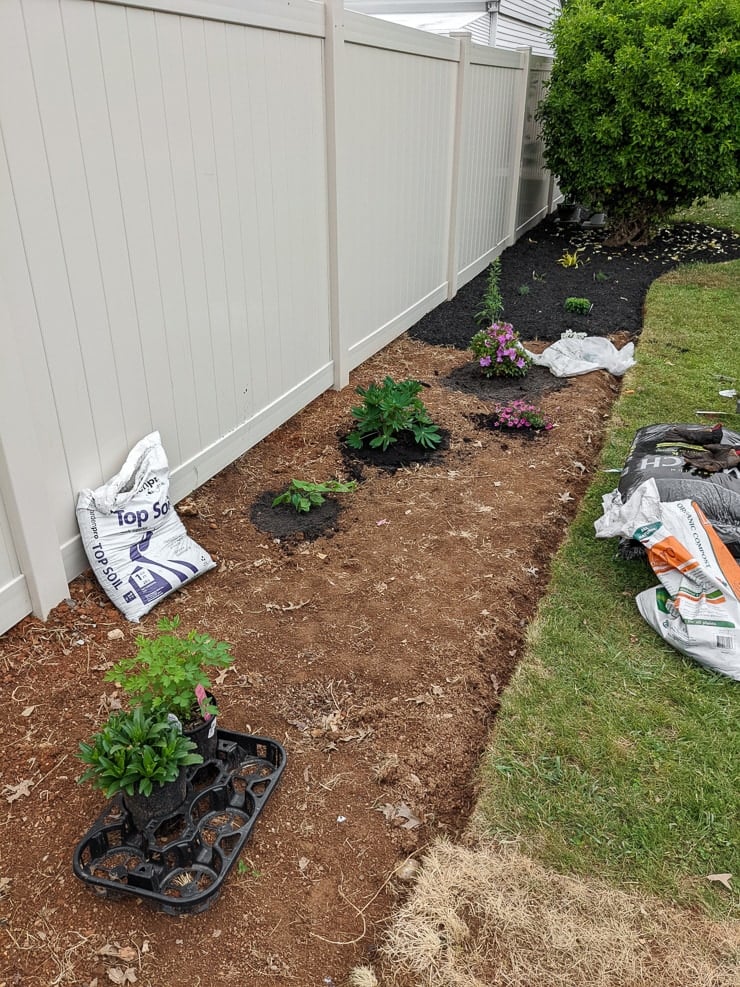
Our soil is SUPER dense, heavy, and clay-based. So to plant my plants, I simply dig a hole about double the size of the pot for whatever plant I’m planting. Then I mix some clay soil in with leaf compost I purchased in bags at Lowes.
I also add in some topsoil. It doesn’t have nutrients, but the soil is super light. So it also helps to break up the clay. Fingers crossed you have better soil than we do—then it will be a lot less work!
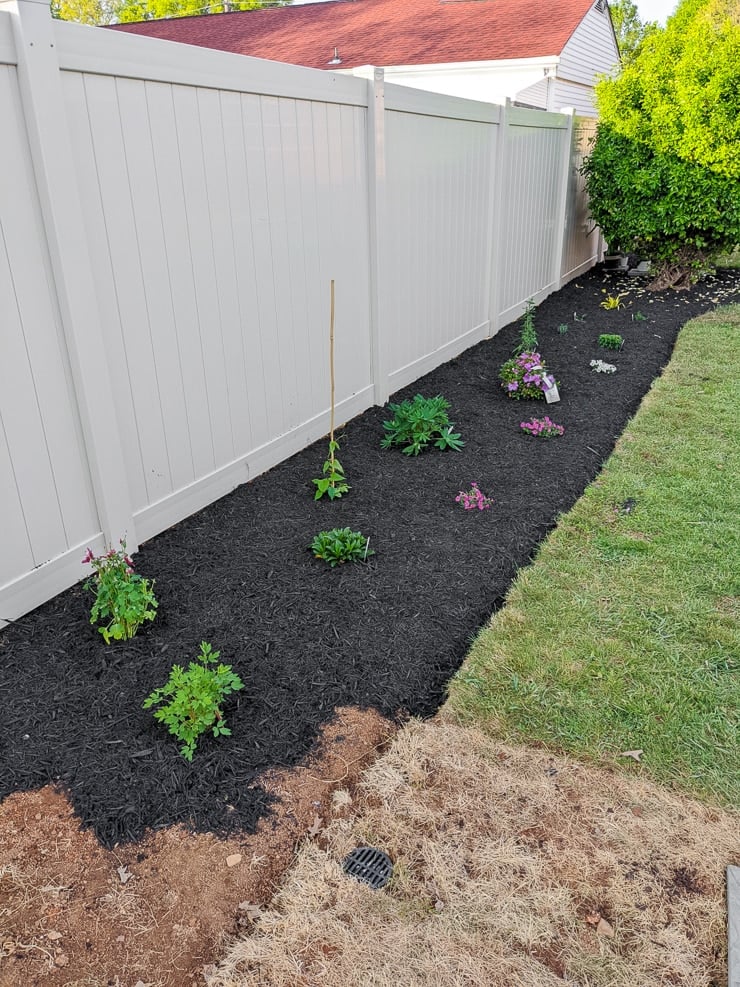
Step 4: Mulch the beds
After planting, the last step is to mulch. We did two rounds of mulch because we made a mistake the first time around. We did the mulch kind of thin to stretch it out…and the weeds were SOOOO bad!
I mentioned cardboard and mulch before and that I would have just gone with sheet mulching the first time around if I were to go back. Well, at this point, that’s basically what we ended up doing. We decided to spray all of the weeds down with strong vinegar, lay a dense layer of cardboard, and mulch a second round on top of that.
(We needed so much cardboard that I did end up grabbing some from neighbors and also having Mike pick up a big batch from someone on Facebook marketplace. But if you start saving up well in advance, you’ll have a lot to use.)
The cardboard works GREAT! The weeds still pop up, but at normal levels. And it’s also a great way to compost your cardboard boxes! It was a ton of extra work, but it was totally worth it.
Mid-season update
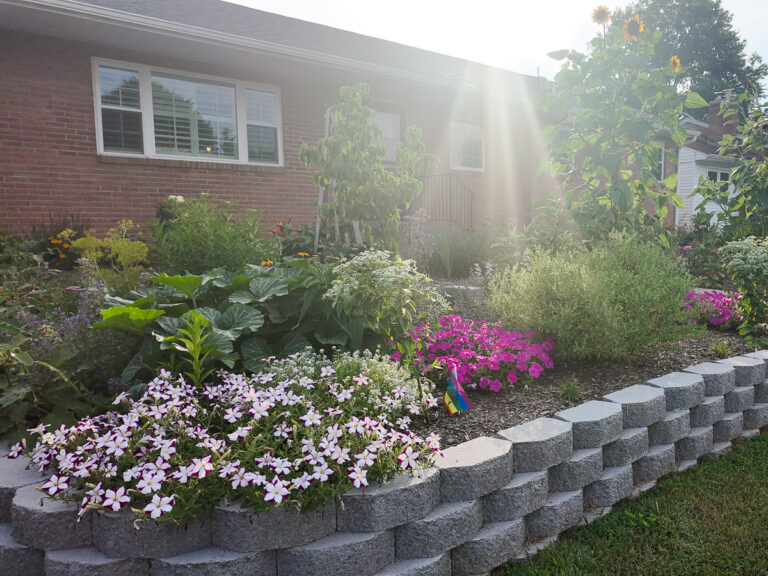
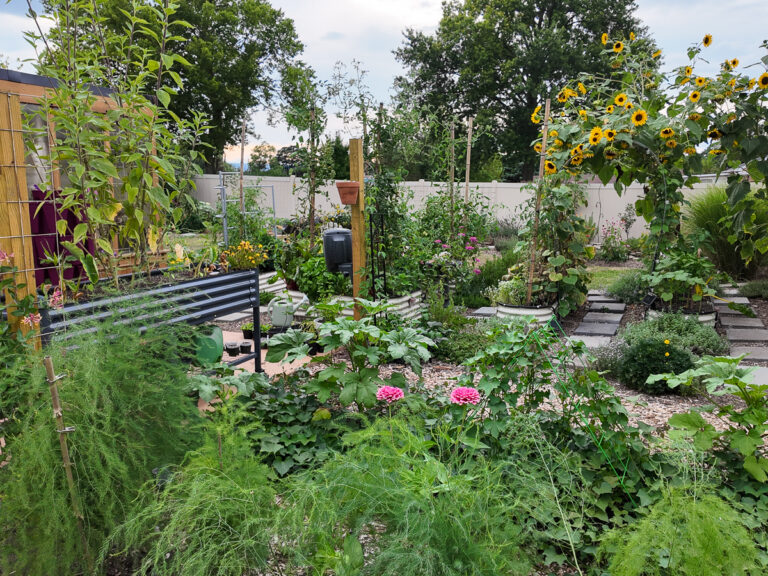
Our garden has been in for about 1 1/2 months. And the progress is already astounding! I simply love going out and watering it every day. And I’m so glad I’ve taken so many pictures.
It can be so difficult to remember how far you’ve come—including how much your plants have grown in just 1 1/2 months! Our plants are doing amazing. I water once a day in the morning with the hose (still need to get a rain barrel set up).
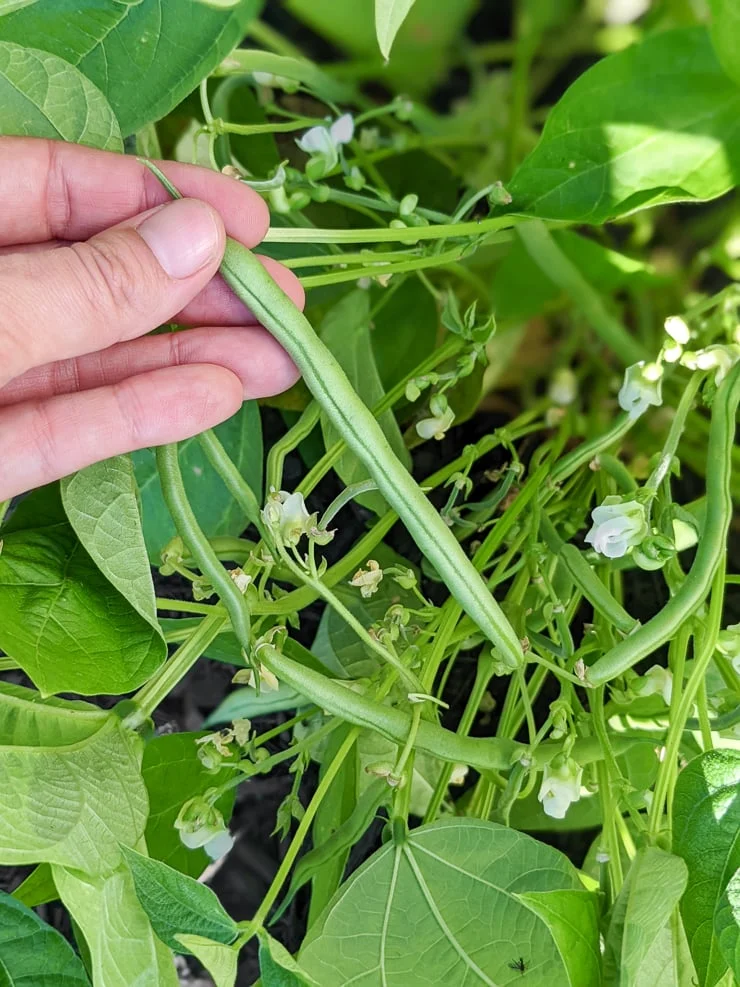
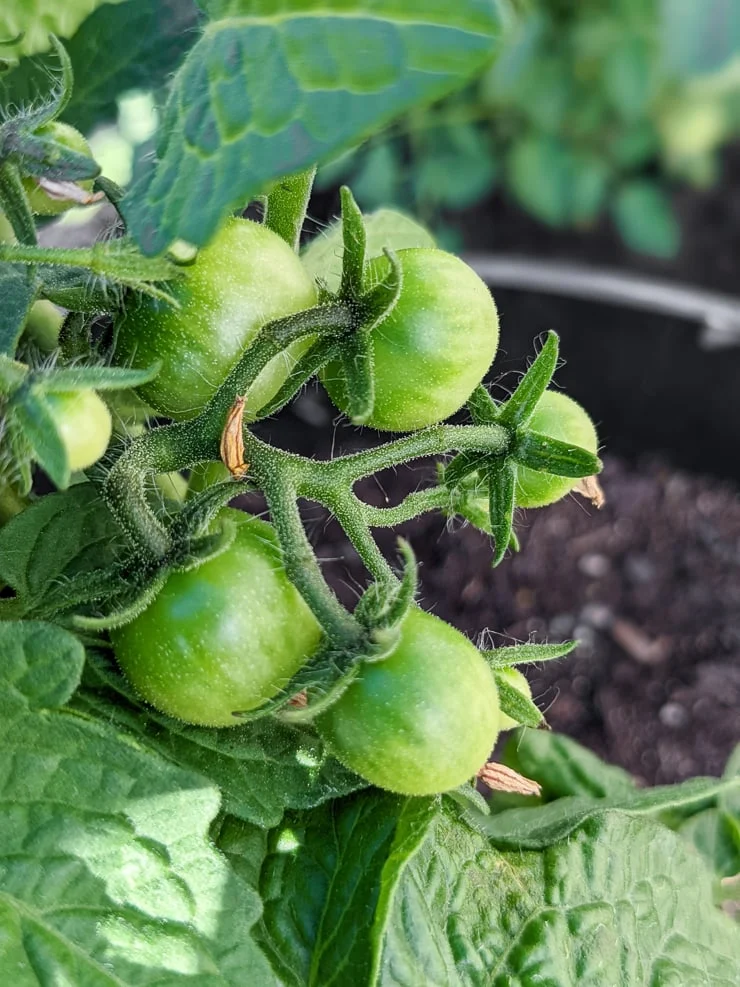
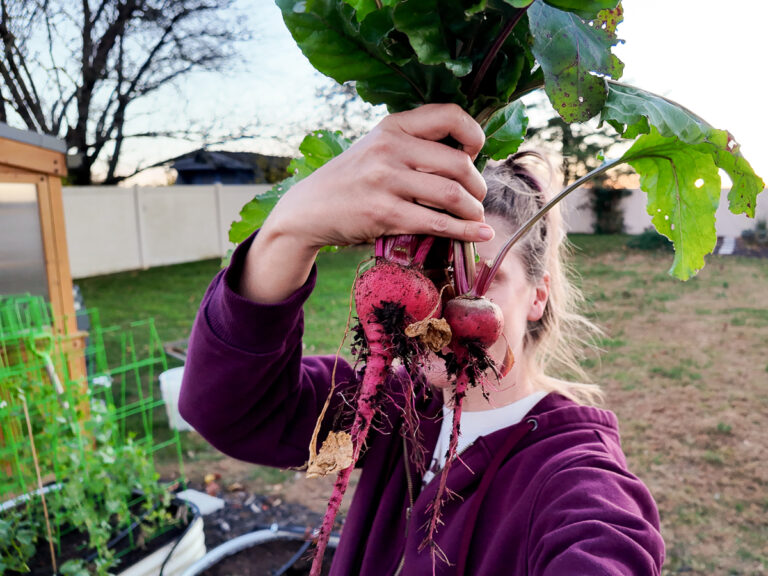
I have done one round of fertilizer on everything to help jumpstart mostly the perennials. And things are responding really well. We’re starting to see a few sugar snap peas, pickable green beans, and some green tomatoes!
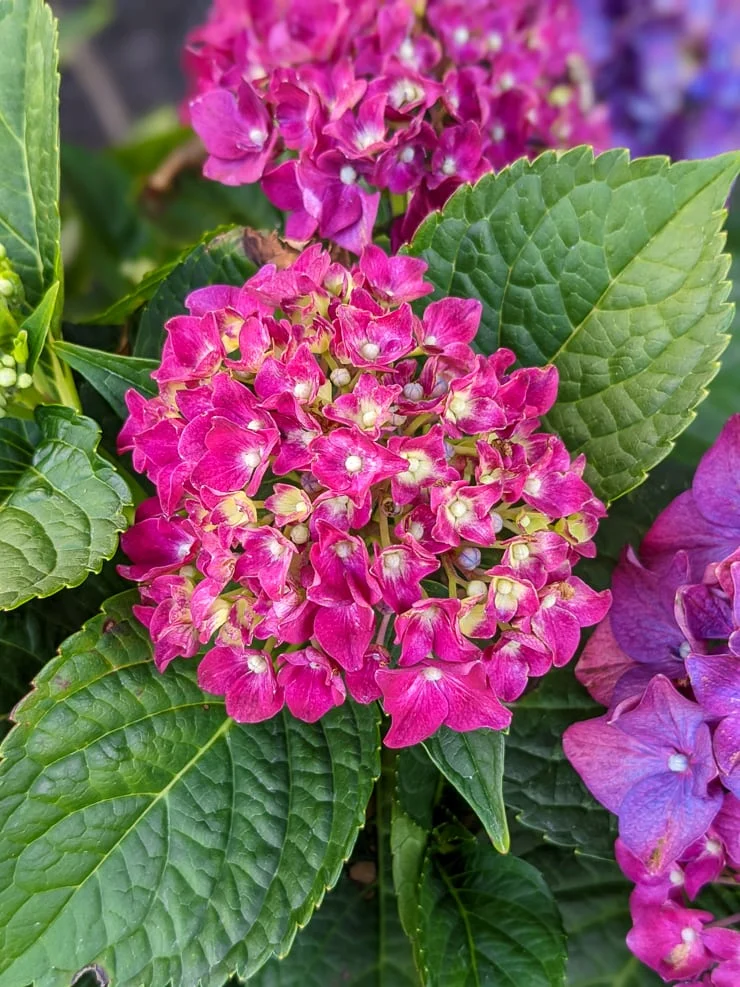
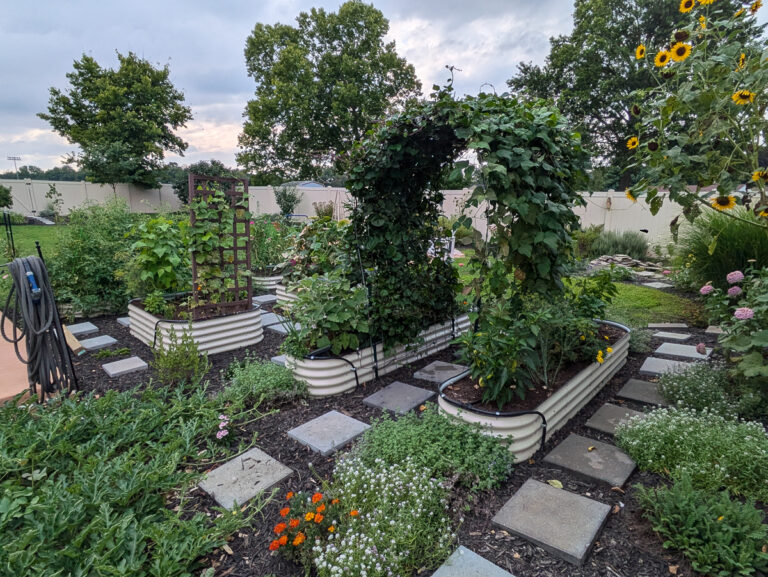
And of course TONS of flowers ready to cut for bouquets already. I’m trying to remember that perennials might not look super great until next year. The only thing I don’t really love that I’ve planted is my tradescantia andersoniana (spiderwort) “Sweet Kate.” We’ll see how it grow this summer though.
For veggies, I planted bush beans, pickling cucumbers, roma tomatoes, jalapeños, sweet peppers, hot peppers (don’t even remember the kind, lol), and a bunch of cherry tomatoes. Actually, all of the cherry tomatoes—and the bit pot of basil—are all plants I transitioned outside from my indoor Click and Grow garden!
They are growing beautifully, and I’ll definitely update that post when I see how big they get. I am really hoping to get some raised beds in for a fall crop and plant more shrubs or perennials where I have veggies—but that might be for next spring 🙂
So if you’re wondering how to plant a garden and don’t know where to start, I hope this post helped. We’re far from finished, but I’m so happy with the progress we’ve made! Because that’s part of the process, right? Growth and progress. 🙂