
Propagating Rosemary Cuttings
Rosemary is one of my favorite perennial herbs to have around the garden. The plants are prolific and look beautiful all year. Learn how to take cuttings from existing rosemary plants to turn into new ones through the power of propagation!

Supplies you’ll need
- Rosemary cuttings
- Scissors or shears
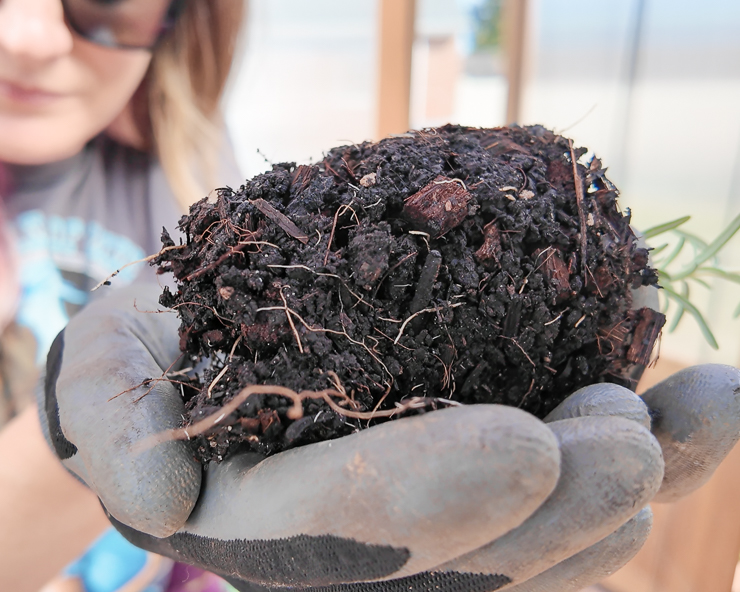
- Well-draining potting soil
- Small pot with drainage holes
- Optional: Rooting hormone
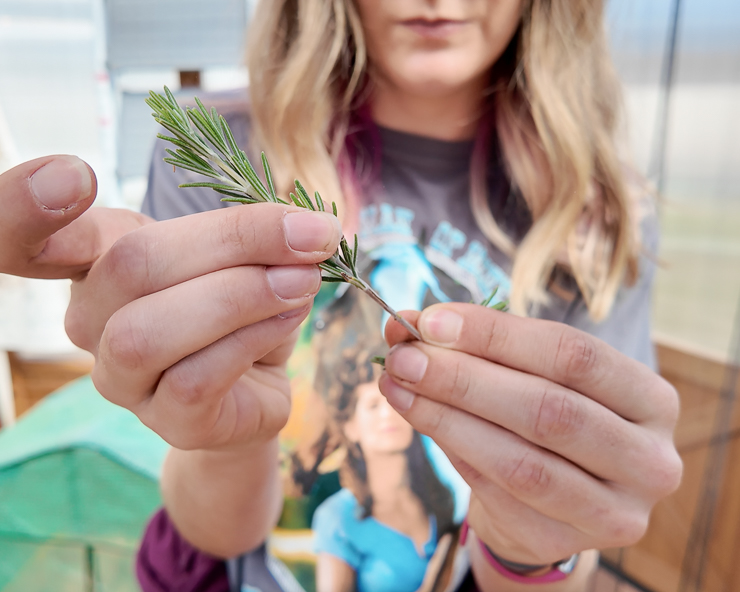
Step 1: Take a cutting
The first step is to take a cutting from the tip of a rosemary stem. At the stems get closer to the base of the plant, they get thicker and woodier. These woody areas are much less likely to root than the newer, more tender growth near the tips. For the cutting below, the bottom was still quite woody. So I cut the bottom 4 or so inches off.

Step 2: Remove bottom leaves
Use your fingers to remove the leaves from the bottom 2-3 inches of the cutting to expose the growth points. You can dip the cutting in rooting hormone, or you can plant without it. I used rooting hormone on only some of my cuttings, and there didn’t seem to be a clear correlation between rooting hormone application and successful rooting.

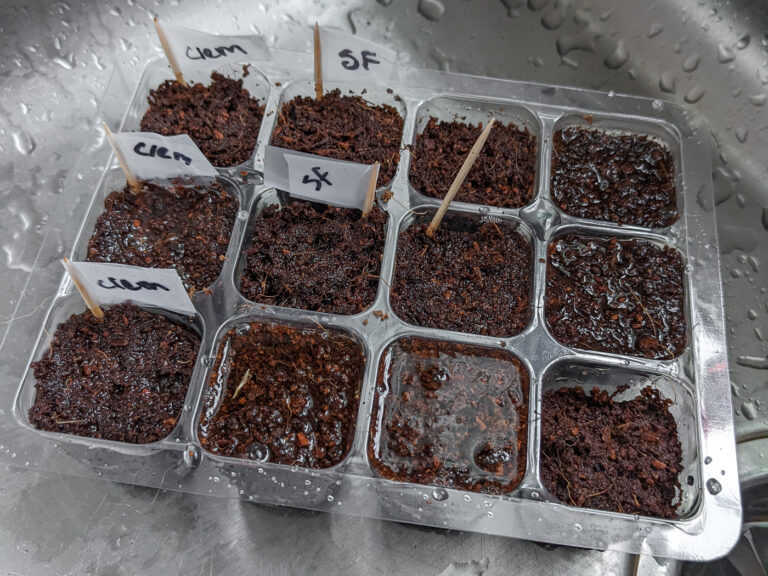
Step 3: Plant in soil
Next you’ll plant the cutting in well-draining soil. Since no propagation is ever a 100% success, I planted several cuttings in one pot. Keep the soil moist, and put the pot in a warm, bright place.
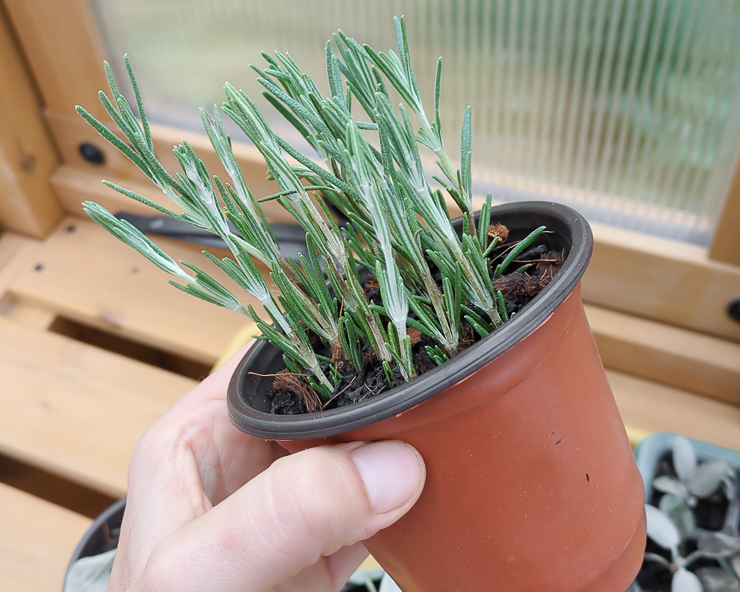
Step 4: Inspect & pot up
After about a month, I gently removed the cuttings and the soil from the pot to examine root development. Some cuttings had sprouted the beginnings of roots. I potted those up individually to ensure they had plenty of room for root growth.
Continue keeping the cuttings in a warm, bright spot, and keep the soil moist. After another month or so, I took the cuttings I’d potted up out of their pots to inspect the roots. You’ll see the major my cuttings had in the photos below! I’ll keep these in their pots for a bit longer before I plant outside.