How to Start Seeds
Today’s post really gets back to basics, because I’m walking you through how I start my seeds indoors. If you’re wanting to start gardening and starting some seeds, you might be a bit intimidated. I know I was.
In this post, I’ll walk you through what you need to know to start seeds without a greenhouse. Keep in mind that there are TONS of different ways to start seeds—this is what works for me, and you can choose to take parts of it and leave the others 🙂
I’ll also talk about the absolute necessities and things that are just nice to have. Seed starting (and gardening in general) can get pretty expensive if you aren’t careful. So let’s get started!
1. Plan when to start seeds
Knowing the right time to plant seeds depends on your climate and the type of plants you’re growing. To organize everything, I create a spreadsheet in Google Sheets that has everything I am planting and weekly columns for plant timing.
I based these columns around our last frost date, which you can find by putting your address into the USDA’s plant hardiness map. I’m zone 7a, so my last frost date is mid-April.
I then had a row for each seed I was starting and marked when I would start it indoors, when I would transplant it outdoors, and when I’d start just direct sowing seeds outdoors (once it’s warm enough). This can be as simple as a list, but I love throwing together spreadsheets to wrap my head around things.
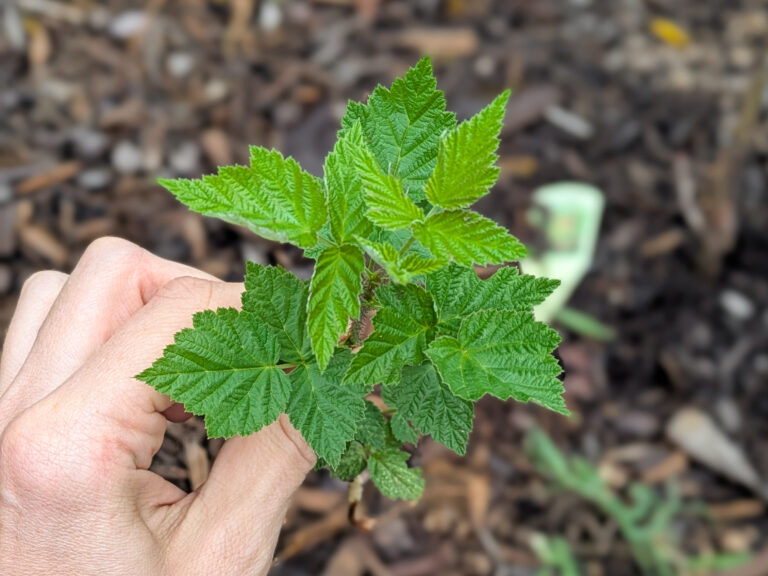
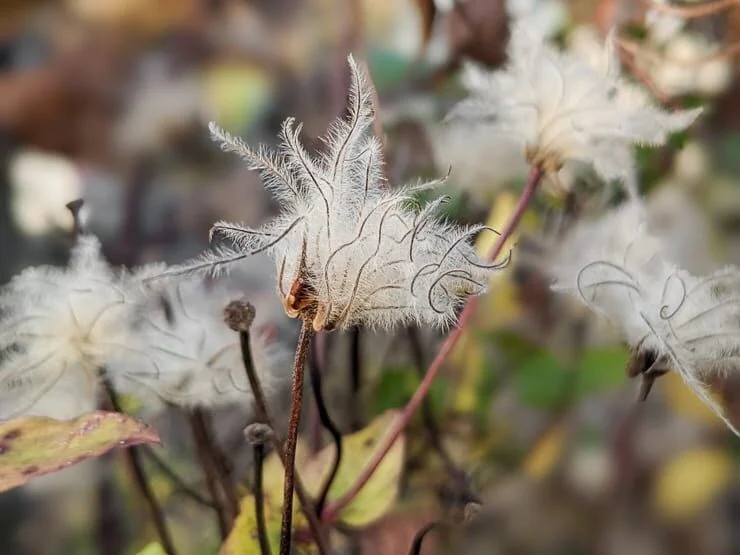
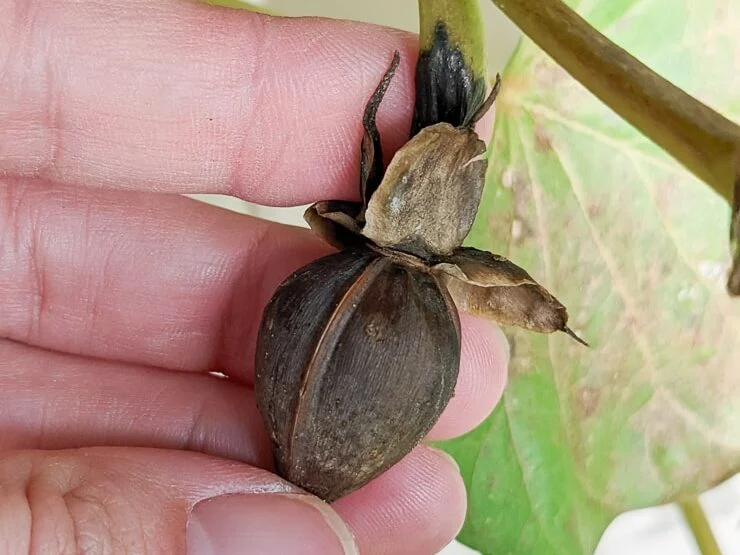
I saved a lot of seeds from last year (mostly zinnia seeds), but I also ordered some seeds to start. IN addition to zinnia seeds, I’ll be starting tomatoes, peppers, eggplant, clematis, sunflowers, and moonflowers.
2. Prepare the “soil” mix
Seed-starting mix usually doesn’t actually contain any soil. The mix you use to start seeds is light and airy with excellent lightweight moisture retention. You can buy a bag of seed-starting mix or seed-starting setups that come with grow pods. Sometimes they will have fertilizer mixed in.
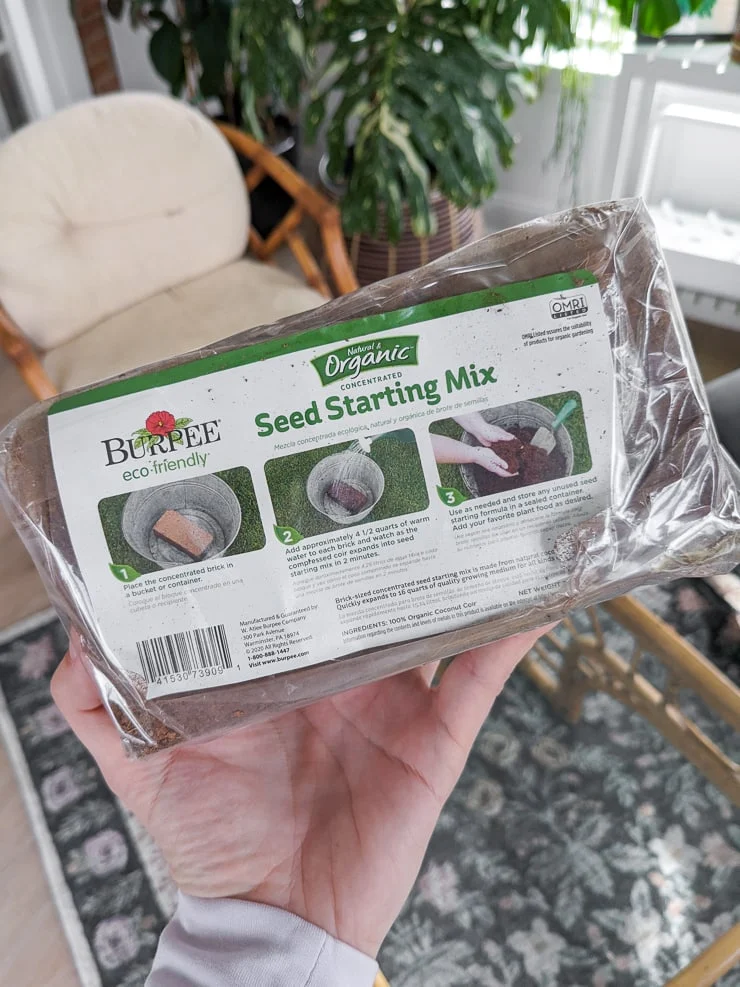
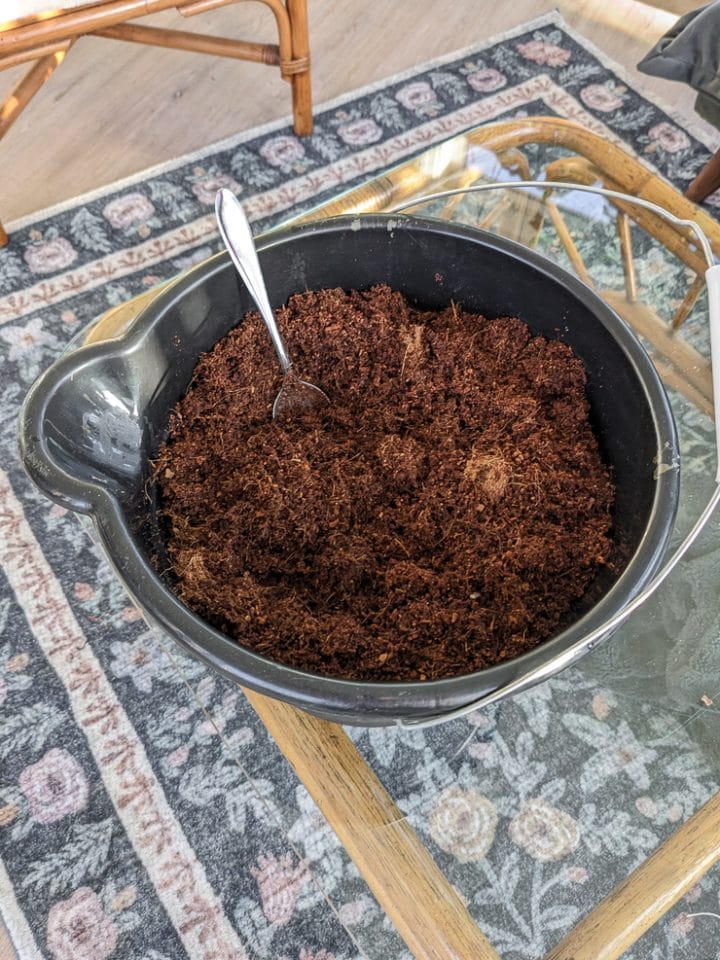
But I recommend going the budget route, using a brick of coco coir! I use coco coir for my houseplant mixes, too—so I bought a two-pack online for $13. I used only one bricks for my seed-starting mix—it makes a lot of potting medium! Each brick expands into 8 quarts of seed-starting mix after adding water.
I love using coco coir because it is a far more sustainable solution than peat moss is. Peat moss is common in different soil and seed starting mixes, but harvesting it can have devastating impacts on the ecosystems it’s part of.
3. Fill your containers
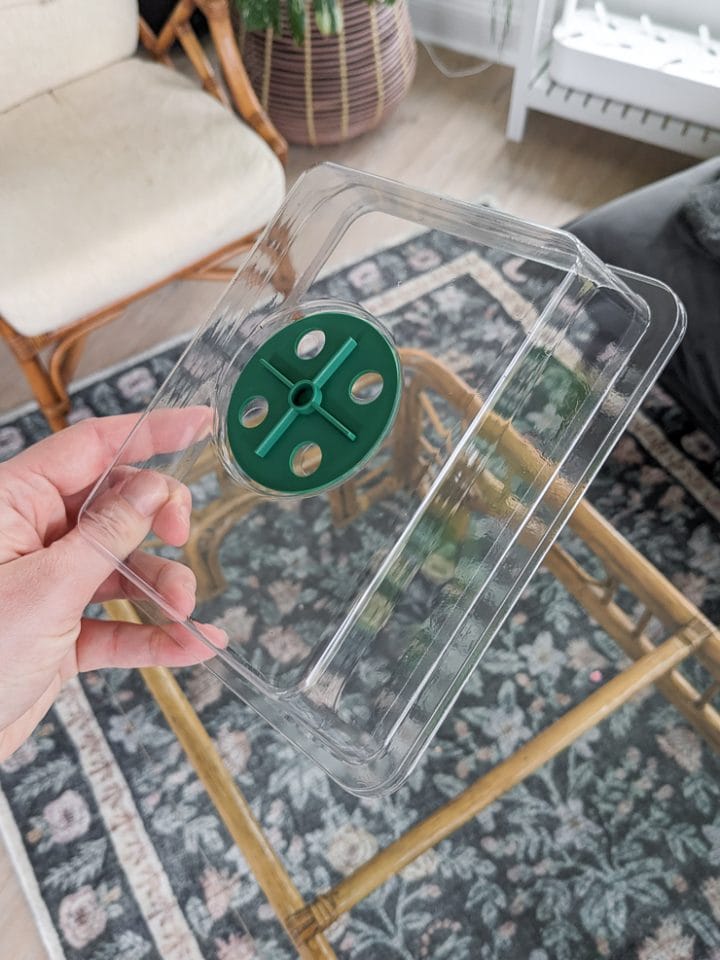
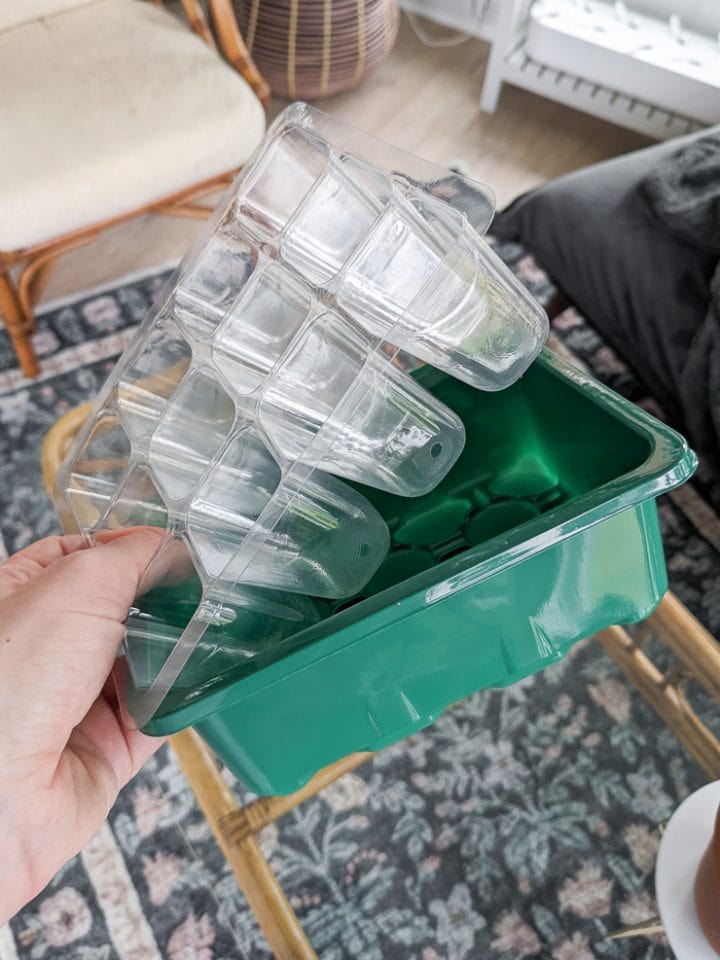
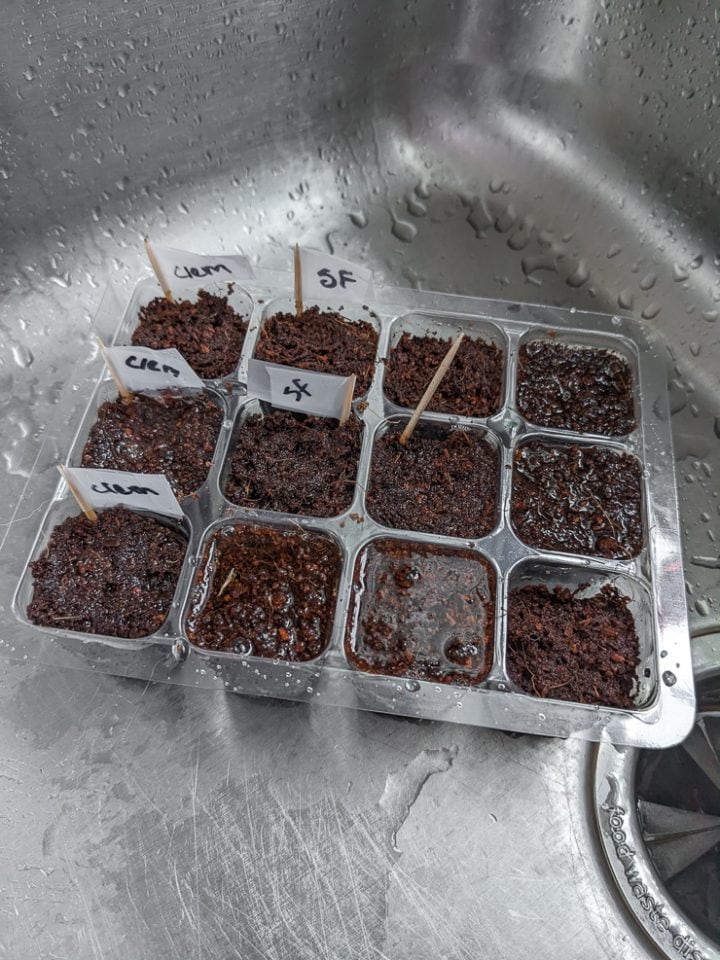
Much like there are a lot of options for seed-starting mixes, there are a lot of vehicles you can use to start your seeds. I like these little plastic containers because they hold up pretty well and can be used for several years.
These are also great because they take up much less space. Big seed-starting trays aren’t super practical for those of us without greenhouses or dedicated growing space! And you can use them for plant propagations after seed-starting season is over 🙂
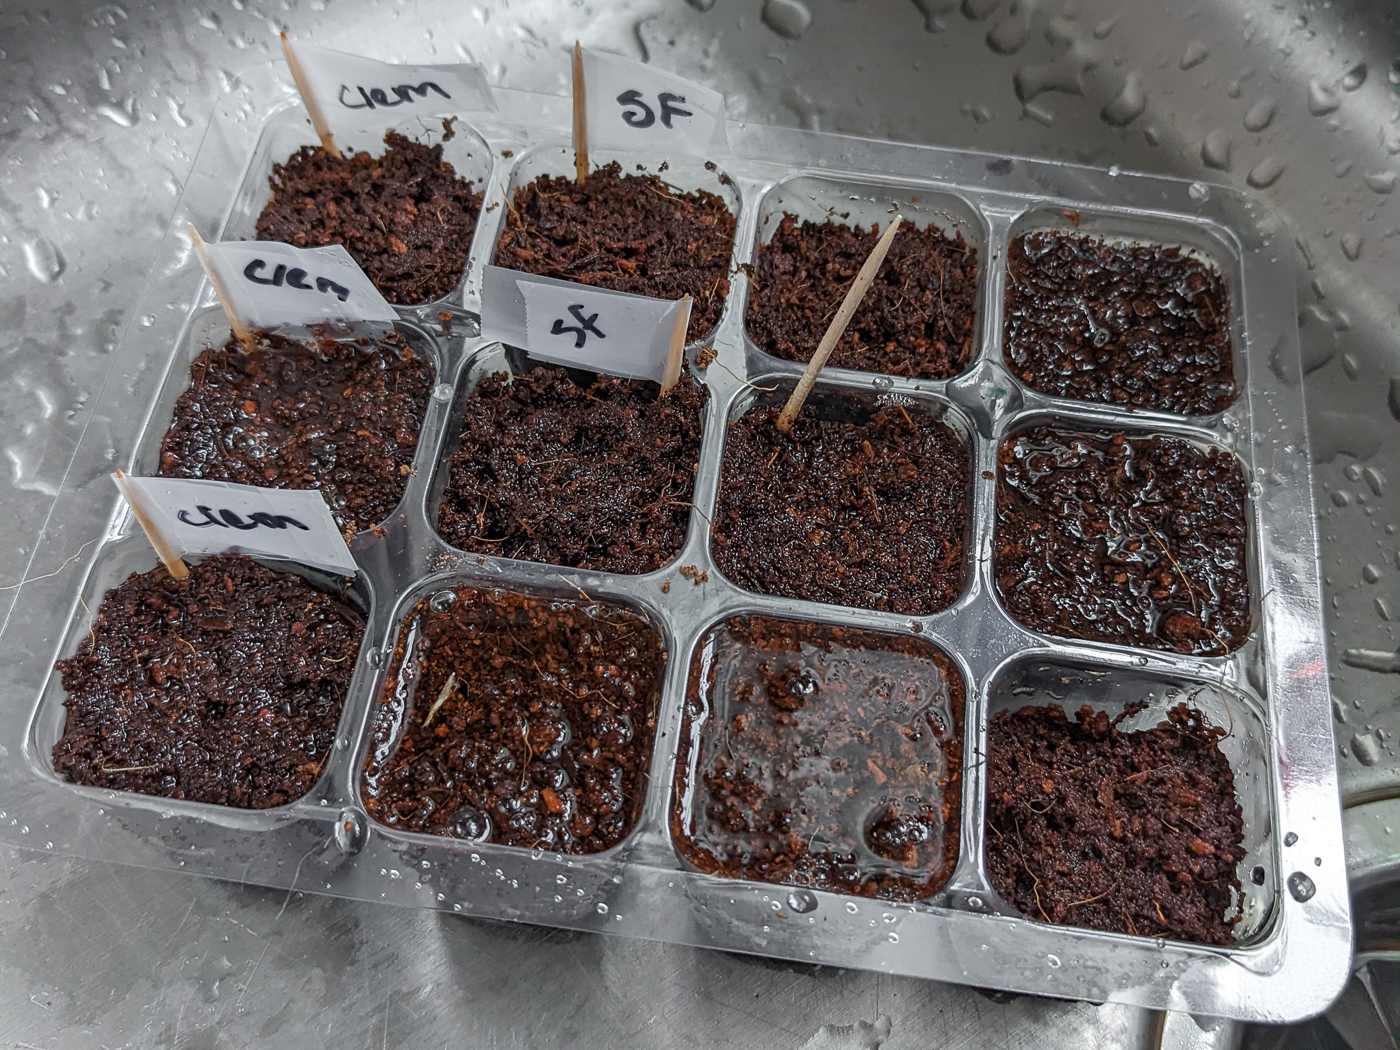
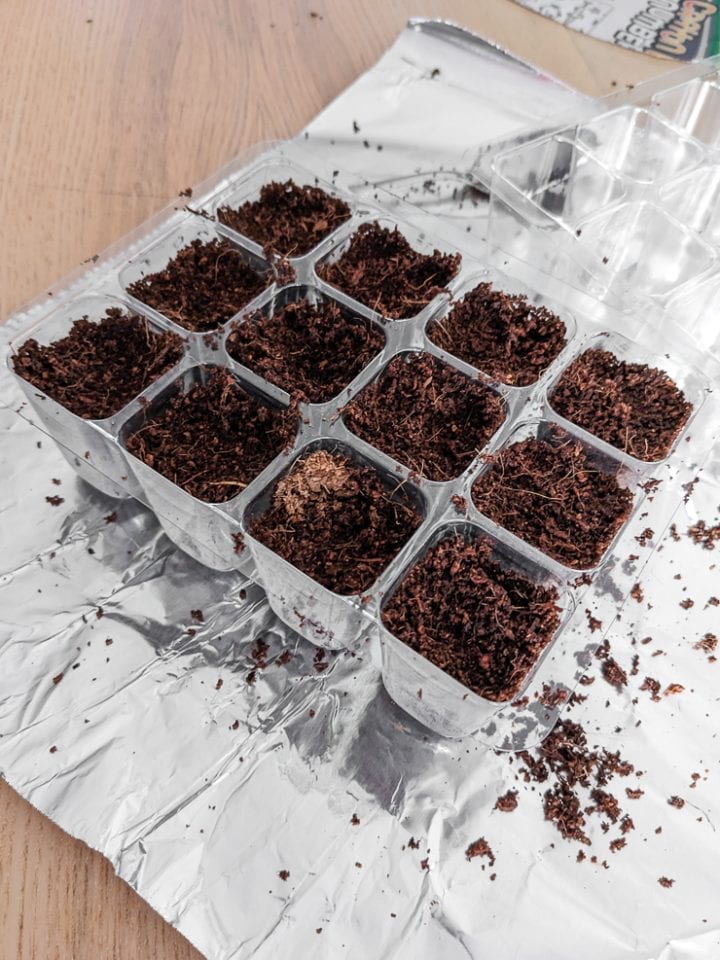
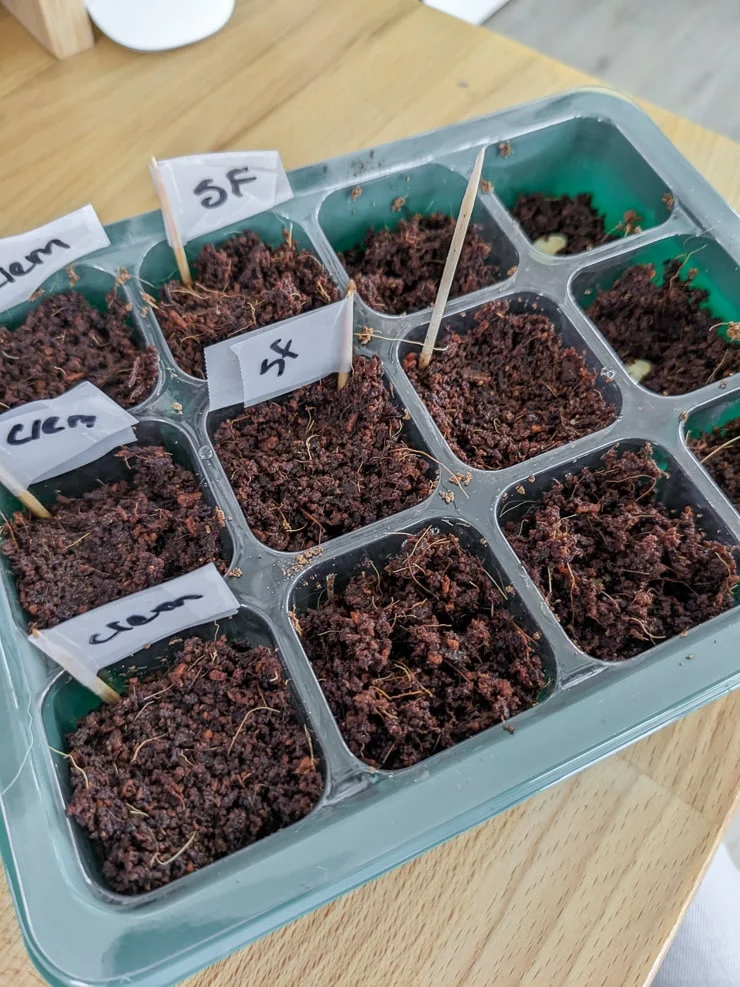
To get started, I lightly pack the moist coco coir mix into each of the little sections of the planter. For some seeds, I filled up each section and then planted seeds with a toothpick. For others, I just filled the sections up halfway, added a seed, and then covered it.
As for the number of seeds per pod—this depends. If I had a bunch of seeds, I do 2-3 per little section and thin them out when they sprout. Thinning them out just means plucking the extras and tossing then.If I didn’t have a lot of seeds, I did only one per section.
Make sure you read the packaging for the seeds you’re starting to see if you need to soak them for 24-48 hours before planting. Also, you’ll want to take note of the recommended planting depth—though I mostly just throw the seeds in!
4. Water & add nutrients
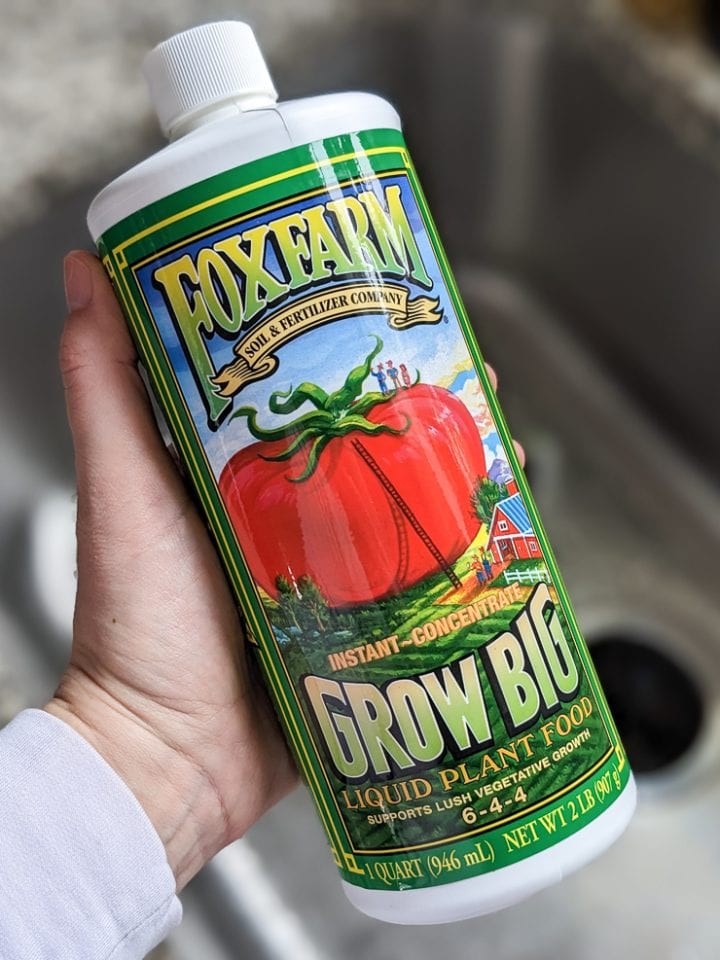
After I finish planting, I water deeply in the sink to add nutrients since coco coir doesn’t have any of those. I use Fox Farm Grow Big. This stuff isn’t cheap, but it lasts forever! You only need to use a tiiiiiiny bit in your watering can to get all of the benefits.
You can use it for seed starting, for fertilizing existing plants growing in your garden, and even for houseplants. So you’ll need to factor its longevity in when deciding if it’s worth the price. It usually lasts me the entire growing season or longer.
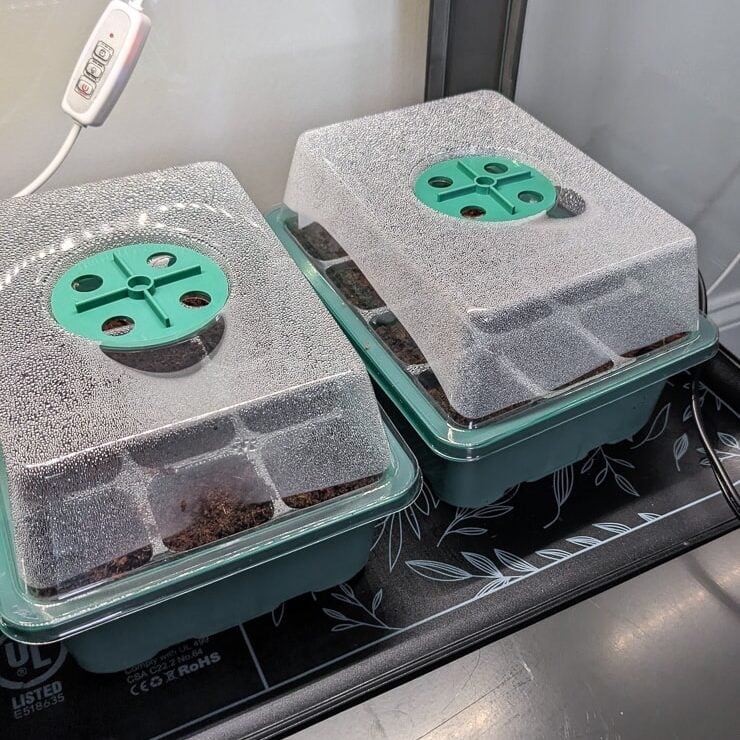
5. Add light & monitor heat
Many people will just put their seeds on a sunny windowsill and hope for the best. But seedlings need a TON of light, and this usually isn’t enough. Seedlings will be leggy and unhealthy, making them difficult to transplant into the garden.
First, I do recommend investing in a grow light. It doesn’t have to be something huge and fancy—it’s more about the spectrum of and how much light it puts out.
This affordable grow light is a full-spectrum 5000K light that mimics natural daylight. Plus, it has a 660nm red light enhancement designed to help promote germination. You’ll want to hang this 6-12 inches above your seedlings depending on the stage of growth—and keep it on for about 12 hours.
You may also want to consider adding a heat mat. A seed-starting heat mat is low-temperature, waterproof mat you put under your seedlings to create heat. In addition to light and water, many seedlings need heat to germinate.
However, I have only one heat mat that I use only sometimes. I find that my seedlings often have enough heat if I set up the containers and light in my heated home. If you’re starting seeds in a colder basement, you may want to consider a heat mat.
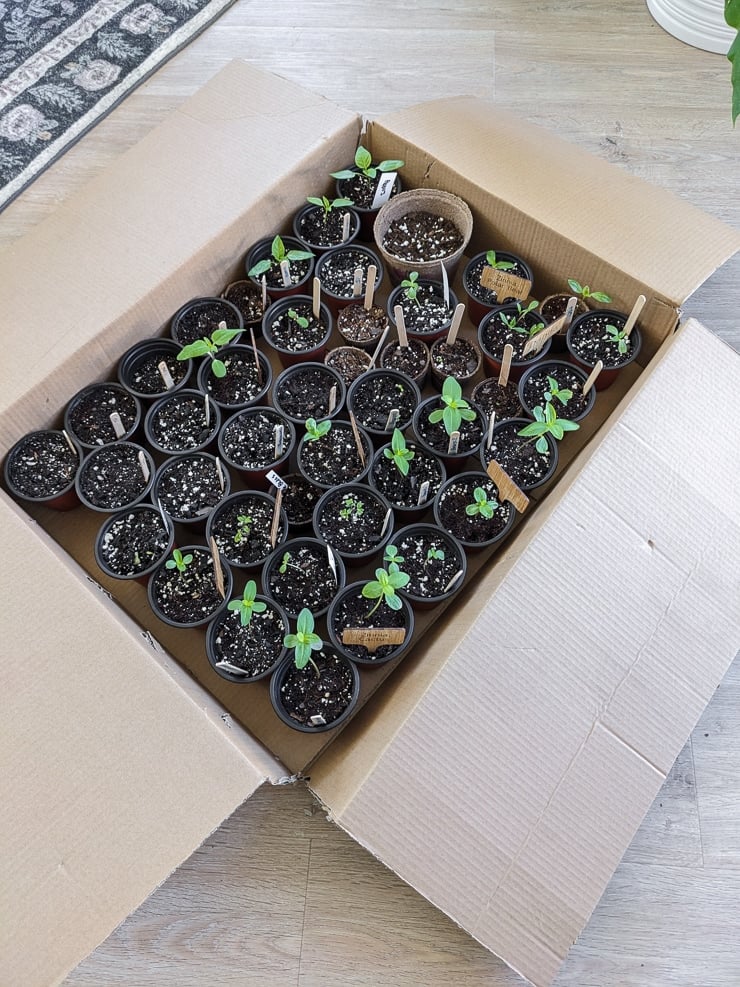
6. Thin out & pot up
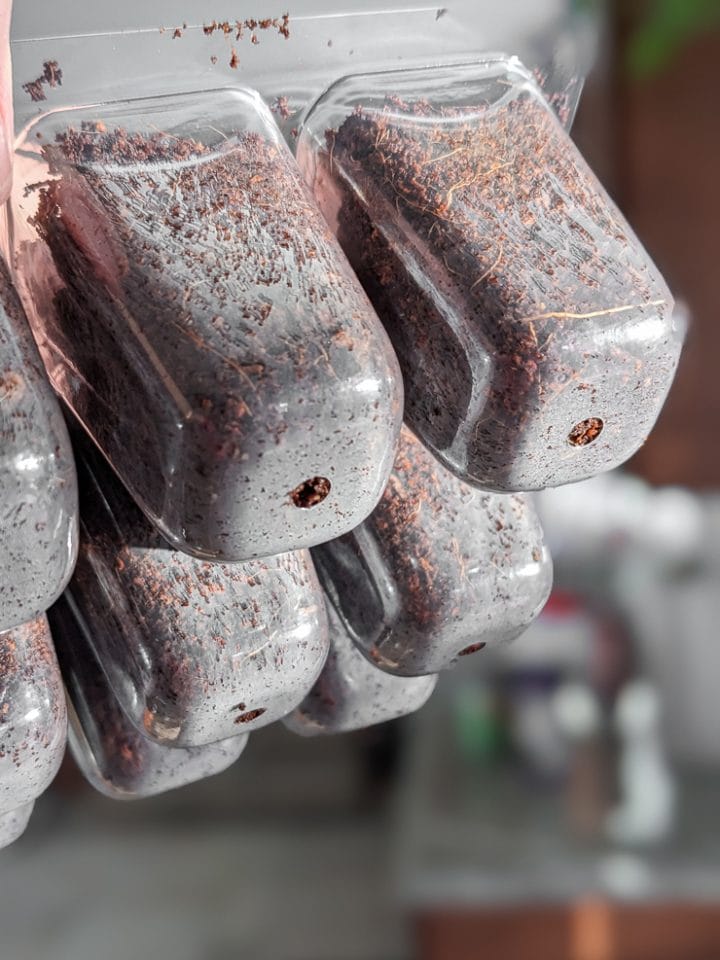
Monitor your seed trays for growth. Make sure that the coco coir remains moist. You can fill the water reservoir and let the plants drink up the water they need. Or you can water the seedling from the top and keep just a bit of extra water in the bottom.
If you planted multiple seeds in a growing section, you may notice that they’ve all sprouted. It’s time to thin them out. Simply pluck all but one of the tiny seedlings out so the plant has plenty of space to grow.
When the seedlings have just about reached the lid of your seedling container, it’s also time to pot them up. “Potting up” is basically just a fancy way of saying that you’re moving your seedling to a larger pot. I use and re-use these plastic pots all the time. If you don’t need a ton of pots, check your local dollar store for affordable options.
When potting up, try as hard as you can not to disturb the roots. Some plants are hardier than others when it comes to disturbing their roots. Try to pop the whole block of wet coco coir and roots out together using a spoon.
You can also switch over to a high-quality potting mix now. I love my Fox Farm Ocean Forest soil—and you can also water the baby plants with some more of the Fox Farm Grow Big fertilizer.
7. Harden off & plant
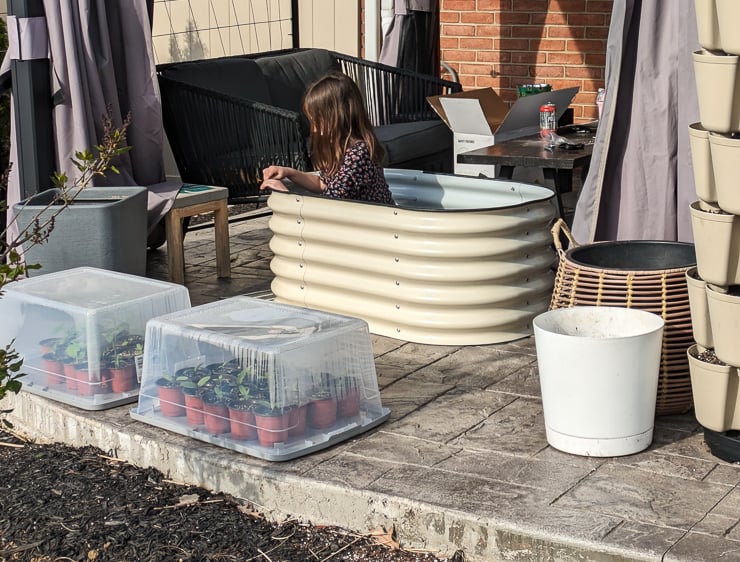
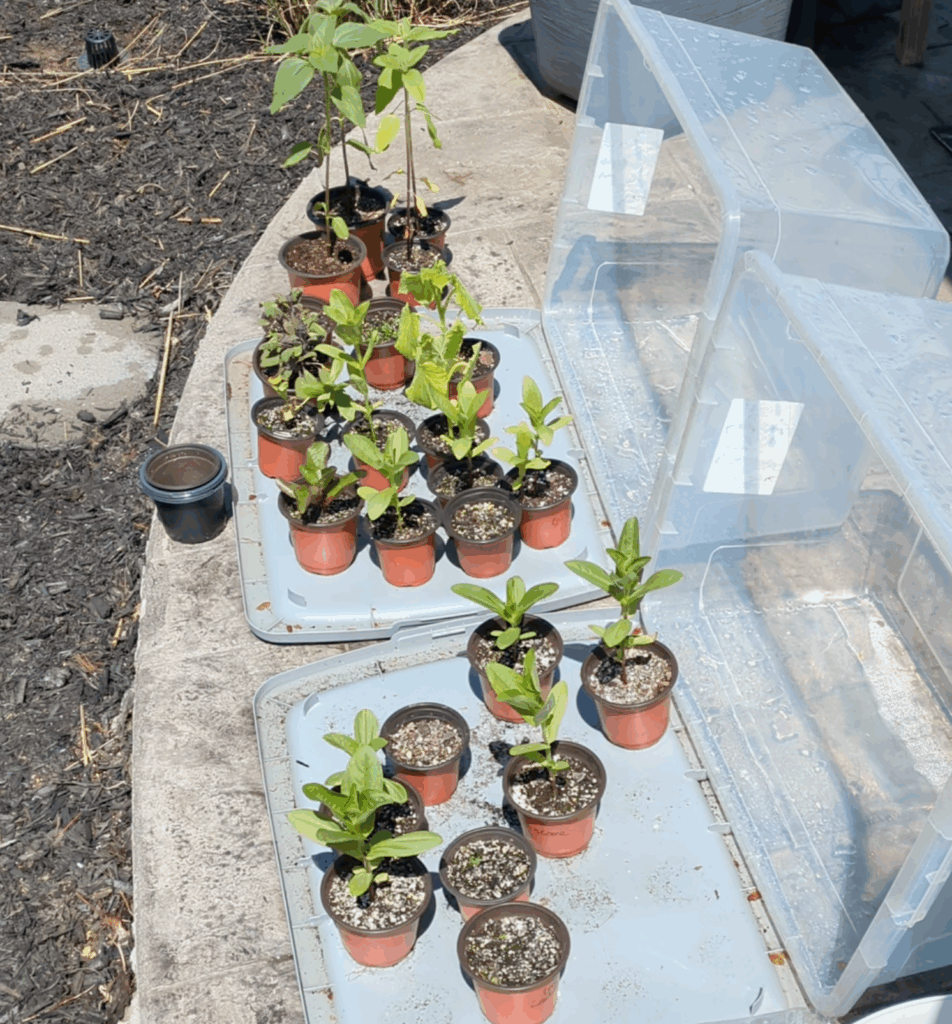
Once my plants are really growing, I start using make-shift storage tub greenhouses. You can see what I mean in the photo below. It’s just a large storage tub flipped upside down. I line the plants up on the upside down lid. Then I click the storage bin part onto the lid.
I can easily carry out 2-3 storage tubs from my house to my patio each morning, letting the seedlings get plenty of natural light. Even if it’s still cold outside, the inside of these tubs will get nice and toasty! When it’s not seed starting season, I can use them for other things.
When the days start getting into the 50s/60s, I begin removing the storage tub portion during part of the day to expose the seedlings to the elements. This is called “hardening off” and is preparing the plants for their life outdoors. Start with exposing the seedlings in the shade. After about a week, give them some morning sun. Work your way up so you don’t shock the babies!
If it’s still getting down into the 30s at night, I bring the tubs in at the end of the day. I start leaving them outside all night once temperatures get into the upper 40s at night, but I leave the lid on to protect them from frost.
Unless what you’re planting is frost hardy, wait until after your last frost date has passed before planting outside. Remember to check what your zone is on the USDA plant hardiness map, and watch the forecast as you get close!
Supply list recap
And here is a supply list recap with everything I use in one place—happy seed starting!