How to Propagate Strawberries
Plant propagation is, without a doubt, one of my favorite topics. The only thing close is seed saving. And that’s because plant propagation and seed saving both have something in common: they allow you to get more plants for free!
Strawberries are one of those plants that basically propagate themselves, too. So you don’t have to do much other than keep them happy and wait for them to reproduce. Then, when it’s time, you can swoop in with your shovel to multiply your individual strawberry plants.
Step 1: Learn how plants multiply
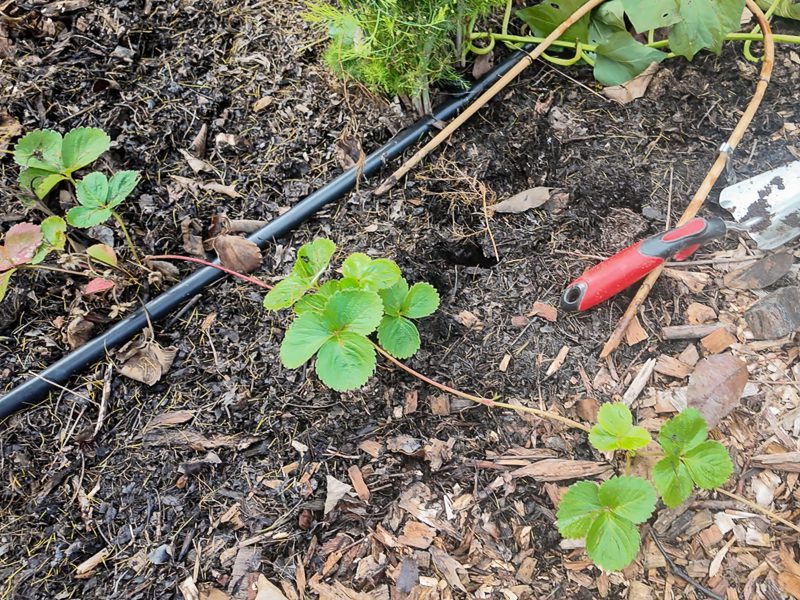
When strawberries are happy, they multiply prolifically. You can see an example of this in the picture below. I planted one bare-root strawberry plant very early in the growing season. That’s the left-most plant.
That plant sprouted and grew happily all spring. It grew so happily, in fact, that it sprouted what’s called a stolon, more commonly referred to as a runner! Strawberries propagate themselves by throwing out runners, which are horizontal stems that travel along the surface of the soil.
That’s the thin reddish stem connecting the different strawberry plants in the photo below. The runner will root itself and establish another plant. And then the process can just repeat itself until you have multiple plants.
By the end of the growing season, my single bare-root strawberry plant had created three additional new plants that I was able to dig up. And I definitely wanted to dig some of these runner plants up since they had run themselves right into my woodchip paths.
Step 2: Sever runners
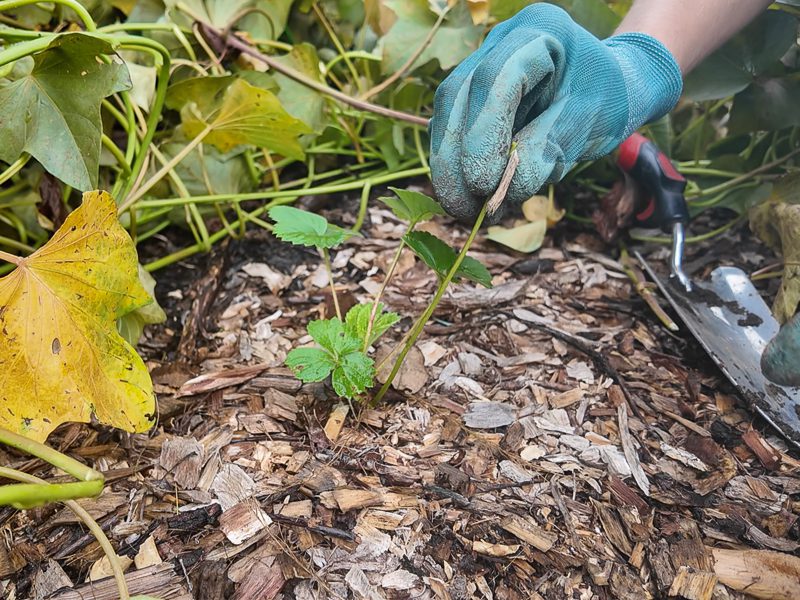
To keep your original plant in the ground but dig up the additional plants, you’ll first need to sever the stolon/runner. You can do this with scissors, pruning shears, or just the sharp part of a trowel or shovel.
Severing the runner will not hurt any part of the plant. The new plant has already established a root system, which is what is keeping it alive. So snip away!
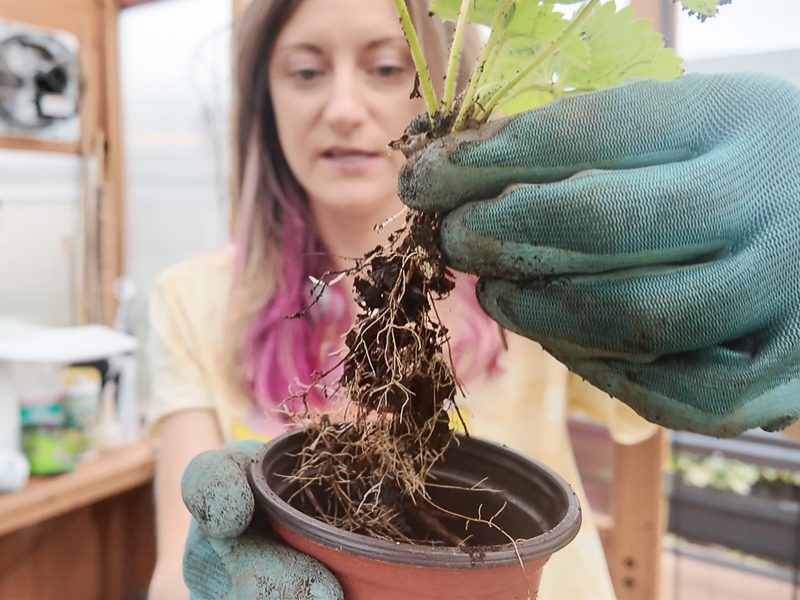
Step 3: Dig up plants
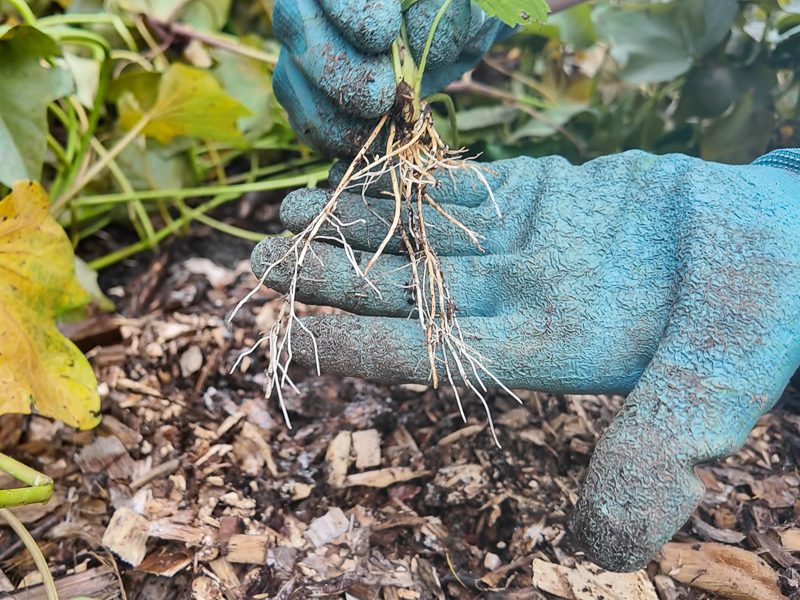
Next, dig up the individual strawberry plants. Make sure to insert your shovel a few inches away from the base of the plant to ensure you are able to dig up as much of the root system as possible.
Strawberry plants have shallow root systems and will rebound nicely after being dug up. But it doesn’t hurt to dig up a bit farther than necessary to avoid severing too many of the roots.

Step 4: Plant & water
Now you can either move the strawberry plants to elsewhere in your garden or pot them up separately to give away. I did a combination of both—I wanted to move many of my strawberry plants up to the elevated garden bed I had my edible tuber garden in this year.
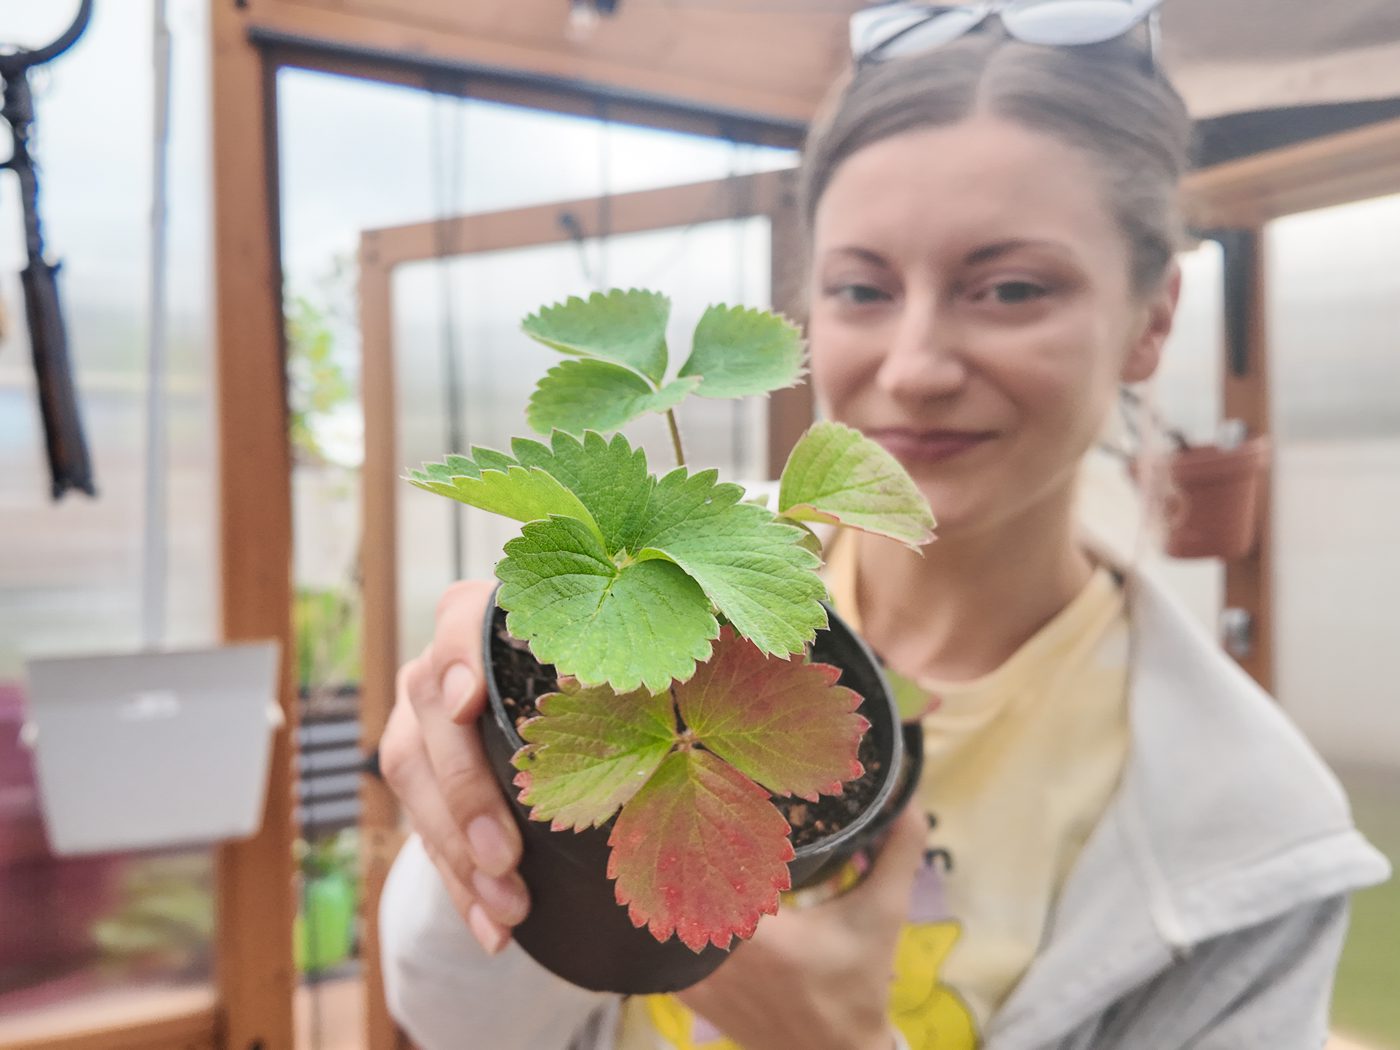
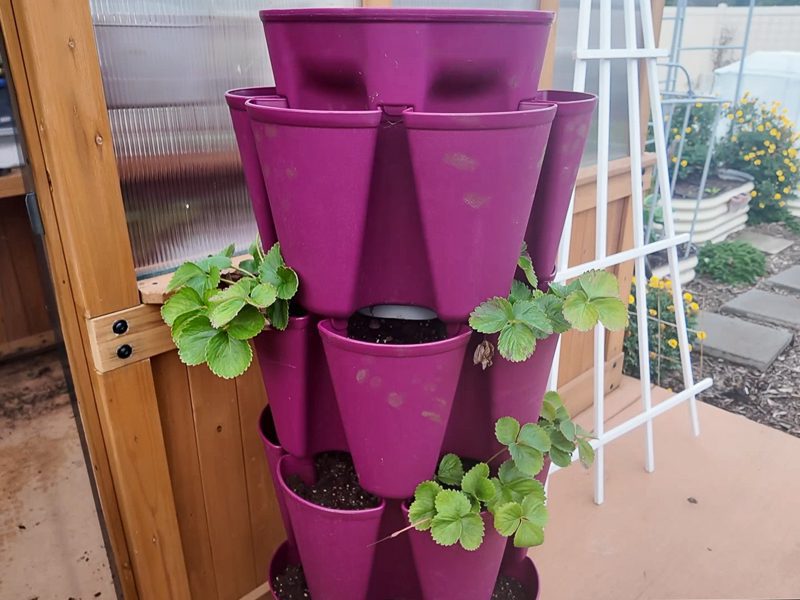
I also wanted to move some of the new plants up to my Greenstalk vertical garden, but I wasn’t quite ready to plant them. So I potted the strawberries up in small pots with fresh soil and kept them watered while they rebounded from any transplant shock.
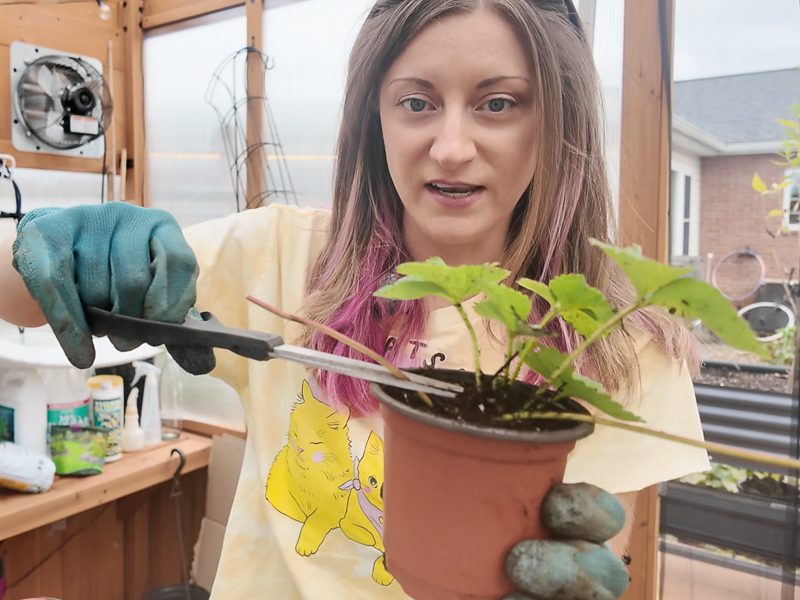
And a note on transplant shock—it’s possible that some of your plants will experience leaf drying or curling after you move them. This is fine. Just keep the soil lightly moist and warm, and new healthier growth should sprout soon. You can snip off the unhealthy leaves.
You can also snip off the remains of the runners you severed. Don’t worry, the plant will sprout new runners when it’s ready!

Now that I have everything planted in my Greenstalk and my elevated bed, I’m looking forward to seeing how the plants winter over and rebound next spring! Since growing strawberries in a Greenstalk is a popular topic, I’ll probably do a follow-up video and post next year with some updates.