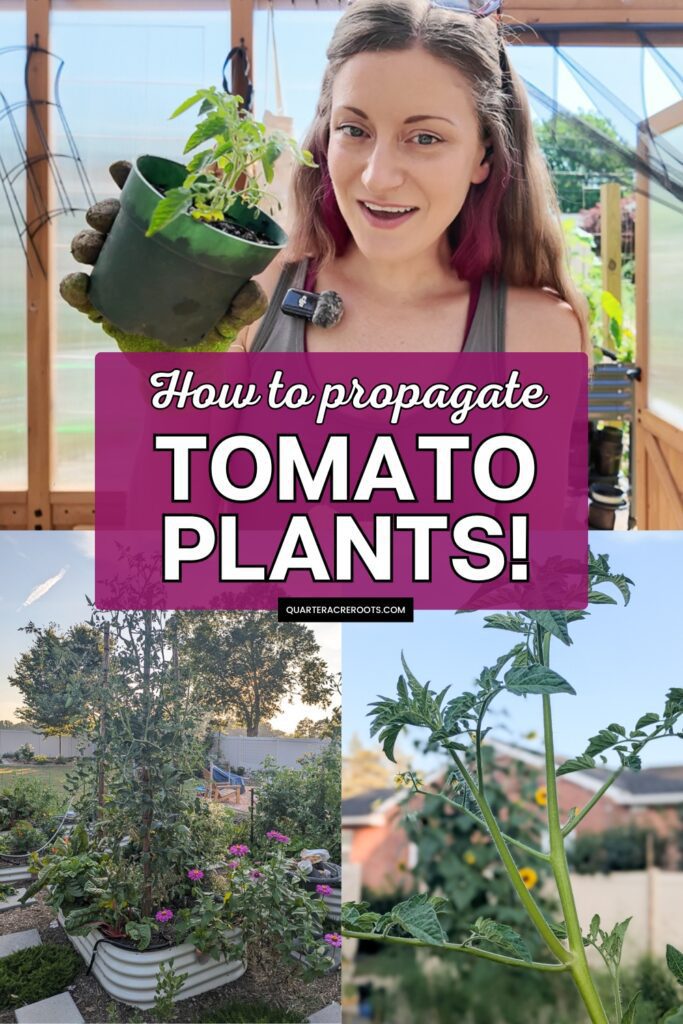
How to Propagate Tomato Cuttings
Today we’re talking about how to grow more tomato plants from suckers! Suckers are small shoots that grow between branches and the main stem of a tomato plant. They will develop into what essentially amounts to another tomato plant on your tomato plant, complete with leaves, flowers, and fruit.
You can leave suckers on your tomato plant if you want a bigger, bushier plant. But I pruned off suckers this year to train my plants up a single pole. And I decided to propagate a bunch of the suckers I pruned off early in the season to grow more plants 🙂
This post will show you how to find tomato suckers and then walk you through how to root them separately to grow more plants.
Step 1: Locate suckers
The first step is to locate a sucker. Truly, you can propagate other parts of the tomato plant, and they will eventually develop into their own plant. But suckers are so simple to snip off of a plant and get rooting.
That’s because, as I mentioned at the beginning of this post, they will eventually grow into branches that produce their own fruit. So they are basically tiny tomato plants on your tomato plant.
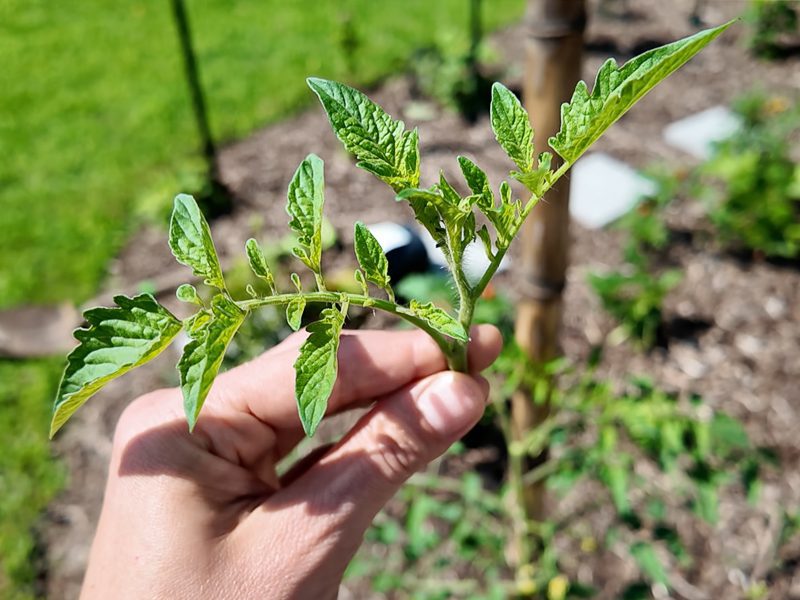
Below is a good example of a tomato sucker. They sprout in the corner area between the plant’s vertical stem and its horizontal branches. Because of how they grow, they can be easily twisted off of the plant.
I suggest propagating suckers that are about the size of the one pictured below or smaller. Once the sucker gets too big, it will have a lot of foliage to keep alive when you remove it from the plant. That means the plant will have less energy to develop its new root system.
Step 2: Remove & plant
After twisting off the sucker, plant it up to the first branch in fresh, well-draining soil. The tomato plant will be able to root all along its stem, so burying it a bit deeper will help it to more quickly develop its root system.

Step 3: Keep soil moist
Keep the soil evenly moist, and keep the cutting in a warm, bright area. Don’t be alarmed if the foliage gets droopy or a bit crispy. It will rebound once roots start to grow! But you must keep the soil moist for those roots to grow.
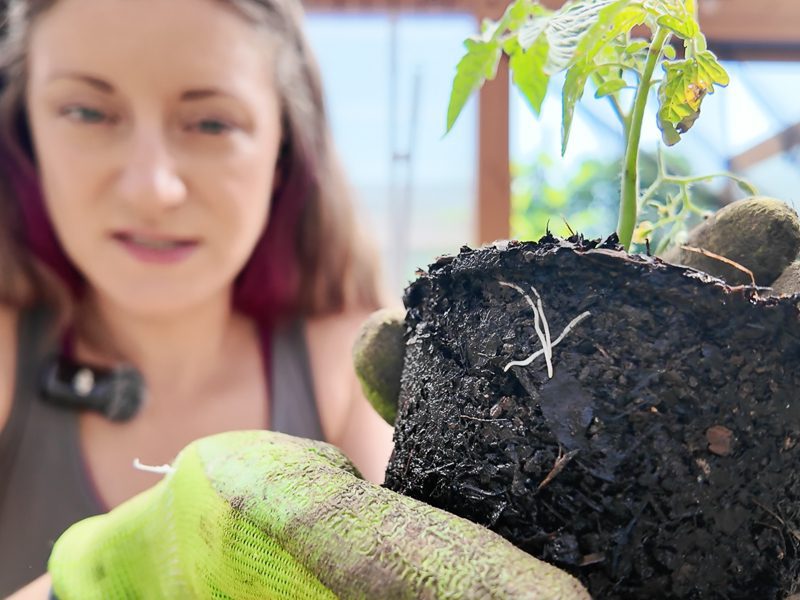
After a week or two, you can gently remove the cutting from its pot to check the roots. In the pic below, you can see that my little propagation has sprouted roots! If you don’t see roots but the cutting still seems healthy, pop it back in and give it a bit longer.
Step 4: Transfer to the garden
I was in a hurry to get this one in the ground for the season, so I transferred this one to my garden after this video. You can wait a bit longer if you aren’t in as much of a hurry. But tomatoes are pretty resilient when it comes to rooting.
All of the early season propagations I transplanted into my garden took off quickly. I’d originally planted them mostly as trap crops for things like horn worms, but they ended up producing a ton more cherry tomatoes for us!
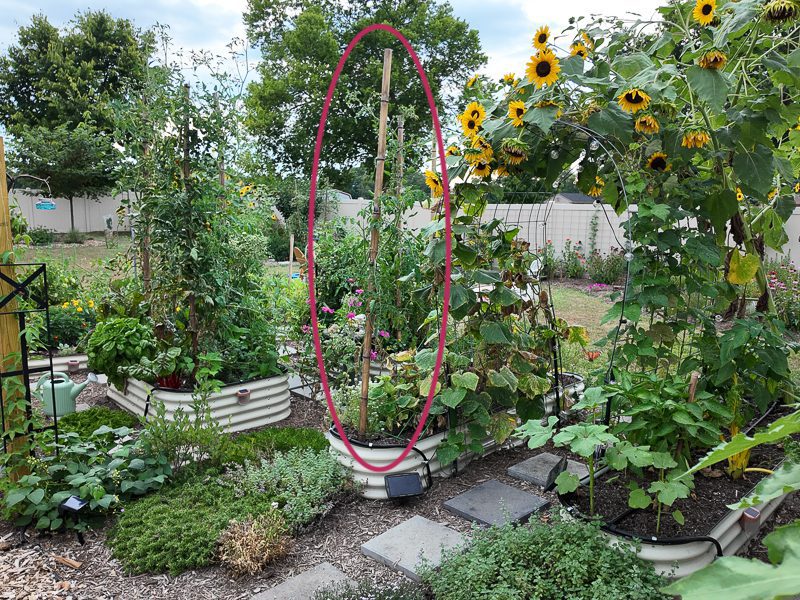
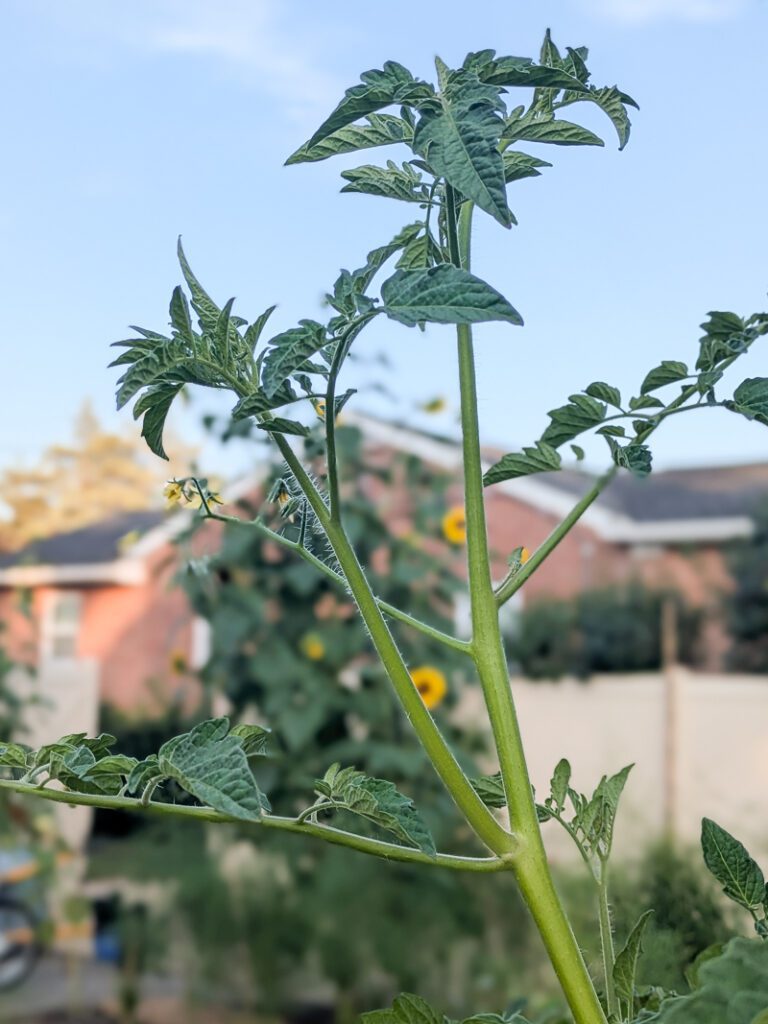
One of those plants is circled in the pic below from my 2025 summer garden 🙂 I’ll definitely be continuing this approach next year! Until then—happy planting.