
3 Ways to Start Seeds on a Budget
One of my favorite things to talk about is removing barriers to growing. And the barrier I hear about more than any other is COST.
Gardening is one of those hobbies that will happily take every dollar you hand it if you let it get away from you. I treat myself to things that make my garden easier all the time, and I am not going to pretend otherwise! But none of that stuff is required to grow food. If you want to get started on a scrappy, affordable approach, these are the three methods I come back to every single season.
Winter sowing your seeds. Using shop lights instead of full spectrum grow lights. And the storage tub greenhouse. Here is how each one works.
1. Winter sowing your seeds
If you are unfamiliar with winter sowing, it is a method where you create a teeny tiny microclimate (essentially a little greenhouse) inside something like a plastic jug, and then you set it outside and let the weather do the work. No lights, no heat mat, no shelf unit.
What to use as a container
I use a lot of old milk jugs and distilled water jugs. You want the kind that is completely clear or a little bit opaque. If you put your hand behind the jug and can kind of see it but not see it clearly, that is totally fine. A solid white opaque jug will not let through enough light.
You can also use soda bottles, old coffee cups, salad containers, berry containers…there are so many things that work! I stick mostly with jugs because they line up neatly, and in my experience they are the most foolproof way to do it.
Setting up a jug
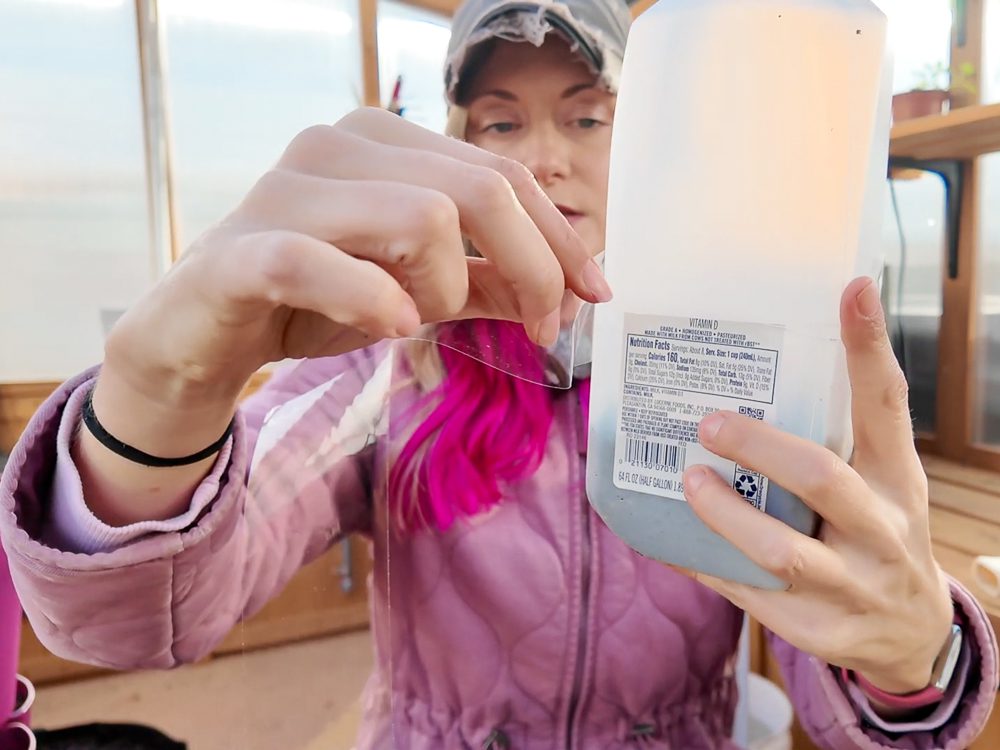
Cut the jug in half, leaving a hinge if you like, and then use something sharp to poke a lot of holes in the bottom. That is just for drainage, so when rain and melting snow get in there the water has somewhere to go instead of flooding your tiny greenhouse.
Fill the bottom with a well-draining soil, sprinkle your seeds in, and tape the jug back together. Leave the lid off so water and snow can get in the top.
Label it, and then label it again
Here is my public service announcement: a permanent marker is not permanent when it is sitting outside in the elements on a plastic jug all winter. It will fade. You can invest in a xylene-free garden marker, and I do own one, but I still reach for a regular permanent marker most of the time because I cannot find the good garden marker!
If you are using a permanent marker, write the label on something tucked inside the jug. Write it on the outside too, and then cover the outside writing with your tape. That extra layer gets you a lot of legibility!
Then abandon it
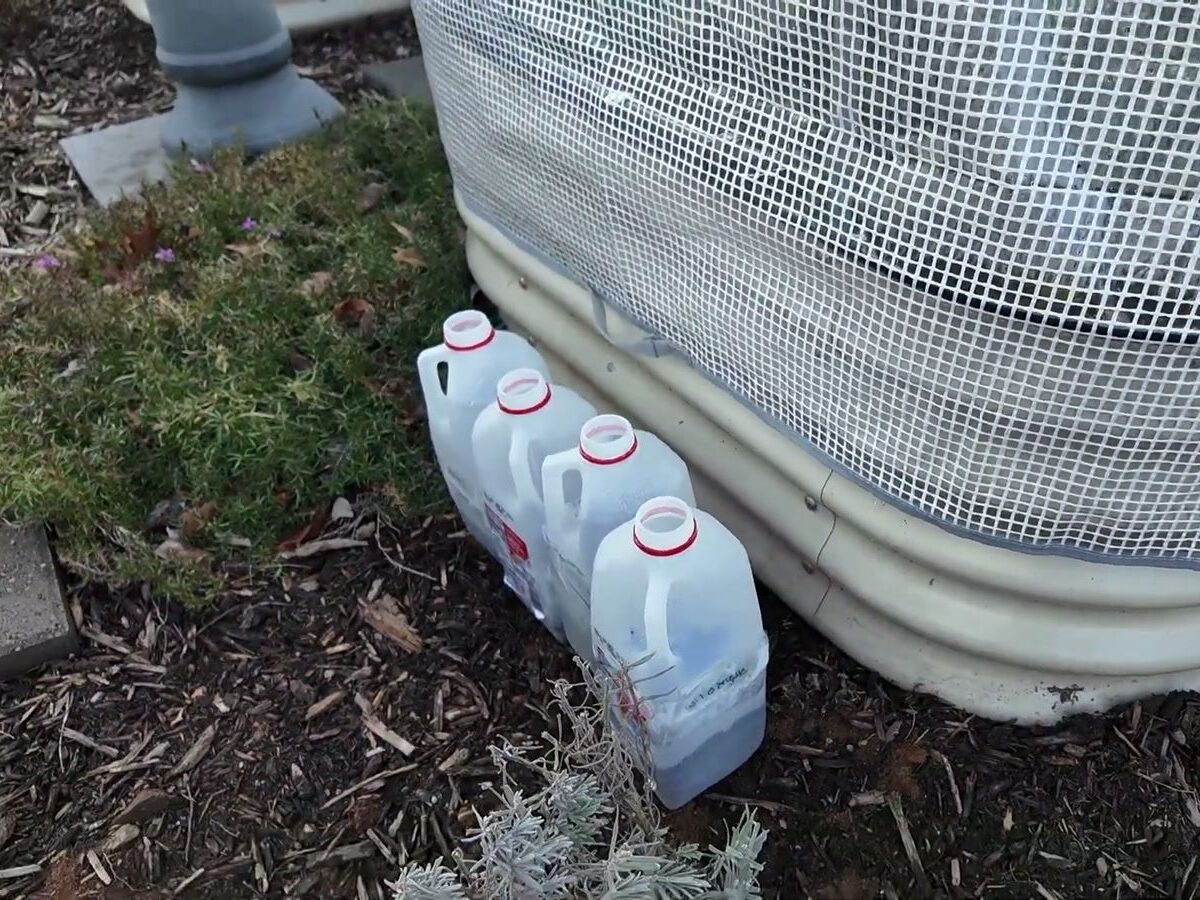
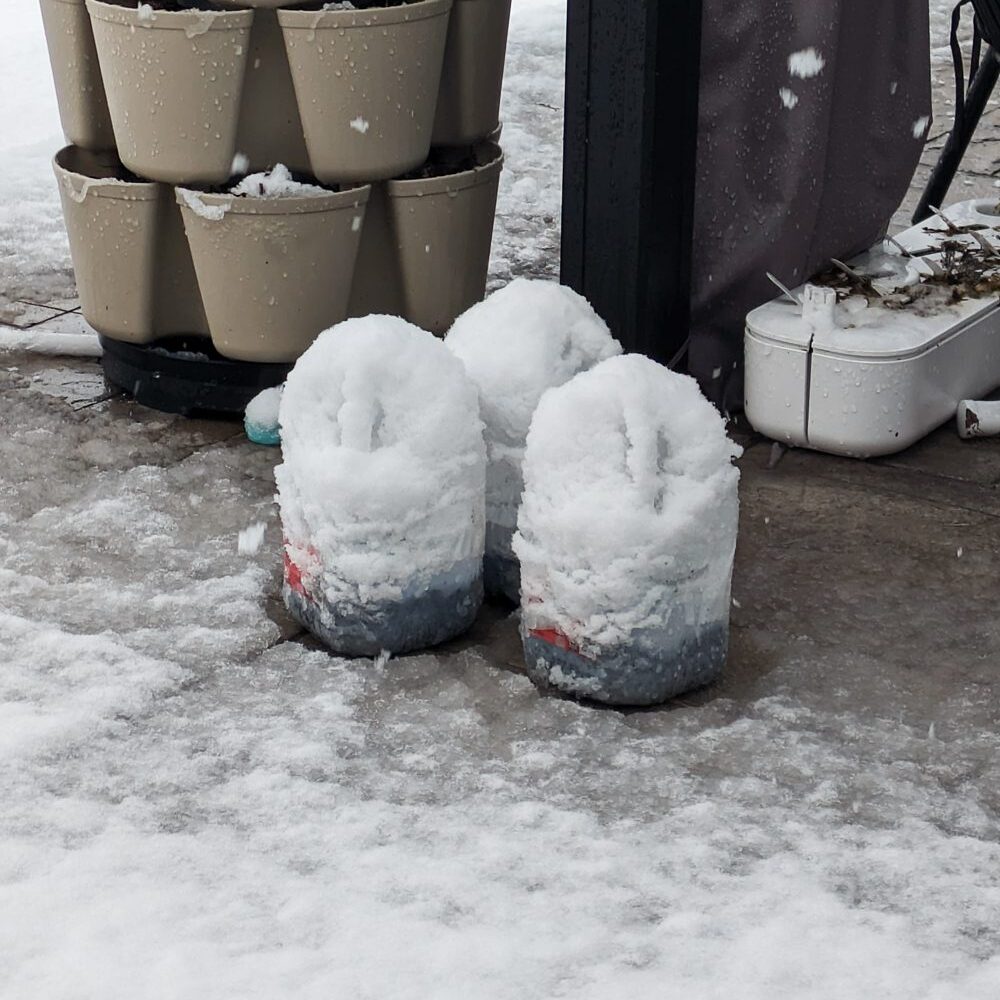
Yes, you really do leave them out in the snow! I keep my jugs lined up behind one of my raised beds, which blocks the worst of the cross breeze. That is really the only requirement…put them somewhere they will not get blown all over the yard.
It sounds a little crazy to set seeds outside in January and let snow pile on top of them. You are going to panic the first time it snows and you look out the window at a row of buried jugs and think, well, there goes that experiment. But fear not! Snow actually acts as insulation and helps protect the seedlings underneath.
The hardening off is built right in
This is my favorite part. Winter sown seedlings harden themselves off, because they are already living outside. When things start warming up, you just pop the lid off for a few hours or a whole day and your seedlings get unfiltered sun and real breeze. That is the same thing people replicate indoors with a little fan pointed at their trays, and I love not hauling seed starts in and out of the house all day. When it is time to plant, gently dig the seedlings out with a fork and either pot them up or put them straight in the ground.
When to sow what
Timing for sowing seeds depends entirely on your grow zone and what you are growing. Here in Maryland Zone 7A, my onions go out in January, along with jugs of native seed that need a period of cold to germinate (that’s called cold stratification). In February I start putting out things like mint and other perennial herbs. Later in late March to early April, I sow extra veggie seeds just to see what I can get out of it. So winter sowing might mean the very beginning of winter or the very end of it depending on what you’re growing!
2. Using shop lights as grow lights
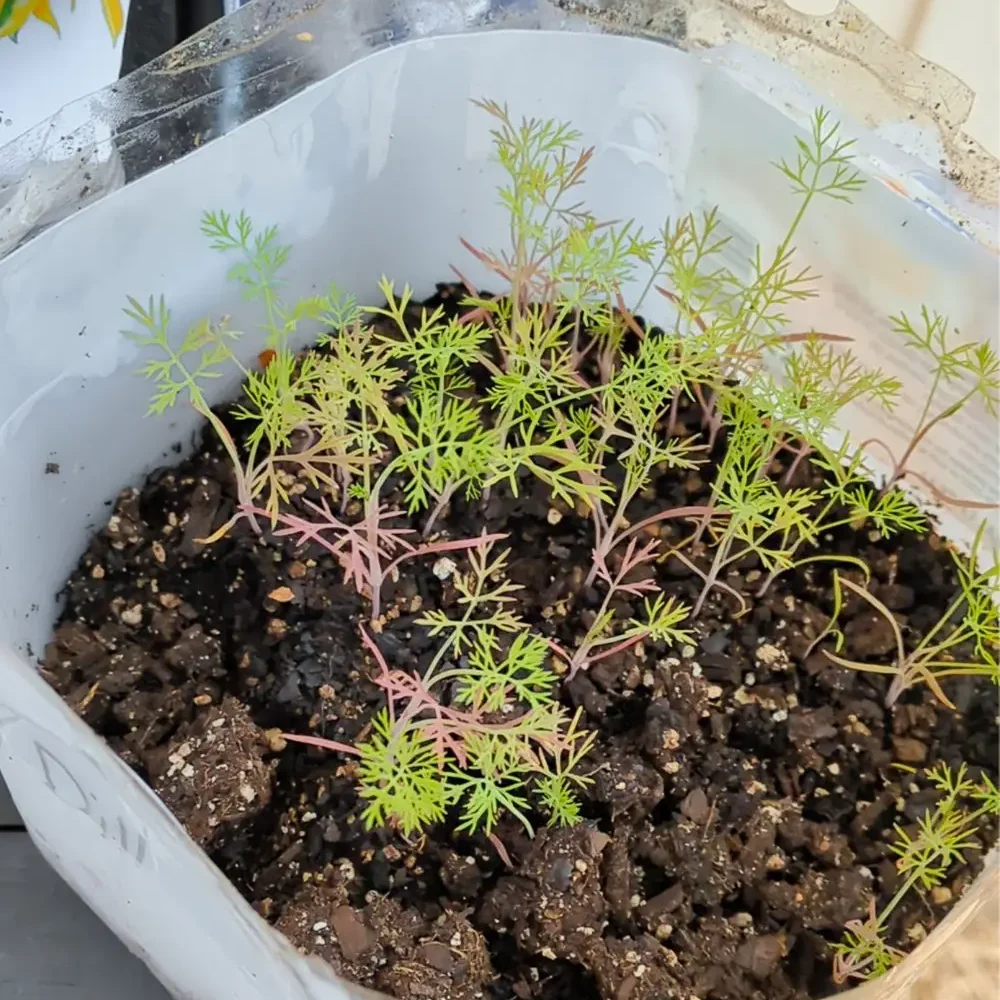
If you are starting seeds indoors, a wall of full spectrum grow lights gets expensive fast. Shop lights are the budget workaround. They are called shop lights because people buy them for workshops and garages. They do not have the full spectrum of light a mature plant needs, but they are more than enough to germinate seeds and get seedlings going.
Some of my early season seed starts sit in my basement shop under two shop lights, one in the front and one in the back. They are designed to chain together, so I only plug in once. I run them about 12 hours a day and keep everything on a heat mat.
Two things to watch
First, shop lights are plenty for very small seedlings. The first thing you see when a seed sprouts is the cotyledons—those are not true leaves, they come from the seed itself, and they all look pretty much alike. Once you get that first or second set of true leaves and the plant starts looking like the plant you expected, it needs a broader spectrum. I pushed some of mine a week or two too long last year and they suffered a little for it. Fair warning.
Second, shop lights are usually not LED, which means they get hot. Once your plants start getting taller, do not let the leaves touch the fixture or they will burn.

3. The storage tub greenhouse
So what do you do when your seedlings have outgrown shop lights but it is still too cold to plant them out? This is where I use a storage tub greenhouse, and it is the same basic idea as winter sowing—a little portable greenhouse that leverages the sun.
Anything from shoebox size up to a big attic tub works. The only real requirement is that the body of the tub is clear. The lid does not have to be, because I flip the lid upside down, arrange my plants on it, and set the tub over the top like a cloche. Out on the patio in March, when it is still freezing, the inside can get up to around 60 degrees. That is a whole lot of growing power for a container you probably already own, and a nice stepping stone if you are not ready to spring for something like raised bed greenhouse covers.

Bring it in, and prop it open
Early in the season you do have to carry the tub inside at night, because there is no sun to hold the heat once it goes down. Here in Zone 7 that means late February into March, which is about as long as I am willing to haul a bin around. Once nights are up in the forties or low fifties, I leave it out.
The other thing is heat. That tub will get hot shockingly fast, even on a day when you are still wearing a jacket. Prop the lid open with a rock during the day for ventilation. And honestly, once you are propping it open every day, that is your cue to start taking the lid off entirely for a few hours to harden the seedlings off.
As a bonus, when I am not hardening off in mine, it stores my off-season seed starting supplies. It earns its keep pretty much year round!

Start scrappy
None of this requires a heated greenhouse or a fancy shelving setup. Jugs from your recycling bin, a couple of shop lights, and a storage tub will get you an entire season of transplants! And once you have those, you can put your money toward the things that actually pay you back, like amendments to help improve your soil health 🙂