How to Install a Cattle Panel Trellis
Cattle panels are hands down one of my favorite trellising materials. A cattle panel is a big piece of heavy-duty fencing, usually 16 feet long, that people use for, well, cattle fencing. But they have so many uses in and around the garden because they hold up beautifully over the years. They don’t rust out quickly like some other metal materials, and they don’t rot away like wooden trellises eventually will.
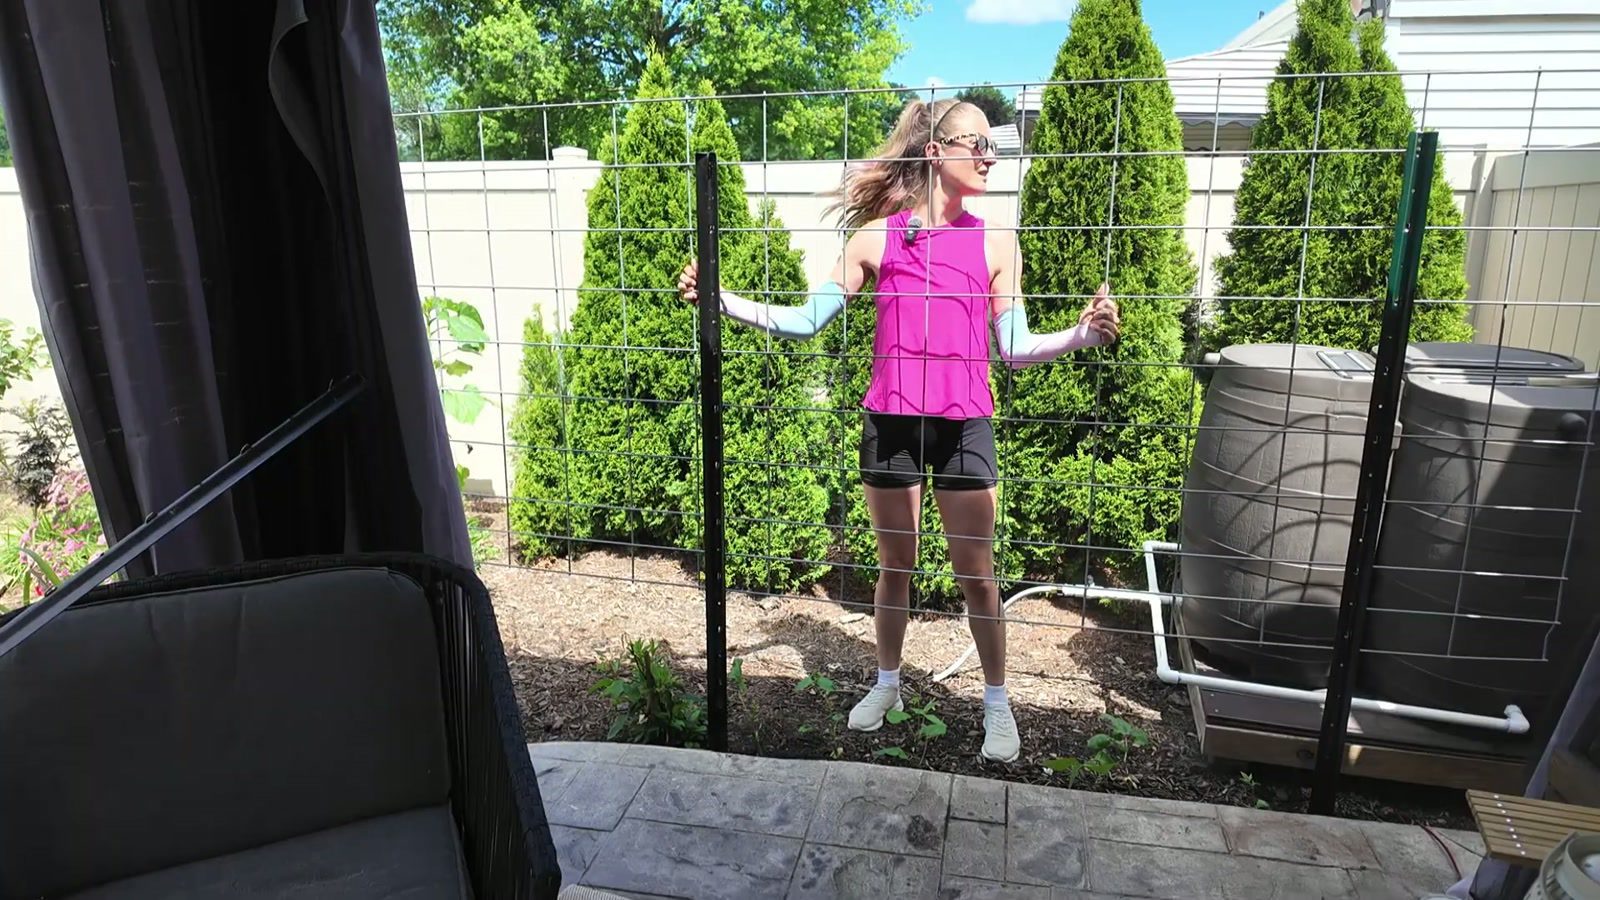
Today I’m walking you through how we mounted our second cattle panel trellis, this one on a little curve around the edge of our patio. It’s for our self-pollinating hardy kiwi vine, but since that vine is still pretty young, I’ve got beans growing on it this year as well. And because we’re very close to our neighbors on that side, it doubles (triples?) as a little privacy screen. Win-win-win! 🙂
Supplies
We’re mounting this panel to six-foot metal T-posts. You can absolutely just pound a T-post into the ground with a sledgehammer if that’s what you have. But when I’m working with the taller posts, I really like using a fence post driver.
We didn’t have one of these for years. Then I used one at our Master Gardener demonstration garden and thought, my God, I have to get one of these for home. The way it works is simple…the top is closed and the bottom is hollow. You slide it down over the top of the post and pound it down. It gives you so much leverage that even someone who is not extremely strong (me) can get a post securely into the ground quickly.
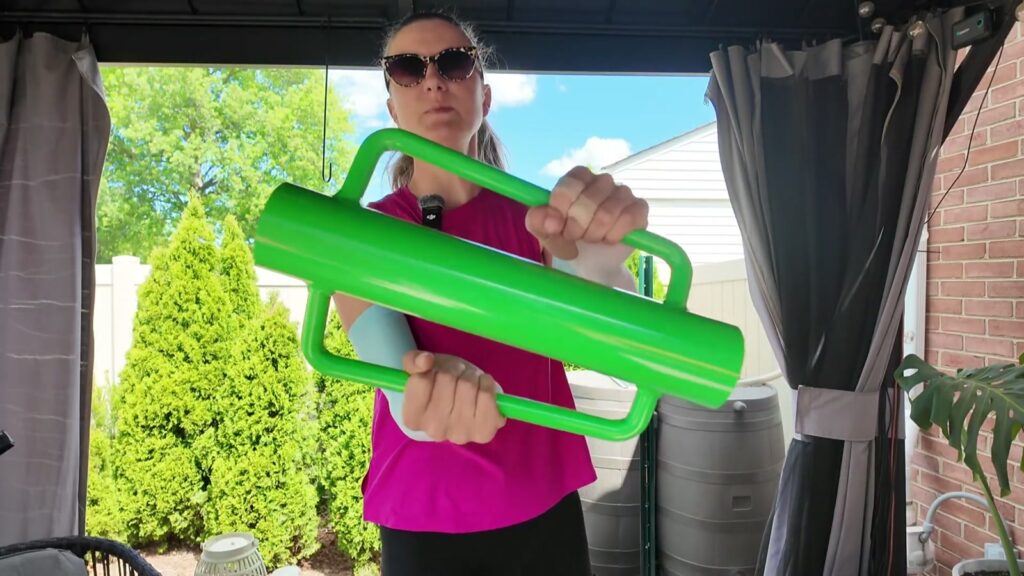
Here’s what I used for the whole project:
(Affiliate links below)
- Cattle panel (16 ft)
- Six-foot metal T-posts
- T-post driver
- Heavy-duty wire cutters
- Zip ties
- Hammer
- Tape measure
Positioning & setting the first posts
Take a look at your T-post before you start driving it. One side is flat and one side is curved, and the curved side has a row of little hooks running up it. Those hooks are what your cattle panel will actually rest on, so you want them facing out toward where the panel will sit. Since I wanted my trellis to follow the curve of the patio, I made sure that curved edge faced outward on every post.
Getting a post started is the awkward part. Before it’s secured at all you’re just standing there holding this six-foot piece of metal steady with one hand and swinging a driver with the other. A second set of hands is nice here if you have them. I didn’t, so I made it work.
Once you’ve tapped it in a few inches, it holds itself and you can really lean into it. If you’re not tall enough to get the driver above the post, grab a step stool. I had the benefit of standing up on the patio, which gave me about eight extra inches of height over the post.
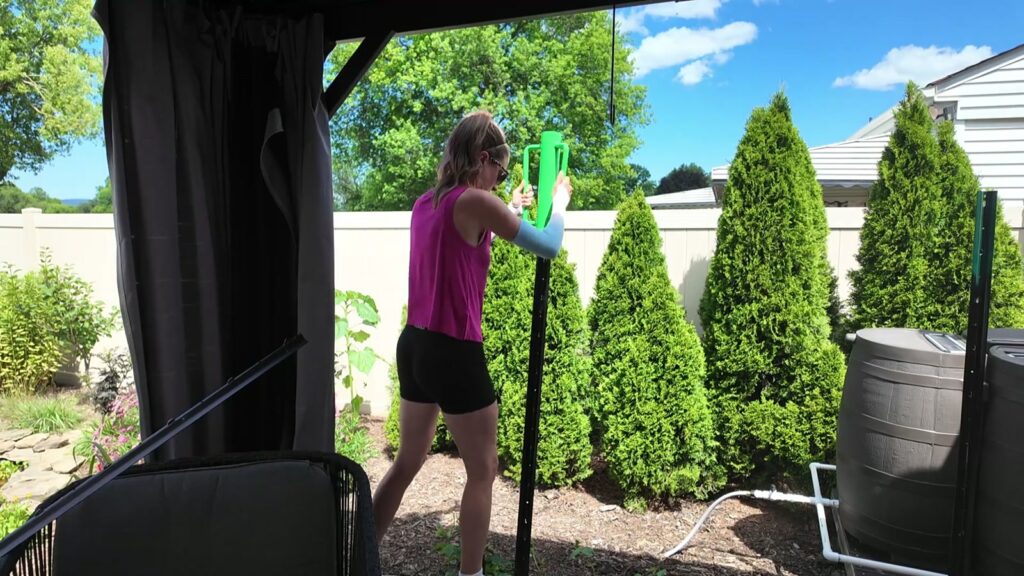
Only set two posts to start
One thing I’d really recommend if you’re cutting the panel down like I did: don’t drive your last post until after you’ve cut and hung the panel. I set two posts, then cut my panel, then hung it and figured out exactly where that third post needed to go. If everything is already pounded into the ground and your measurement is off by a few inches, you’re pulling posts back out. Not fun.
How to measure & cut a cattle panel
Sixteen feet was longer than I needed. For the total length of my curved trellis I needed something around 11 and a quarter feet, so I measured, double-checked myself, and marked the closest spot where I could cut without leaving jagged edges sticking out in a weird place.
To cut it, I used heavy-duty wire cutters. I open them as wide as they go, which isn’t very wide. They’re built that way on purpose so you get maximum leverage closing them down. I worked my way down the line snapping each wire.
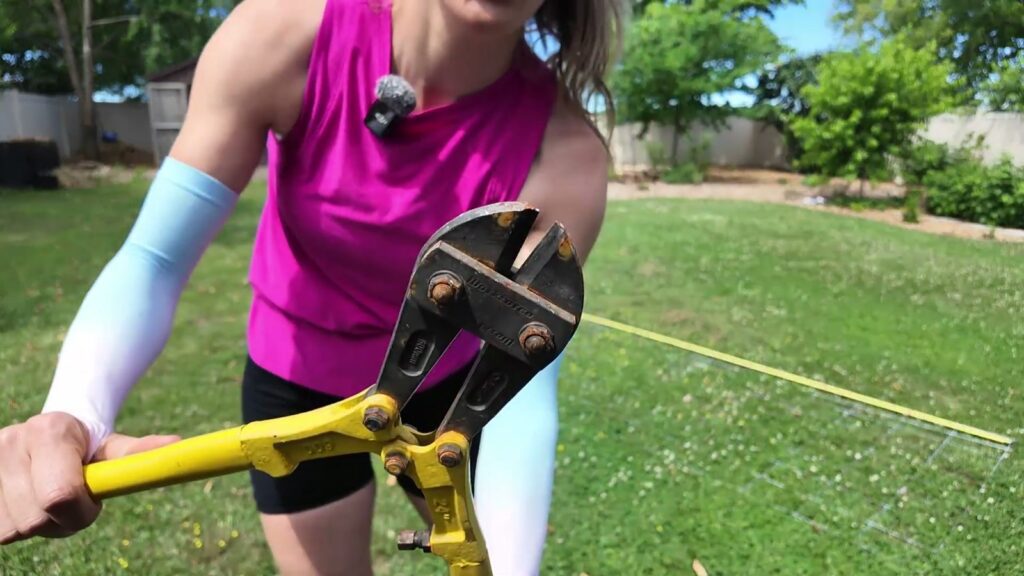
Don’t waste the leftover piece
When you’re pricing out a cattle panel, think about the total cost in terms of how many trellises you can get out of it. One panel might become two or three growing structures, which makes the price per trellis very reasonable.
The extra piece is especially useful because it has all those exposed cut ends. Those are basically built-in stakes…you can drive them straight into the soil and then add a short T-post or a length of bamboo on either side to zip-tie it to for stability. More on what I did with mine at the end of this post.
Mounting the panel on the T-post hooks
Now for the fun part! Wrangling a giant piece of fencing by yourself without dropping it on your bean plants. The panel is still big, but at 11 feet it’s pliable enough to lift, walk over, and set down onto the hooks.
I set mine one rung up from the top rather than flush, because with six-foot posts driven down into the ground, I wanted a bit of extra height up top for privacy. I tried going up one more rung and it felt top-heavy, so I moved it back down. Play with it and see what feels the most stable.
One thing to check: those little notch hooks on the post can get pulled out of position. I fought with mine for a minute before realizing one of the little hooks was sticking out and preventing the panel from sitting flush.
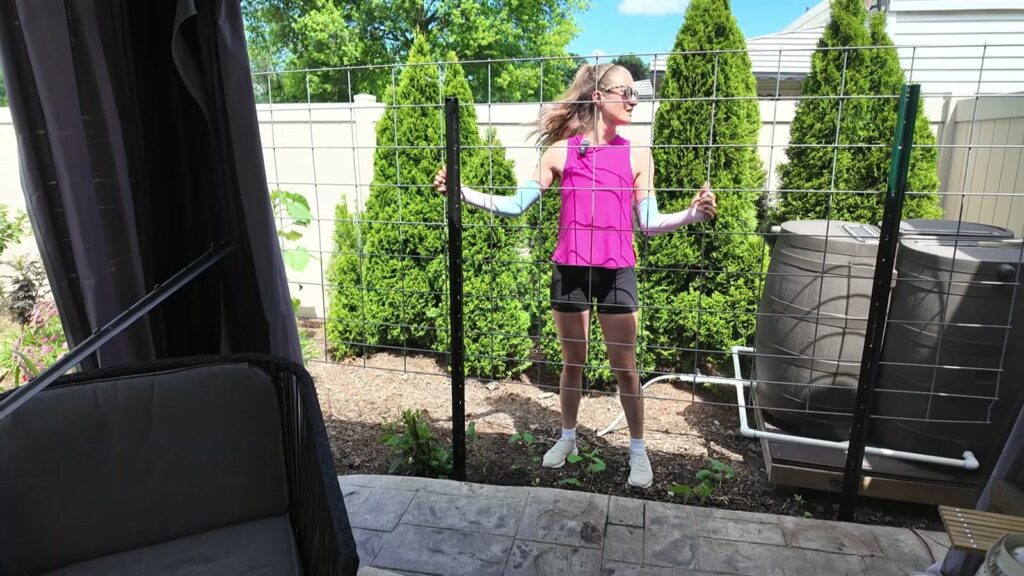

Zip ties do the real work
I did not get the panel slotted into every single hook, and that’s okay. The zip ties are what actually lock everything down. I just picked spots up and down the trellis, especially near the bottom where things were looser, and added ties.
Plastic will break down in the elements eventually, sure. But our other cattle panel trellis has been zip-tied to T-posts for three years now with no breakdown at all. I’ll go through this year and add a few more just to keep everything tight, but they hold really well.
Driving the third post & setting the curve
With the panel hanging on the first two posts, I pulled the free end out into the curve I wanted. Not too much curve—I didn’t want to put excess pressure on the zip ties and the far post. Once I liked the line, I marked the spot and drove that last post.
Getting the curved end down onto the hooks matters more than the straight sections, because turning the panel creates real tension on that side. Some of my hooks were too tight to slide the panel into, so I used the claw of my hammer to pry them out a little—just like pulling a nail—set the panel down in, then gently tapped the hooks back into place. That let me catch quite a few of them. A few more zip ties and it was done.

The finished trellis!
Sitting down on the loveseat, the trellis rises up just enough that once the vines fill in, we should get shade about an hour earlier than we do now. That was a big part of why I wanted it curved around the patio. The sun pattern here means we could really use the extra shade.
The best part of this setup is how uncommitted it is. If the trellis doesn’t end up working for the hardy kiwi, or we just decide we don’t love it there, we can pull the posts and try something else next season. That flexibility is worth a lot when you’re gardening in a small space and constantly rearranging things. (Speaking of long-term plants, hardy kiwi is one I’d put on my list of climate-resilient crops for zone 7.)

Bonus: A trellis for black raspberries
I found the perfect use for my offcut. I drove the pointy cut ends straight down into the soil next to my black raspberries, added two shorter T-posts on either side, and zip-tied it all together. Now I’ve got a tidy wall of black raspberry canes.
They’ll outgrow it eventually and need some trimming, but a little outgrowing isn’t a problem—I can just weave the canes back down into the panel. It’s a really pretty addition to our little berry walkway, with blackberries on one side and black raspberries on the other.

Our cattle panel arch trellis
Our other cattle panel trellis is an arch, and it’s been up about three years. That one is mounted a little differently. We used shorter T-posts at the bottom, maybe three or four feet, and we didn’t cut the panel down at all. We just bent the full 16 feet into an arch and zip-tied it in place all the way down.
I’d strongly recommend making the bending part a two-person job, because a full-length panel gets very unruly very fast. It also helps that ours is wedged between two raised beds, which adds a lot of stability.
We’ve had zero issues with it. Sugar snap peas go up it early in the season, then green beans take over for summer. I’ve got pole beans on either side, cucumbers in one of the beds that jump over and climb it on their own, and this year I stuck a few extra pole tomatoes in to grow up the sides. If I stay on top of pruning them, we’ll squeeze even more out of that space.
Have I sold you on cattle panels?? They are easily one of the best returns on investment in my whole yard for growing vertically! 🙂